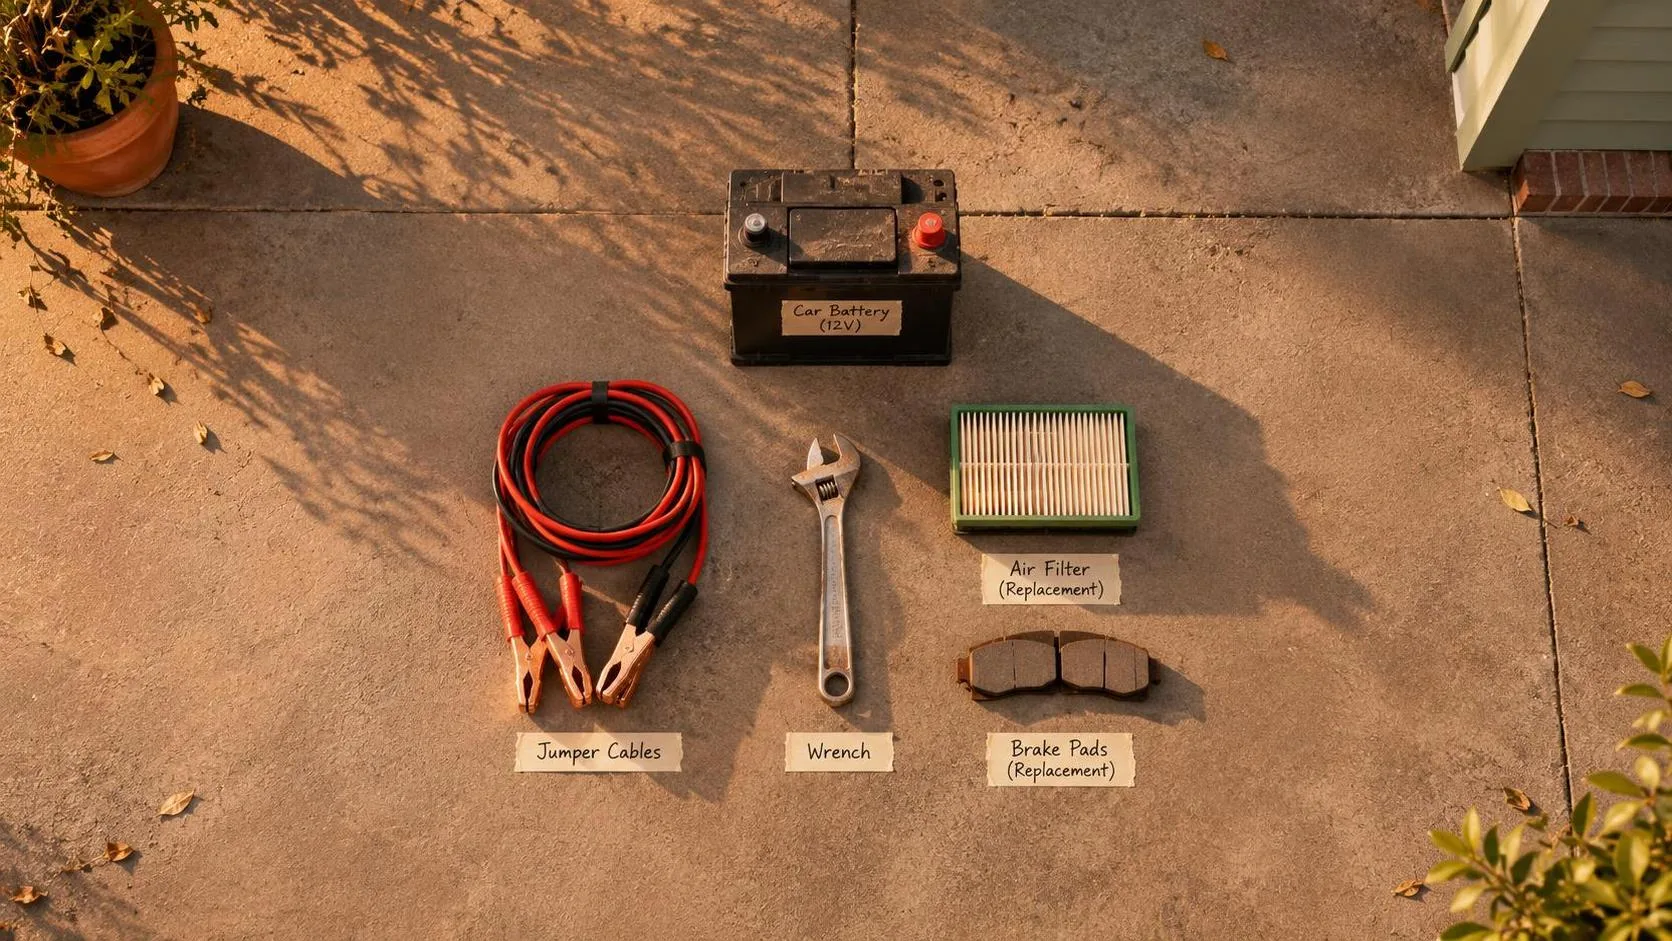
Car Battery Replacement: A Safe, Step-by-Step DIY Guide
Car battery replacement explained by an ASE Master Technician: choose the right battery, work safely, follow torque guidance, and know when to call a pro.
A dead battery does not always mean the battery itself has failed. Loose terminals, corrosion, a weak alternator, or a light left on overnight can create the same no-start symptom. Still, when testing confirms the battery is worn out, car battery replacement is one of the most approachable maintenance jobs for a careful DIY owner. You can do this. Here is the safe, right way.
Know When the Battery Is Actually Bad
Before buying parts, look at the symptoms. A slow crank, repeated clicking, dim interior lights, or a dashboard that resets during starting all point toward low battery voltage. However, a healthy battery can also go flat after a door is left open or a vehicle sits for several weeks.
A basic voltage test helps. With the engine off and the vehicle rested for several hours, a fully charged 12-volt battery usually measures close to 12.6 volts. Around 12.2 volts indicates a significantly discharged battery, while a reading near 12.0 volts is very low. Voltage alone does not prove battery condition, so a load test is better. Many parts stores offer battery testing, and a professional tester can reveal a weak cell that a simple meter misses.
Check charging voltage after the engine starts. Many conventional vehicles show roughly 13.5 to 14.8 volts at the battery, although smart charging systems can operate differently. If the alternator is not charging, car battery replacement will not solve the underlying problem. Look for a battery date label, usually marked with a month and year code. A battery around four to six years old deserves serious suspicion, especially after a hard winter.
Safety First: Never work around a battery while smoking or creating sparks. Batteries can release flammable hydrogen gas, and their electrolyte is corrosive. Wear safety glasses and gloves. Remove metal jewelry, keep tools from bridging the positive terminal to body metal, and disconnect the negative cable first.
Tool Check and Battery Selection
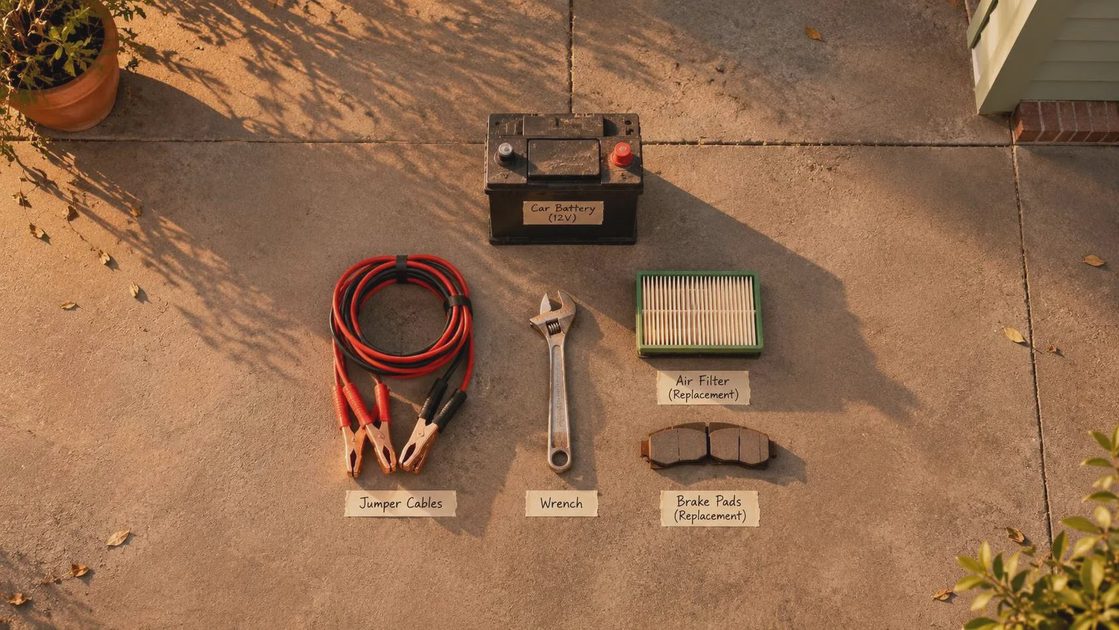
For car battery replacement, gather safety glasses, nitrile or mechanic's gloves, a 10-millimeter wrench or socket, a ratchet, a battery terminal brush, a memory-saving device if your vehicle requires one, and a digital multimeter. Some vehicles use 8-millimeter, 12-millimeter, or 13-millimeter hold-down hardware, so inspect before starting. A small extension and a flashlight are useful when the battery sits below a windshield cowl.
The replacement battery must match more than physical size. Compare the group number, terminal position, reserve capacity, and cold cranking amps, or CCA. The battery label or owner's manual provides the correct information. A higher CCA rating is generally acceptable when the case and terminal layout fit, but never force a battery into place or reverse terminal positions.
Conventional flooded lead-acid batteries are common and affordable. Absorbent glass mat, or AGM, batteries are used in many vehicles with start-stop systems and heavy electrical demand. If the vehicle originally uses AGM, install the correct battery type and follow the vehicle's battery registration procedure. Some BMW, Mercedes-Benz, Audi, Ford, and other models need the new battery coded or registered so the charging system manages it correctly.
The Safe Removal Procedure
Park on a level surface, switch off every accessory, remove the key, and open the hood. If the vehicle has a powered liftgate or special battery location, read the owner's manual before disconnecting power. Photograph the existing cable arrangement so you can confirm the installation later.
Find the negative terminal, usually marked with a minus sign and connected to black cable or body ground. Loosen the negative clamp and lift it from the post. Position it where it cannot spring back into contact. Then disconnect the positive terminal, marked with a plus sign. Do not allow the wrench to touch the positive terminal and surrounding metal at the same time.
Remove the battery hold-down bracket or wedge. Keep one hand on the battery while removing the final fastener because the battery can shift suddenly. Lead-acid batteries are heavy; many weigh 35 to 55 pounds. Lift with both hands, keep your back straight, and set the old battery on a stable surface. Do not tip it unnecessarily.
Here's what I see go wrong most often: someone removes the positive cable first and touches the wrench to the fender, creating a short circuit. Another common mistake is leaving the hold-down loose because the battery appears secure. A moving battery can damage cables and crack its case.

Installing the New Battery Correctly
Clean the tray before installation. Remove loose rust, dirt, and corrosion, but do not flood the area with water. Check that the tray has no sharp edges that could damage the case. Set the replacement battery in the same orientation as the original, with the terminals in the correct positions. Reinstall the hold-down and tighten it until the battery cannot move. Do not crush the case.
Torque to spec, and yes, the spec matters. Battery hold-down bolts commonly fall in the range of 40 to 80 inch-pounds, while terminal clamp fasteners are often around 35 to 60 inch-pounds, but these are general ranges, not universal specifications. Use the service manual or manufacturer repair information for your exact vehicle. If no specification is available, tighten the clamp securely without deforming it; a calibrated inch-pound torque wrench is the right tool.
Connect the positive cable first, then the negative cable. This order reduces the chance of accidentally grounding the positive terminal with your tool. The clamps should sit fully down on the posts and should not rotate by hand after tightening. Install terminal protectors or a light coating of battery terminal protectant after the connection is secure. Do not apply grease between the post and clamp because it can interfere with electrical contact.
Testing After Car Battery Replacement
Start the vehicle and confirm that it cranks normally. Check for warning messages, flickering lights, and accessories that fail to operate. Some vehicles lose clock, radio, window, steering, or idle settings when power is disconnected. Follow the owner's manual for window initialization or steering-angle calibration rather than guessing.
Measure charging voltage if you have a multimeter. A normal reading depends on the vehicle and charging strategy, so a changing voltage is not automatically a fault. If the battery warning lamp remains on, the engine cranks slowly, or the new battery goes dead again, stop replacing parts and test the alternator, grounds, starter draw, and parasitic drain.
Modern vehicles sometimes require car battery replacement to be registered with a scan tool. Registration tells the battery management system that a fresh battery is installed. Skipping this step can lead to incorrect charging behavior or shortened battery life. The repair may require a shop-level scan tool, though some aftermarket tools support common makes.
Return the old battery to the retailer or an approved recycling location. Lead and battery acid should not go into household trash. Most stores that sell automotive batteries accept the old unit, and a refundable core charge is often included in the purchase price.
When to Call a Professional
Stop and call a professional if the battery is leaking, swollen, cracked, frozen, or hot to the touch. Do not jump-start or charge a visibly damaged battery. Get help if the battery is buried under a seat, requires high-voltage hybrid procedures, or is connected to multiple auxiliary systems. Hybrid and electric vehicles have high-voltage battery packs that are completely different from the ordinary 12-volt battery and require specialized training.
A shop is also the better choice when the vehicle has repeated battery failures, aftermarket alarms, remote starters, or unexplained overnight drain. A technician can perform a controlled parasitic-draw test and verify alternator output. Spending $100 to $200 on diagnosis is smarter than buying several batteries and hoping the problem disappears.
Done carefully, car battery replacement can save labor money while giving you confidence in your vehicle. Verify the diagnosis, use the correct battery, disconnect and reconnect in the right order, and torque every fastener to the vehicle's specification. The job is simple, but safe procedure is what makes it successful.
Comments
No comments yet — be the first to share a thought.