DIY Car Maintenance for Beginners: The Safe, Smart Place to Start
DIY car maintenance for beginners starts with simple, safe jobs that save money. Learn tools, checks, and starter tasks to do right.
A lot of people think **diy car maintenance for beginners** means jumping straight into big repairs with a socket set and a YouTube video. That is usually where trouble starts. The better approach is slower, safer, and a lot cheaper in the long run. I spent more than two decades in dealership service, and here is what I see go wrong most often: people skip the basics, use the wrong tools, or tighten parts by feel instead of spec. You can do this. Here's the safe, right way. Start with simple checks and a few low-risk services, build confidence, and leave the high-stakes jobs for later.
Start With Safety, Tools, and a Good Habit Loop
Before you touch the car, understand the why. Good maintenance is not just about saving money. It is about catching wear before it becomes a breakdown, protecting expensive components, and keeping the vehicle safe to drive.
**Safety First:** work on level ground, set the parking brake, chock a wheel if the vehicle is raised, and never rely on a jack alone. Use jack stands rated for the vehicle weight. Let the engine cool before opening the cooling system or working near hot exhaust parts.
**Tool Check:** flashlight, tire pressure gauge, nitrile gloves, shop towels, 3/8-inch ratchet set, funnel, drain pan, torque wrench, and a quality floor jack with stands. Add a digital multimeter later.
Your first habit loop should be monthly: check tire pressure, engine oil level, washer fluid, and exterior lights. Keep a notebook or phone note with dates, mileage, and what you found. That simple record helps you spot slow leaks, uneven tire wear, or rising oil consumption before they turn into expensive surprises.
The Best First Jobs for New DIY Owners
If you are serious about **diy car maintenance for beginners**, start with jobs that teach good habits without putting you in danger. My top three are tire pressure checks, wiper blade replacement, and engine air filter replacement.
Tire pressure is the easiest win. Check it cold, usually in the morning, and inflate to the sticker on the driver door jamb, not the number on the tire sidewall. Correct pressure improves braking, ride quality, and tire life.
Wiper blades are another smart first job. Match the blade length exactly, clean the glass first, and make sure the new blade clicks fully into the arm. A loose blade can detach in bad weather.
Engine air filters are usually simple, but pay attention to fitment. Open the air box carefully, remove any leaves or debris, and seat the new filter squarely so unfiltered air does not bypass the seal.

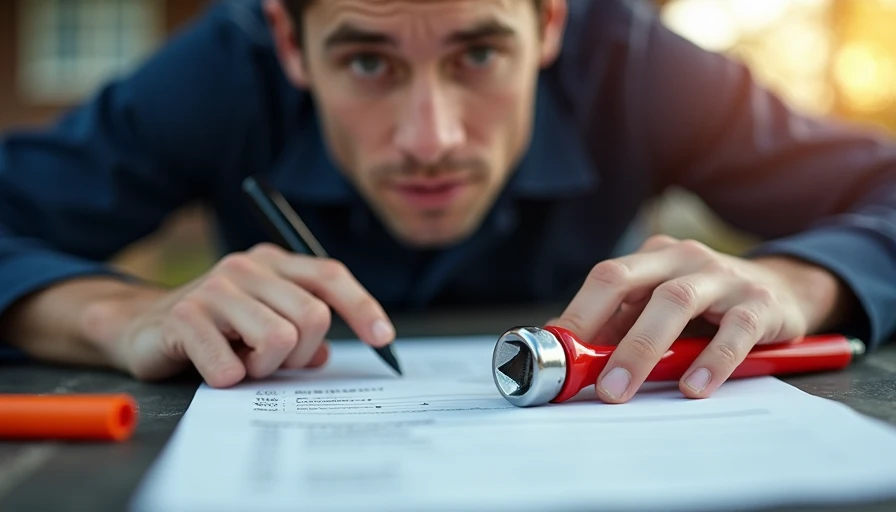
If your battery terminals have light corrosion, you can also clean them after disconnecting the negative cable first. When reconnecting, positive goes on first, negative last. Battery terminal clamp nuts are commonly tightened to around 44 to 62 in-lb, but **torque to spec — and yes, the spec matters** for your vehicle.
Learn Fluid Checks Before You Try Fluid Changes
Fluid changes save real money, but fluid checks come first. That is where beginners should build confidence. Under the hood, identify engine oil, coolant reservoir, brake fluid reservoir, and washer fluid before you open anything.
**Safety First:** never remove a radiator cap on a hot engine. Pressurized coolant can cause serious burns. Brake fluid should stay clean and sealed; do not leave the cap off longer than necessary because it absorbs moisture.
Check engine oil on level ground after the engine has been off for a few minutes. Pull the dipstick, wipe it, reinsert it fully, then read the level. If it is low, add the correct viscosity listed in the owner manual, usually in small amounts.
Brake fluid should sit between the MIN and MAX marks. If it is dropping, do not just top it off and forget it. That can indicate worn brake pads or a leak. That is a good point to stop and inspect further or call a pro.
Washer fluid is simple, but coolant is not. The reservoir level should fall within the marked range when the engine is cold. If you repeatedly need coolant, the system needs diagnosis, not constant refilling.
Your First Oil Change: Doable, but Do It Methodically
Oil changes are often the first real service in **diy car maintenance for beginners**, and done right, they teach nearly every core shop habit: lifting safely, confirming parts, controlling spills, and tightening to specification.
**Tool Check:** correct oil quantity and viscosity, new filter, drain pan, filter wrench, socket for the drain plug, crush washer if required, funnel, gloves, and torque wrench.
**Safety First:** if you need to raise the vehicle, lift at the approved jacking point and support it with stands before getting underneath. Never crawl under a car supported only by a hydraulic jack.
Warm oil drains faster, but the engine should not be hot enough to burn you. Remove the drain plug carefully and let the oil drain completely. Replace the crush washer if the design uses one. Many drain plugs torque in the neighborhood of 20 to 30 lb-ft, but always verify your exact spec. Spin on the new filter after lightly oiling the gasket. Many spin-on filters are tightened to about three-quarters of a turn after gasket contact, while cartridge housings often have a torque spec such as 18 to 25 lb-ft.
Refill with the exact amount, start the engine, check for leaks, shut it off, wait a few minutes, and recheck the level. Do not guess. Overfilling can be just as harmful as running low.
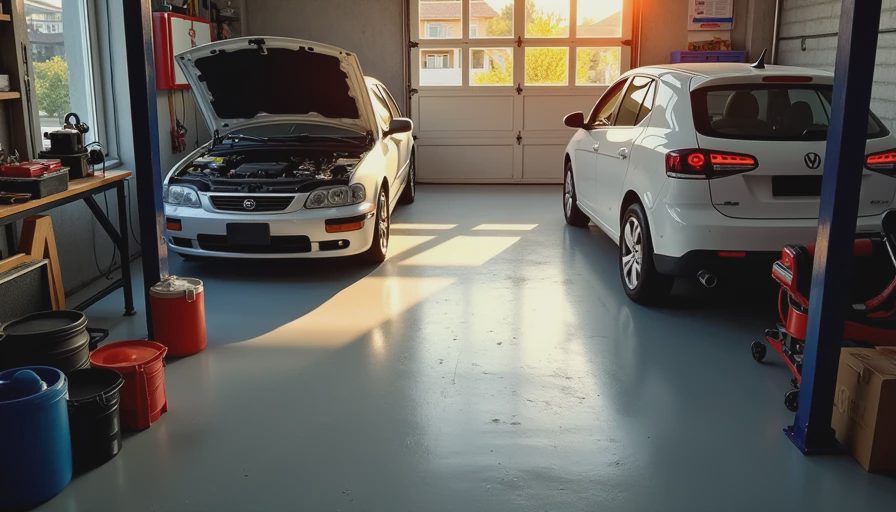
Tire Care and Visual Inspections Pay Off Fast
The most overlooked part of **diy car maintenance for beginners** is not the oil change. It is the five-minute walk-around that prevents bigger trouble. Tires, lights, and leaks tell you a lot if you know what to look for.
Inspect tread wear across the width of each tire. More wear in the center usually points to overinflation. More wear on both shoulders often means underinflation. Feathering or one-sided wear can point to alignment or suspension problems. Rotate tires at the interval recommended by the manufacturer, often around 5,000 to 7,500 miles.
When reinstalling wheels after a rotation, hand-start every lug nut and tighten in a star pattern. Most passenger vehicles use lug nut torque somewhere around 80 to 100 lb-ft, though trucks and some SUVs are higher. Check your manual or service information. Re-torque after 50 to 100 miles if you removed the wheels.
Also look underneath for fresh drips. Water from the A/C is normal. Oily, colored, or sweet-smelling fluid is not. If you see a brake fluid leak, fuel smell, or a bulging tire sidewall, stop driving until it is addressed.
Know When DIY Ends and Professional Help Begins
Doing your own maintenance is about judgment as much as wrenching. The smartest beginners know where the line is. Spark plugs on some engines are straightforward. On others, access is tight, threads are delicate, and ignition parts can be damaged by rushing. Brakes are beginner-friendly only if you understand proper support, pad hardware placement, slide pin lubrication, and torque specs.
As a rule, stop and call a pro if the job involves pressurized fuel, spring-loaded suspension parts, air bags, brake hydraulic bleeding without the right procedure, or anything high-voltage on a hybrid or EV. Also stop if you find stripped threads, seized fasteners, active fluid leaks, or warning lights you cannot explain.
The good news is that **diy car maintenance for beginners** does not need to start big to save money. A basic tool kit, a torque wrench, and a careful routine can save a few hundred dollars a year while helping your car last longer. Start with checks, master one service at a time, and keep safety ahead of speed. You can do this. Here's the safe, right way.