Radiator Repair: Diagnose the Leak and Fix It Safely
Radiator repair explained by an ASE Master Technician: diagnose leaks, choose repair or replacement, use the right tools, and avoid costly engine damage.
A cooling-system problem does not always mean you need radiator repair. A loose hose clamp, cracked expansion tank, failed water pump, or stuck thermostat can create the same puddle and overheating symptoms. I have seen drivers replace a good radiator because coolant was actually leaking from a hose above it. You can do this. Here is the safe, right way to identify the problem before spending money.
Find the Real Source of the Coolant Leak
Safety First: Never remove a radiator cap or coolant reservoir cap on a hot engine. Pressurized coolant can cause severe burns. Let the vehicle sit until the upper radiator hose is completely cool, usually at least several hours. Keep children and pets away, and collect every drop of coolant because it is poisonous to animals.
Start with a clean, cool engine. Look for white, green, orange, or pink crust around hose connections, the radiator seams, the drain petcock, and the thermostat housing. Coolant color depends on the formula, so do not mix fluids simply because their colors look similar. A sweet smell after driving, a rising temperature gauge, or a low reservoir level supports the diagnosis, but none proves the radiator is the source.
A cooling-system pressure tester is the best first tool. Pump only to the pressure printed on the radiator cap, often around 13 to 18 psi, and never exceed that rating. Watch the gauge for several minutes while inspecting with a bright LED light. A falling gauge and wet spot usually reveal the leak. If pressure drops but no external coolant appears, inspect the heater core, water pump weep hole, and engine oil for contamination. Internal leaks require professional diagnosis.
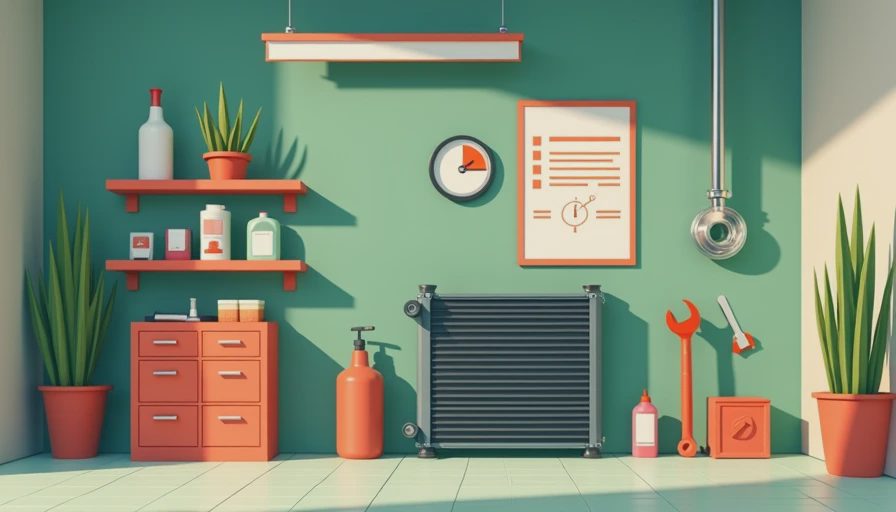
Tool Check Before Radiator Repair
Tool Check: Gather safety glasses, chemical-resistant gloves, a drain pan, shop towels, an LED inspection light, a cooling-system pressure tester, pliers for spring clamps, screwdrivers, metric sockets, a torque wrench, a funnel, and the correct premixed coolant. A spill-free funnel helps prevent trapped air during filling. Use a vehicle-specific service manual for fastener locations, hose routing, coolant type, and torque values.
The exact radiator repair depends on construction and damage. A loose hose clamp can be corrected, but a plastic tank split or a corroded aluminum core generally calls for radiator replacement. Temporary stop-leak products can clog narrow passages in the radiator and heater core, so I do not use them as a permanent fix. A radiator shop can sometimes repair a metal radiator, but many modern plastic-and-aluminum units are not practically repairable once a tank or crimp seam fails.
Before removing parts, take photographs of hose routing and electrical connectors. Disconnect the negative battery cable if the service procedure requires it, especially when the radiator fan or nearby wiring must be handled. Raise the vehicle only on properly rated jack stands placed at approved support points. Never work under a car supported only by a jack.
A Safe Radiator Replacement Procedure
Allow the engine to cool completely, then remove the cap slowly with a thick rag while standing to the side. Position the drain pan under the radiator and open the drain petcock if equipped. If the petcock is brittle, do not force it with pliers; a broken fitting can turn a routine radiator repair into a larger job. Remove the lower hose instead when the service manual recommends that approach.
Disconnect the upper and lower radiator hoses, transmission-cooler lines if equipped, fan shroud fasteners, electrical fan connectors, and mounting brackets. Plug open transmission lines immediately to reduce contamination and fluid loss. Lift the radiator straight out without bending the condenser in front of it. Transfer rubber cushions, brackets, clips, and sensors to the replacement unit only after comparing both radiators side by side.
Torque to spec — and yes, the spec matters. Radiator brackets commonly use low torque, often in the range of 35 to 90 inch-pounds, but that is not a universal value. Use the manufacturer’s exact specification for every bracket fastener. Hose clamps should be positioned behind the bead on the radiator neck and tightened firmly without cutting the hose. Do not guess on fan, shroud, transmission-line, or mounting-bolt torque; those values vary by model.

Fill, Bleed, and Test the Cooling System
Close the drain and reconnect every hose, line, bracket, and electrical connector. Use the specified coolant, usually premixed 50/50 coolant and distilled water unless the product is already premixed. Never pour cold water into a severely overheated engine because rapid temperature change can damage components. Fill the radiator or designated pressurized reservoir slowly, then set the heater to maximum temperature.
Start the engine and let it idle while monitoring the temperature gauge. Keep hands, clothing, and tools away from the electric fan; it can start without warning. As air leaves the system, the level can fall. Add coolant gradually through the spill-free funnel or bleed screw according to the service procedure. When the thermostat opens, the upper hose should warm and coolant circulation should improve. Shut the engine off if the gauge climbs beyond normal, the heater stays cold, or coolant begins to boil.
After the engine cools, recheck the level and inspect all connections. Pressure-test the system again if equipment is available. Take a short drive, then park on clean cardboard and look for fresh drops. A successful radiator repair ends with a stable temperature, strong cabin heat, no leaks, and a full reservoir after the next cold check.
When to Stop and Call a Professional
Stop immediately if the engine has overheated into the red zone, the coolant contains engine oil, the oil looks milky, or white exhaust smoke continues after warm-up. Those signs can indicate a head-gasket or cylinder-head problem rather than a simple radiator repair. Also call a professional if the vehicle uses a complex electronically controlled cooling system, if air will not bleed out, or if you cannot identify the coolant leak.
A typical replacement radiator may cost roughly $150 to $500 for the part, with labor commonly adding several hundred dollars depending on access and vehicle design. European models, hybrids, and vehicles with integrated oil coolers can cost more. Get a written estimate that identifies the failed component, coolant type, labor time, and whether the system will be pressure-tested afterward.
The cheapest fix is the correct fix, not the quickest bottle of sealant. Diagnose first, protect yourself from hot coolant, use the right tools, and follow the torque specifications for your vehicle. That method prevents repeat leaks and protects the engine you are trying to save.
Comments
No comments yet — be the first to share a thought.