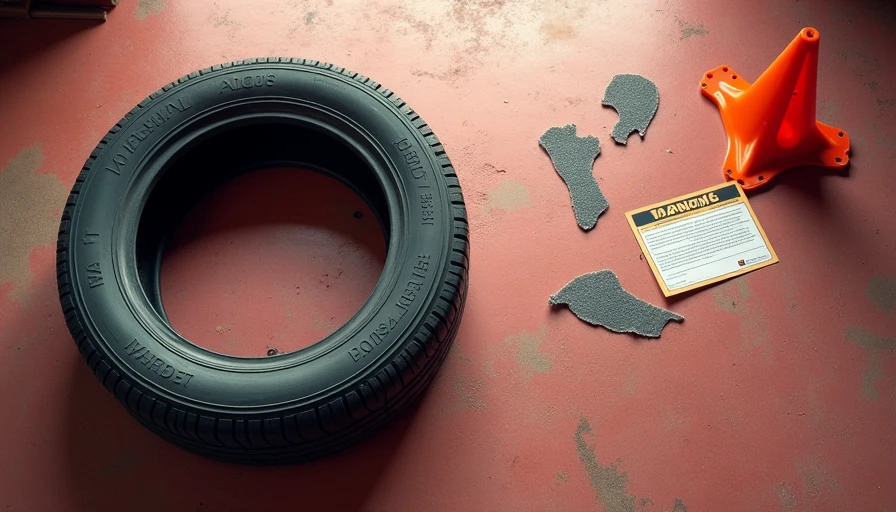
Tear in Tire: How to Inspect It and Know When to Stop Driving
Found a tear in tire rubber? Learn how to inspect the damage, when a repair is unsafe, and what tools and steps protect you on the road.
A tear in tire rubber is not automatically a flat tire, but it is never something to ignore. The location, depth, direction, and condition of the surrounding sidewall determine whether you can safely drive to a tire shop or need a tow. I have seen drivers mistake a serious sidewall cut for harmless road rash, then discover the casing was already exposed. You can do this. Here's the safe, right way.
Why a Tear in Tire Rubber Can Be Dangerous
A tire is more than a thick piece of rubber. Beneath the tread and sidewall are cords that contain air pressure and help the tire keep its shape. A shallow scrape through the outer rubber can be cosmetic, especially if it is not leaking and does not expose fabric. A deep tear in tire material is different because it can weaken those cords.
Sidewall damage deserves the most caution. The sidewall flexes constantly as the wheel rotates, so a cut can grow under normal driving. Look for bulges, bubbles, exposed white or gray cords, missing rubber, or a hissing sound. Any of those signs means the tire should not be driven on, even if it still holds air.
Tread-area damage can sometimes be repaired, but only when the puncture is small, straight, and located in the central tread. A torn shoulder, tread edge, or sidewall generally cannot be safely repaired with a plug. A tire shop must inspect the inside because outside appearance alone does not reveal every casing injury.
Safety First and Tool Check
Safety First: Park on a flat, hard surface away from traffic. Turn off the engine, set the parking brake, and keep your body out of the roadway. Do not crawl under a vehicle supported only by a jack. If the tire is losing pressure quickly, do not drive it to an air pump; call roadside assistance or arrange a tow.
Tool Check: Gather a flashlight, tire-pressure gauge, soapy water in a spray bottle, gloves, safety glasses, and a tread-depth gauge if you have one. A ruler helps measure a visible cut. Do not use a knife to open the damage, and do not push a screwdriver into the rubber. You are inspecting the tire, not trying to perform surgery on it.
Before lifting a vehicle, check the owner’s manual for the jacking point and wheel-lug torque specification. Torque to spec — and yes, the spec matters. Lug torque commonly falls somewhere around 80 to 110 pound-feet on many passenger vehicles, but your car’s actual specification could be different. Never guess, and never rely on an impact gun as the final tightening method.
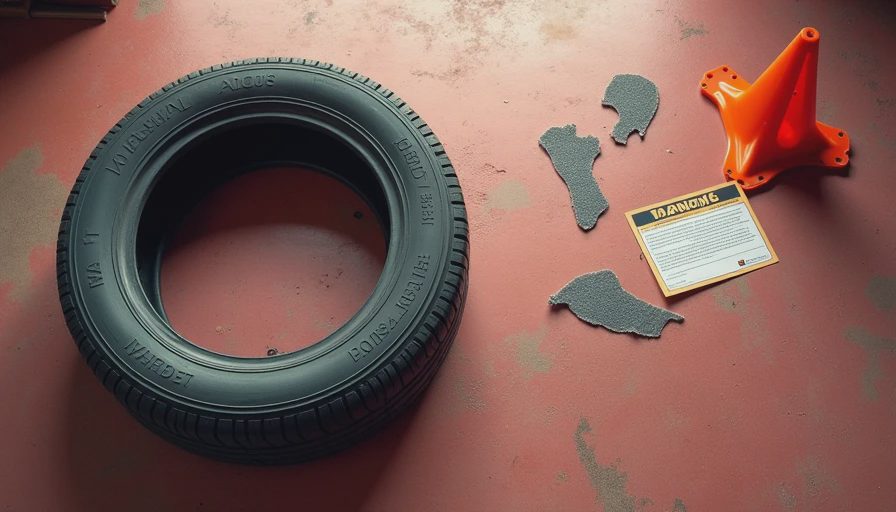
How to Inspect a Tear in Tire Step by Step
First, compare the damaged tire with the other tires. Note whether the damaged area is on the sidewall, shoulder, or center tread. Photograph it before cleaning so you have a record for a tire shop or insurance claim.
Next, check pressure with a gauge. Compare the reading with the placard inside the driver’s door jamb, not the maximum pressure molded into the tire sidewall. If the pressure is low, add air only when the damage appears superficial and the tire is not visibly separating. Never inflate a tire with a bulge or exposed cords.
Spray soapy water over the damaged area and watch for growing bubbles. Bubbles indicate escaping air, but no bubbles do not prove the tire is safe. Run a gloved finger lightly over the surface. If you can see cord material, feel a flap moving independently, or measure a cut that penetrates beyond the outer rubber, stop the inspection and arrange professional service.
Check the inner sidewall if possible by turning the steering wheel on a front tire. For a rear tire, use a flashlight from behind the vehicle without placing yourself under it. Look for an inner bulge, wet-looking rubber, or a line that continues farther than the outside damage. Those clues often indicate more than a cosmetic mark.
When You Can Drive and When You Need a Tow
A short, slow drive to a nearby tire shop may be reasonable for a shallow surface scuff with no air loss, no bulge, and no exposed cords. Keep speed low, avoid highways, and stop immediately if the steering changes, the vehicle pulls, or the tire-pressure warning appears.
Do not drive with a tear in tire sidewall rubber, exposed cords, a visible bubble, rapid pressure loss, or tread that is separating. Do not use a tire sealant can as a permanent solution. Sealant can make internal inspection harder and cannot restore damaged structural cords. A compact spare or full-size spare is safer when installed correctly, but follow its speed and distance limits.
If you are changing the wheel, loosen the lug nuts slightly before lifting the vehicle. Use the factory jack only at the specified lift point, then support the vehicle with a properly rated jack stand if you will work near it. After installation, tighten the lugs in a star pattern and lower the vehicle enough to keep the wheel from spinning. Final-tighten with a calibrated torque wrench to the vehicle-specific specification.
Repair, Replacement, and Cost Expectations
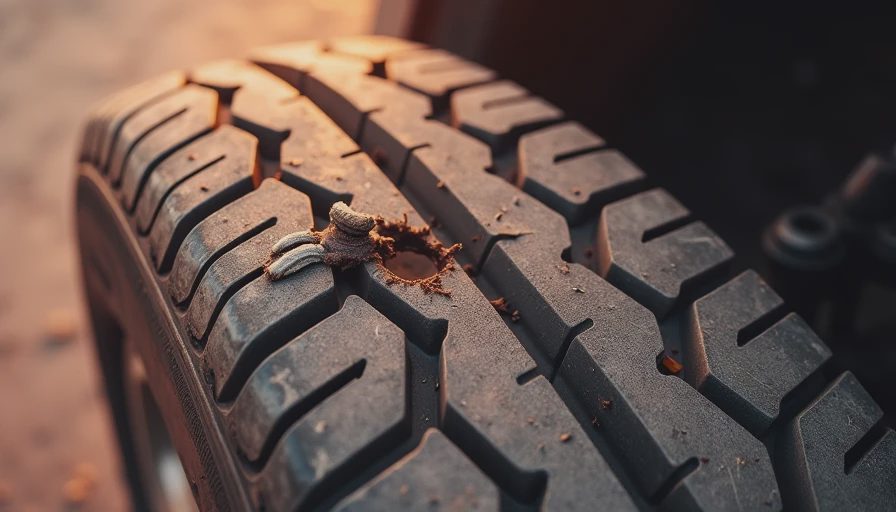
A professional may repair a small puncture in the central tread by removing the tire and installing an internal patch-plug combination. A simple repair often costs roughly $20 to $40, depending on location and shop pricing. A torn shoulder or sidewall usually calls for replacement because those areas flex too much for a dependable repair.
A replacement passenger tire commonly ranges from about $100 to $300, while performance, truck, run-flat, and specialty tires can cost more. Ask the shop to match the tire’s size, load index, speed rating, and seasonal type. Replacing only one tire can create tread-depth differences, especially on all-wheel-drive vehicles, so ask whether the manufacturer recommends replacing two or four.
After replacement, confirm that the wheel is torqued correctly and that the tire is inflated to the door-jamb specification. If the damaged tire came from a pothole or curb impact, request an inspection of the wheel, alignment, suspension, and other tire. A new tire will not fix a bent wheel or damaged tie-rod end.
What I See Go Wrong Most Often
The most common mistake is driving several days after noticing a tear in tire rubber because the pressure has not changed. A tire can retain air while its internal cords are compromised. Another mistake is using a plug in a sidewall. Plugs are not a structural repair for sidewall damage and can give a dangerous sense of security.
Drivers also confuse the tire’s maximum molded pressure with the correct operating pressure. Use the door placard or owner’s manual instead. Finally, some people tighten lugs as hard as possible. Excess torque can distort brake rotors or damage studs, while insufficient torque can allow the wheel to loosen.
Write down the tire brand, size, date code, and damage location before calling a shop. Clear photos speed up the conversation. If the inspection reveals a serious tear in tire construction, stopping is not overreacting; it is the repair decision that protects the vehicle and everyone riding in it.
You can do this inspection calmly, but know the limit of DIY work. When cords, bulges, separation, or sidewall damage are present, put the tools away and call a qualified tire professional.
Comments
No comments yet — be the first to share a thought.