Brake Inspection Tips for Salty Climates: A Safe DIY Guide
Brake inspection tips for salty climates help you find rust, seized hardware, and worn pads before winter turns a small brake problem into a costly repair...
A common mistake in Minnesota and other snow-belt states is assuming that a brake inspection means looking through the wheel spokes at the pad thickness. That misses the damage road salt causes underneath. These brake inspection tips for salty climates focus on rust, sticking hardware, uneven wear, and the fasteners that can turn a simple service into a safety problem. You can do this. Here's the safe, right way.
Why Salt Changes Brake Maintenance
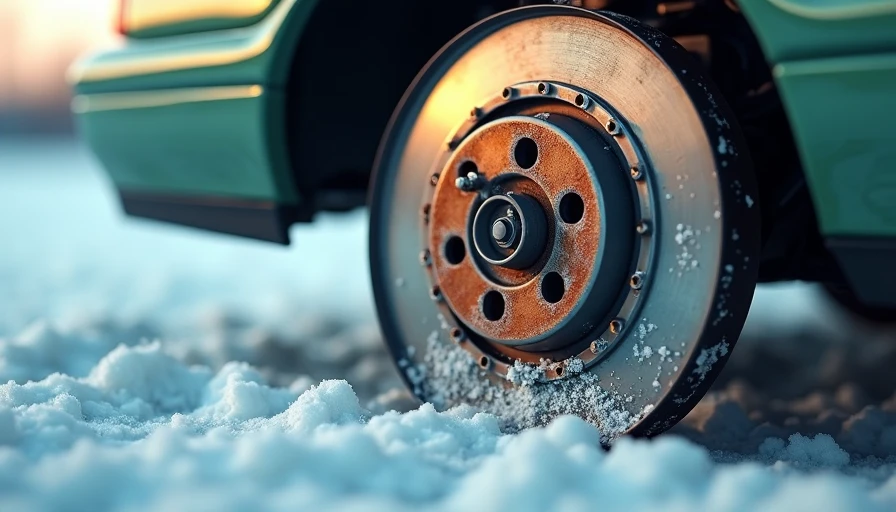
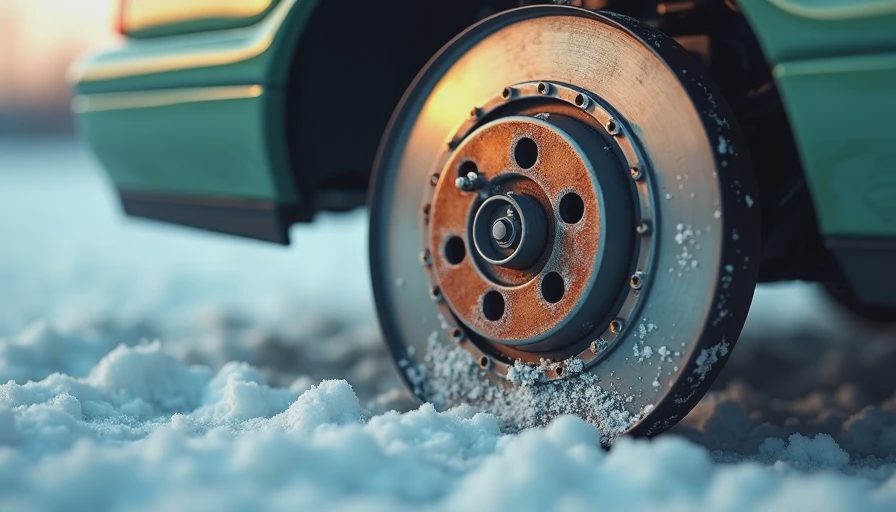
Road salt mixed with water creates an electrolyte that speeds corrosion on steel brake rotors, caliper brackets, pad clips, parking-brake cables, and hydraulic lines. Surface rust on a rotor after a wet night is normal. Heavy scaling, deep grooves, or a ridge at the rotor edge deserves closer attention. The outside face can look acceptable while the inside face is badly pitted, especially on rear brakes that see less heat and cleaning action.
Salt also collects where the brake pad ears slide in the stainless abutment clips. Rust underneath those clips can lift them away from the bracket and pinch the pad. The result is a pad that cannot retract, producing heat, poor fuel economy, a burning smell, and accelerated wear. A frozen caliper slide pin creates similar symptoms and can wear one pad much faster than its partner.
The practical lesson is simple: inspect movement and contact surfaces, not just thickness. A vehicle driven on salted roads deserves a careful brake check at least twice a year, typically before winter and during spring cleanup.
Safety First and Tool Check
Safety First: Never work under a vehicle supported only by a jack. Park on a firm, level surface, set the parking brake when it will not interfere with the repair, chock the wheels that remain on the ground, and support the vehicle with correctly rated jack stands. Wear safety glasses and a dust mask. Do not blow brake dust with compressed air, and never use gasoline or solvent on rubber brake components.
Tool Check: Gather a floor jack, two jack stands, wheel chocks, a breaker bar, a torque wrench, the correct socket set, a wire brush, a flashlight, a brake-measuring gauge or ruler, penetrating oil, and a digital camera or phone. A small inspection mirror helps you see the inner rotor face. If you remove a caliper, use mechanic's wire or a proper caliper hanger; never let the caliper hang from its flexible hose.
Torque to spec — and yes, the spec matters. Wheel-lug torque, caliper bolts, bracket bolts, and guide-pin bolts vary by year, engine, trim, and brake package. Use the factory service information or a trusted repair database for your exact vehicle. Do not copy a generic torque number from a different model.
A Step-by-Step Salt-Weather Inspection
Start with the vehicle on the ground. Compare braking symptoms from one side to the other: pulling, vibration, scraping, or a hot-wheel smell can tell you where to look. After a normal drive, do not touch the rotor or wheel because it may be hot. Instead, cautiously compare heat near each wheel with the back of your hand several inches away. One dramatically hotter corner can indicate a dragging brake.
Raise one axle safely and remove the wheels. Photograph the caliper and hose routing before disassembly. Measure the outer and inner pad if you can see both. Uneven thickness is important; a difference of several millimeters between the pads on one caliper points toward seized slide pins, a restricted hose, or pad binding. Many vehicles have a minimum pad thickness around 2 to 3 millimeters, but the manufacturer's limit is the one that controls the decision.
Inspect the rotor for blue heat spots, cracks, deep scoring, and heavy outer-edge scaling. Check the inner face with a mirror. Spin the hub by hand with the transmission in neutral and the parking brake released when appropriate. A light pad brush is normal, but grinding, roughness, or obvious resistance is not. These brake inspection tips for salty climates are especially valuable on rear disc brakes, where corrosion can remain hidden.
Look closely at the caliper slides, boots, piston area, and pad abutments. Torn rubber boots allow water and salt inside. Clean metal contact surfaces with a wire brush, but do not grind away structural material. Use only brake-component lubricant approved for the application, and keep all grease off the pad friction material, rotor faces, and caliper piston seal.
When Rust Is Cosmetic and When It Is Dangerous
A thin orange film that disappears after several stops is usually cosmetic. A flaky rotor edge, deep pits across the swept surface, or a rotor that is below its discard thickness is not. Measure rotor thickness with a micrometer away from the outer lip and compare it with the minimum cast or stamped specification. A shiny rotor does not automatically mean it is healthy; corrosion can reduce thickness and create pedal pulsation.
Pay special attention to backing plates and brake lines. A backing plate with a small rust hole may still be stable, but loose metal can contact the rotor. Steel brake lines with bubbling, wetness, or heavy scaling are a stop-work issue. Do not sand and paint over a leaking or severely corroded line. A hydraulic failure can remove braking pressure, so have a qualified shop evaluate it immediately.
For drum brakes, salt-related inspection takes more patience. Look for wheel-cylinder leaks, separated shoe linings, weak return springs, and an adjuster packed with rust. Do not pry aggressively on a drum that is locked by the shoes. The parking-brake mechanism may need to be backed off through the adjuster opening, and the exact procedure varies by vehicle.

Torque, Reassembly, and the First Test Drive
Before reassembly, clean the hub face with a wire brush so the rotor sits flat. A dirty hub can mimic a warped rotor by creating lateral runout. Install the rotor and caliper in their original positions, route the hose without twists, and confirm that every pad clip is seated. If a slide pin will not move smoothly by hand after the boot is inspected, stop rather than forcing it.
Tighten every fastener using the vehicle-specific specification. Snug wheel nuts in a star pattern, lower the vehicle until the tire barely contacts the ground, torque the lugs in a star pattern, then verify them again after a short drive. Never use an impact gun to finish wheel-lug tightening. Pump the brake pedal until it becomes firm before moving the vehicle; otherwise, the first pedal application may travel to the floor while the pads contact the rotors.
The first test drive belongs on a quiet street. Make several gentle stops, then inspect for pulling, noise, smoke, or a new warning light. Avoid hard braking immediately after cleaning or replacing parts. If the pedal remains soft, fluid is leaking, the vehicle pulls sharply, a wheel overheats, or the brake warning light stays on, park it and arrange professional service.
A Practical Seasonal Schedule
In fall, inspect pad thickness, rotor condition, brake lines, parking-brake operation, and caliper movement before the first major snow. In spring, rinse salt from the underbody and repeat the inspection after roads dry. Do not aim a pressure washer directly at rubber boots or electrical connectors, and do not assume an automatic car wash removes corrosion from every brake component.
Keep a simple record with the date, mileage, pad measurements, rotor measurements, and any parts replaced. If the front pads measured 8 millimeters in October and one inner pad measures 3 millimeters in April, that trend tells you more than a visual glance. These brake inspection tips for salty climates help you catch a dragging brake before it damages a rotor, caliper, and tire.
If you find only light surface rust and smooth pad movement, routine cleaning and scheduled monitoring are reasonable. If you find seized hardware, leaking hydraulics, severe scaling, or uneven wear, call a professional. The safe choice is not the one that saves the most minutes in the driveway; it is the one that leaves you with predictable braking. Use these brake inspection tips for salty climates every season, and your inspection will be methodical instead of guesswork.
Comments
No comments yet — be the first to share a thought.