Brake Repair: A Safe, Step-by-Step Guide for DIY Car Owners
Brake repair explained by an ASE Master Technician: learn warning signs, tools, torque checks, costs, and when to stop DIY work and call a professional.
A common mistake is treating brake repair like a simple parts swap. Pads and rotors are accessible, but the brake system is responsible for stopping several thousand pounds of moving vehicle. The right repair starts with diagnosis, a safe lifting plan, clean assembly, and a final function test. I have seen experienced do-it-yourselfers install new pads while ignoring a seized caliper slide or a cracked brake hose. You can do this. Here's the safe, right way.
Know When Brake Repair Is Necessary
Brake noise does not always mean the same thing. A light squeal during the first stop on a damp morning can be normal surface moisture. A sharp, repeated squeal usually means the pad wear indicator is contacting the rotor. Grinding is more serious because the friction material may be gone, allowing the backing plate to damage the rotor.
Pay attention to the pedal. A firm pedal that stops the vehicle smoothly is normal. A soft or sinking pedal can indicate air, a fluid leak, a failing master cylinder, or another hydraulic problem. Pulling to one side can come from a sticking caliper, uneven pad wear, a damaged hose, or a tire issue. A pulsation through the pedal or steering wheel often points to uneven rotor thickness or a hub and rotor mounting problem.
Measure before ordering parts. Many pads have a minimum thickness specification, and rotors have a minimum discard thickness stamped or cast into them. Compare those measurements with the manufacturer specification. Do not diagnose solely by mileage, because a city-driven vehicle and a highway-driven vehicle can wear brakes at very different rates.
Safety First and Tool Check
Safety First: Work on level, solid pavement. Set the parking brake only when it will not interfere with the repair, place the transmission in Park or in gear, and chock the wheels that remain on the ground. Use a properly rated floor jack to lift the vehicle, then support it with jack stands at the approved lift points. Never rely on the jack alone. Wear eye protection and avoid blowing brake dust into the air; use brake cleaner and a suitable collection method instead.
Tool Check: You will typically need a floor jack, jack stands, wheel chocks, a socket set, breaker bar, torque wrench, C-clamp or piston tool, wire brush, brake cleaner, a small pick, and a caliper hanger. A digital or vernier caliper helps measure rotor and pad thickness. Have the repair manual or a reliable service database open before removing anything. You need the exact torque for wheel lugs, caliper slide bolts, caliper bracket bolts, and any brake hose connection on your vehicle.
A torque wrench matters because overtightening can stretch bolts, damage threads, or distort components. Undertightening can allow movement and noise. Torque to spec, and yes, the spec matters.

The Basic Brake Repair Procedure
Start with the wheel still on the ground and loosen the lug nuts slightly. Lift and support the vehicle, remove the wheel, and photograph the original assembly. That picture helps you confirm pad position, clip orientation, and hose routing during reassembly.
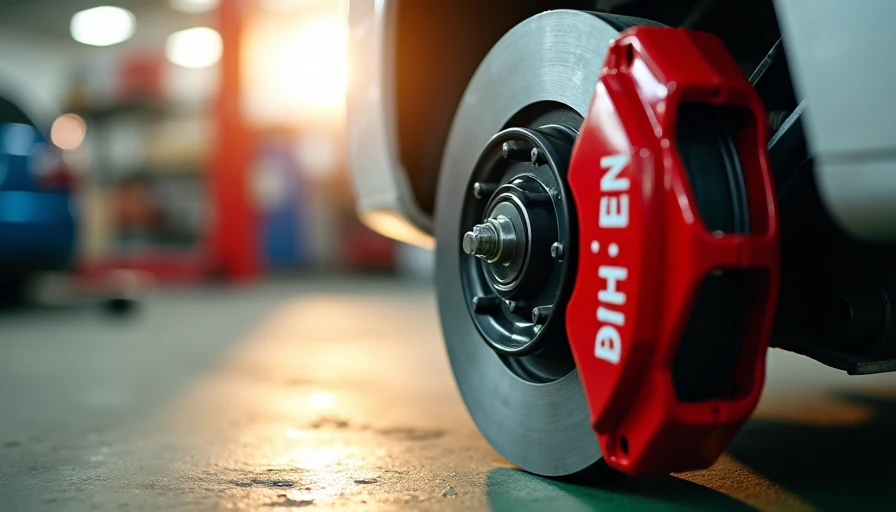
Inspect the rotor, caliper, pads, dust shield, hose, and parking-brake hardware. Look for wet brake fluid, torn slide-pin boots, uneven pad wear, blue heat marks, deep grooves, or a rotor lip. If one pad is much thinner than its mate, investigate caliper movement before installing new parts.
Remove the caliper without allowing it to hang from the flexible hose. Support it with a caliper hanger or sturdy wire. If you remove the bracket, record the correct torque from the service information. Slide pins should move smoothly and should receive only the lubricant specified for brake hardware. Petroleum grease can swell some rubber boots, so use brake-specific silicone lubricant where appropriate.
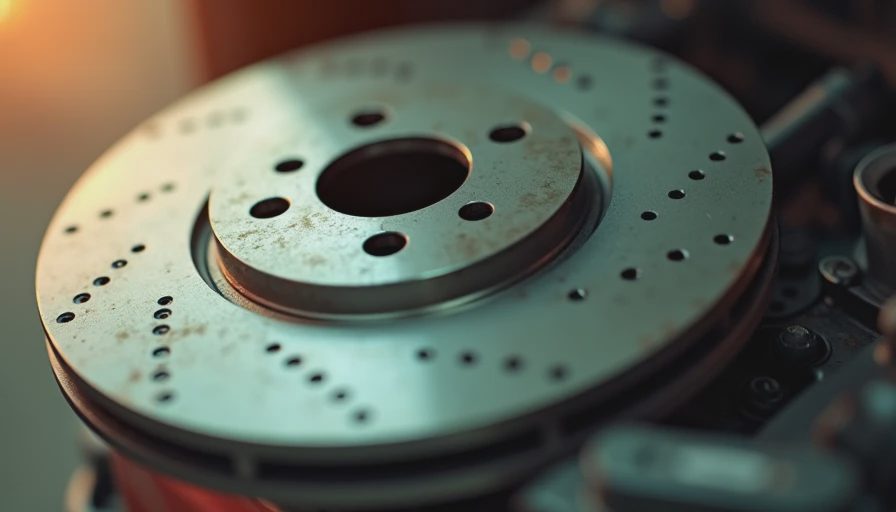
Clean the hub face thoroughly with a wire brush. Rust trapped between the hub and rotor can create runout and pedal pulsation. Clean the new rotor with brake cleaner, install the pads and hardware in their correct positions, and retract the piston using the proper tool. Some rear calipers require a wind-back tool because the parking-brake mechanism is integrated into the piston.
For wheel lug nuts, many passenger vehicles use approximately 80 to 100 lb-ft, but that is not a universal specification. Use your vehicle's exact number and tighten in a star pattern. Never lubricate lug studs unless the manufacturer specifically calls for it.
Choosing Parts Without Wasting Money
Good brake repair does not always require the most expensive parts, but the cheapest unbranded kit is rarely a smart bargain. For a typical commuter, a reputable ceramic pad set can reduce dust and noise, while a quality coated rotor can resist corrosion in areas that use winter road salt. Brands such as Akebono, Bosch, Raybestos, Wagner, and Centric offer different product lines; match the part to the vehicle, driving conditions, and original equipment requirements.
A front axle pad-and-rotor job commonly costs roughly $250 to $700 at an independent shop, depending on the vehicle and parts. A DIY parts bill might run $120 to $350, but seized hardware, electronic parking brakes, or damaged calipers can change the total quickly. Replace pads on the same axle as a set. Rotors are normally replaced or resurfaced in pairs so braking remains balanced.
Do not replace a rotor without finding the reason for premature wear. A stuck slide pin, contaminated pad, overheated bearing, or incorrect wheel torque can ruin fresh parts. Brake repair saves money only when the diagnosis is correct the first time.
The Final Checks Matter Most
After assembly, pump the brake pedal slowly until it becomes firm. This seats the pads against the rotor after the piston has been retracted. Do not drive away with a low pedal. Check the brake-fluid reservoir and inspect every serviced area for leaks. Reinstall the wheel, lower the vehicle, and torque the lugs with a calibrated torque wrench.
Perform the first road test in an empty, low-speed area. Make several gentle stops, checking for pulling, grinding, vibration, warning lights, or an abnormal pedal. Follow the pad manufacturer's bedding procedure. A typical process uses several moderate stops followed by a cool-down period, but the exact instructions differ by product. Avoid holding the pedal firmly at a complete stop immediately after repeated hard braking because heat can transfer unevenly to the rotor.
Recheck the wheel torque after driving a short distance if the manufacturer or installer recommends it. If the pedal remains soft, the vehicle pulls, fluid leaks, or the anti-lock brake light appears, stop driving and arrange professional diagnosis.
When to Call a Professional
Some jobs should not become a learning experiment. Stop and call a professional if you find a hydraulic leak, damaged brake line, seized bleeder screw, broken caliper bracket bolt, contaminated friction material, or a pedal that will not become firm. ABS repairs require scan-tool procedures on some vehicles, and electronic parking-brake systems may need a service mode before the caliper can be removed.
A professional inspection is also the right choice when you cannot support the vehicle securely or cannot access the correct torque specifications. A shop should explain what failed, show measurements for pads and rotors, and provide a written estimate before work begins. Ask whether the estimate includes hardware, brake-fluid service, and a post-repair road test.
Brake repair is a skill you can learn, not a shortcut around safety. Diagnose the complete system, use the correct tools, follow the service manual, and verify every fastener. That method protects your vehicle, your passengers, and everyone sharing the road with you.
Comments
No comments yet — be the first to share a thought.