
DIY Car Maintenance Checklist: The Safe, Right Way to Stay Ahead of Repairs
DIY car maintenance checklist tips from an ASE Master Tech: inspect fluids, tires, brakes, and battery the safe, right way at home.
A lot of drivers think maintenance means waiting for a warning light, then scrambling. That is the expensive way to own a car. A solid **diy car maintenance checklist** helps you catch wear early, protect reliability, and avoid turning a simple service item into a roadside problem. I spent more than two decades in dealership service, and here is what I see go wrong most often: people skip the basics, rush the inspection, or use the wrong tools. You can do this. Here's the safe, right way.
Why a checklist beats guesswork
Modern vehicles are better built than ever, but they still depend on routine attention. Oil breaks down, tires lose pressure, brake pads wear, and batteries weaken long before total failure. A written checklist keeps you from missing easy items that directly affect safety, fuel economy, and repair costs.
My advice is simple: inspect monthly, check fluids every few weeks, and do a fuller walk-around before any road trip. You do not need a full shop to handle the basics. You do need a repeatable process.
**Safety First:** Work on a level surface, set the parking brake, and let a hot engine cool before opening the cooling system or touching exhaust-area components.
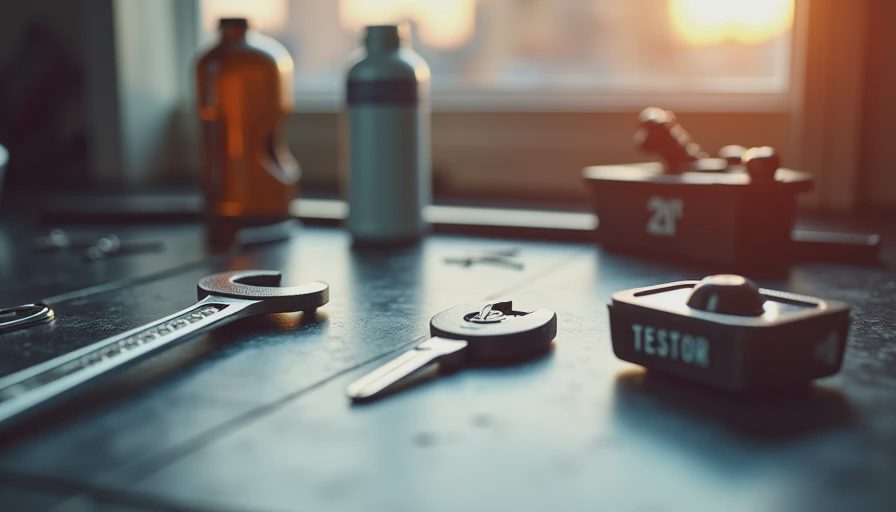
**Tool Check:** Tire pressure gauge, tread depth gauge or penny, flashlight, clean rags, nitrile gloves, funnel, torque wrench, breaker bar, jack stands, and your owner's manual.
The owner's manual matters because intervals and fluid specs vary. One car may need 0W-20 oil, another 5W-30. Lug nut torque can be 76 lb-ft on one compact and 100 lb-ft or more on a truck. Torque to spec — and yes, the spec matters.
Under-hood checks that prevent big bills
Start every **diy car maintenance checklist** under the hood with the engine off. Check the oil level on level ground, wipe the dipstick clean, reinsert it fully, then read it. If oil is low, top off with the exact viscosity listed on the oil cap or in the manual. While you're there, look at oil color and smell. Very burnt oil or metal glitter means stop and investigate.
Next, inspect coolant in the overflow reservoir. It should sit between the min and max marks when the engine is cold. Never remove a radiator cap on a hot engine. Check brake fluid too. If it is below the minimum line, do not just keep topping it off without finding out why. Low brake fluid often means pad wear, but it can also point to a leak.
Look over the battery terminals for white or blue corrosion, make sure hold-down hardware is tight, and inspect belts for cracking or frayed edges. Squeeze radiator hoses only when cool; they should feel firm, not rock hard or mushy.

Windshield washer fluid is easy to ignore until a dirty windshield proves otherwise. Fill it before bad weather hits. Also check for wet spots around the valve cover, water pump area, and hoses. A slow seep today can become a breakdown later.
Tires, wheels, and torque specs that matter
Your tires are the only part of the car touching the road, so this section of the **diy car maintenance checklist** deserves real attention. Start with pressure when the tires are cold. Use the sticker inside the driver's door jamb, not the maximum pressure molded into the tire sidewall. Incorrect pressure hurts braking, tire life, and ride quality.
Check tread across the inner, center, and outer sections. Uneven wear tells a story. Worn centers usually mean overinflation. Worn edges often mean underinflation. One-sided wear can suggest alignment or suspension issues.
Inspect each wheel for cracks, bent lips, or missing lug nuts. If you rotate your tires at home, tighten lug nuts in a star pattern and use a torque wrench. Many passenger cars land around 80 to 100 lb-ft, but always verify your exact spec. After driving 50 to 100 miles, recheck torque.
**Safety First:** Never rely on a jack alone. Support the vehicle with jack stands at approved lift points.
If you see cords showing, sidewall bubbles, or repeated pressure loss, stop and replace the tire or have it professionally inspected. That is not a wait-until-payday problem.
Brakes, lights, and the quick checks most owners skip
A smart **diy car maintenance checklist** also covers the items that keep you legal and safe in traffic. Listen first. Squealing brakes can mean pad wear indicators are contacting the rotor. Grinding usually means you waited too long. Pulsation in the brake pedal often points to rotor variation, while a soft pedal can signal air in the system or a hydraulic issue.
If your wheel design allows it, visually inspect brake pad thickness. Around 3 millimeters is replacement territory. Check rotors for deep grooves, blue heat spots, or heavy rust scaling on vehicles that sit often. Caliper bracket bolts and slide pin bolts must be torqued to vehicle spec when serviced; exact values vary widely, so use the service information for your car.
Now walk around the vehicle and test low beams, high beams, brake lights, turn signals, reverse lights, and license plate lights. Replace weak bulbs before they fail completely. Check wiper blades for streaking or chatter and inspect the windshield for cracks in the driver's field of view.
Here's what I see go wrong most often: people notice brake noise or dim lights and keep driving for months. Small repairs are usually cheaper than emergency repairs.
Build a simple schedule you will actually follow
The best **diy car maintenance checklist** is the one you will use consistently. I like a three-layer system. Monthly: check tire pressure, exterior lights, engine oil level, coolant reservoir, and washer fluid. Every 5,000 to 7,500 miles: rotate tires, inspect brakes, and review filter condition. Twice a year: battery test, deeper underbody look, and a full fluid review including transmission, power steering if equipped, and differential fluid on trucks or AWD models.
Cabin and engine air filters are easy wins. A clogged engine filter can reduce performance, while a dirty cabin filter hurts airflow and can make the HVAC system work harder. Replace them with the correct size and orientation.
Keep a notebook or phone log with mileage, date, fluid type, and torque specs used. If you changed oil, record the filter part number and drain plug torque from the service information. Many drain plugs are in the 20 to 30 lb-ft range and many spin-on oil filters are tightened by gasket contact plus a fraction of a turn, but always confirm for your engine.
Know when to stop and call a pro: fuel leaks, brake fluid leaks, major coolant loss, steering play, overheating, and any work requiring spring compression or advanced diagnostics. DIY saves real money, but only when the work is done safely and correctly.
A careful **diy car maintenance checklist** gives you control over your car, your time, and your repair budget. Start small, stay consistent, and do each step with intention. You can do this. Here's the safe, right way.