How to DIY Car Brake Pads the Safe, Right Way
How to DIY car brake pads without skipping safety: tools, torque specs, step-by-step checks, and when to stop and call a pro.
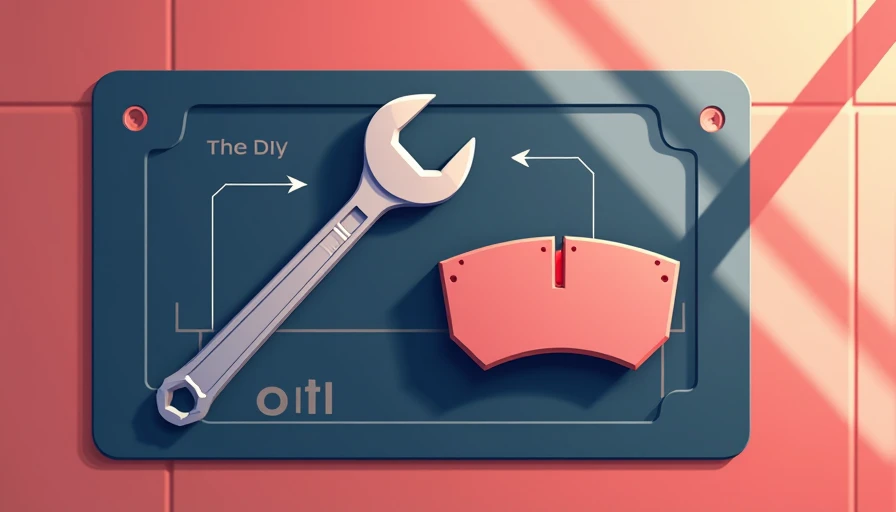
A lot of brake jobs go wrong for one simple reason: people rush the setup and treat brakes like just another bolt-on part. If you're searching for **how to diy car brake pads**, slow down for five minutes and do it the right way. Brake pad replacement is one of the most doable home garage jobs, but only if you respect the safety steps, use the correct tools, and torque everything properly. You can do this. Here's the safe, right way.
Why brake pad jobs fail in home garages
Here's what I see go wrong most often: the car is supported poorly, caliper bolts get mixed up, slide pins are left dry or over-greased, and someone compresses the caliper piston without checking brake fluid level first. None of those mistakes are complicated, but every one of them can create noise, uneven wear, or real stopping problems.
Before you buy parts, confirm whether your car uses front or rear calipers with a simple push-in piston, or a rear caliper that must be turned in because of the parking brake design. That matters. Also check whether the new pads include abutment clips, shims, and hardware. I strongly recommend replacing hardware with every brake job if it's included.
Safety First: work on level pavement, chock the wheels staying on the ground, and support the vehicle with jack stands rated for the weight of the car. Never trust only a hydraulic jack.
Tool Check: floor jack, jack stands, lug wrench, socket set, breaker bar, torque wrench, C-clamp or brake piston tool, wire brush, brake cleaner, high-temp brake lubricant, bungee cord, gloves, and eye protection.
Tools, parts, and torque specs to have before you start
If you want to learn **how to diy car brake pads** without turning a one-hour job into a Saturday-long headache, gather everything first. Buy quality pads from known lines like Wagner, Akebono, Raybestos, Bosch, or OEM parts if you want factory feel and low noise. Cheap friction material can squeal, dust heavily, or wear fast.
You also need the right torque specs for your exact vehicle. Do not guess. Look them up in a service manual, factory data source, or a trusted repair database. As a broad reminder, wheel lug nuts on passenger cars often land somewhere around 80 to 100 lb-ft, caliper guide pin bolts often fall around 20 to 35 lb-ft, and caliper bracket bolts are commonly much tighter, often 70 lb-ft or more. Those are examples, not permission to wing it.
Torque to spec — and yes, the spec matters. Over-tightened guide pins can bind. Under-tightened bracket bolts are a safety issue. Keep a small notepad nearby and write the specs down before you start.
Step-by-step: how to replace the brake pads
Loosen the lug nuts slightly before lifting the vehicle. Raise it, place it securely on jack stands, remove the wheel, and turn the steering wheel for better access on front brakes if needed. Inspect the rotor before touching anything. Light grooves are common; deep scoring, heat cracks, heavy rust ridges, or thickness below minimum means stop and address the rotor too.
Remove the caliper guide pin bolts and lift the caliper off. Support it with a bungee cord or hook it to the spring. Never let a caliper hang by the brake hose. Remove the old pads and hardware clips. Clean the bracket contact points with a wire brush until the new clips seat flat.
Now compress the piston slowly. Before that, check the brake fluid reservoir under the hood. If it's already near full, remove a little fluid so it doesn't overflow when the piston retracts. Install new hardware, apply a thin film of high-temp brake lubricant only where the pad ears contact hardware and where the slide pins are designed to be lubricated, then install the pads.
Reinstall the caliper, torque the guide pin bolts to spec, and if you removed the bracket, torque those bolts to spec as well.
Safety checks that matter before the wheel goes back on
This is where a careful brake job separates itself from a noisy comeback. Spin the rotor by hand and make sure nothing is obviously dragging from misinstalled hardware. Confirm the pads are seated correctly in the bracket and the caliper slides move smoothly. If one slide pin is frozen, stop and fix it now. New pads on a stuck caliper will wear unevenly in a hurry.
Check the brake hose for cracks, wetness, or twisting. Look at the rotor face for grease or fingerprints; if you touched it, clean it with brake cleaner. Reinstall the wheel and hand-thread the lug nuts first so you don't cross-thread a stud. Snug them in a star pattern, lower the vehicle, and torque the lugs to exact spec with a torque wrench.

Before moving the car, pump the brake pedal slowly until it becomes firm. This seats the pads against the rotor. If you skip that step and drop the car into reverse, the first pedal press can go to the floor. Also recheck brake fluid level and top off only with the correct fluid type listed on the reservoir cap, usually DOT 3 or DOT 4.
Bedding in new brake pads and knowing when to stop
A proper bed-in helps transfer an even layer of friction material onto the rotor. Follow the pad maker's instructions if provided. A common routine is several moderate stops from neighborhood or city speeds with cooldown time between them, avoiding one hard panic stop unless the manufacturer specifically calls for something different. Don't come to a complete stop and hold the pedal hard immediately after repeated stops on brand-new pads, because that can imprint material unevenly.
If you're still wondering **how to diy car brake pads** confidently, remember this rule: stop and call a pro if you find a seized piston, stripped caliper bolts, heavy rotor damage, brake fluid leaks, or an electronic parking brake system you don't know how to service. Those issues move the job beyond a simple pad swap.
Done correctly, a DIY brake pad job can save real money. Many shops charge roughly $250 to $500 per axle depending on the vehicle and parts. Doing it yourself can cut that down substantially while teaching you how your braking system actually works. Just don't chase savings by skipping safety. You can do this. Here's the safe, right way.