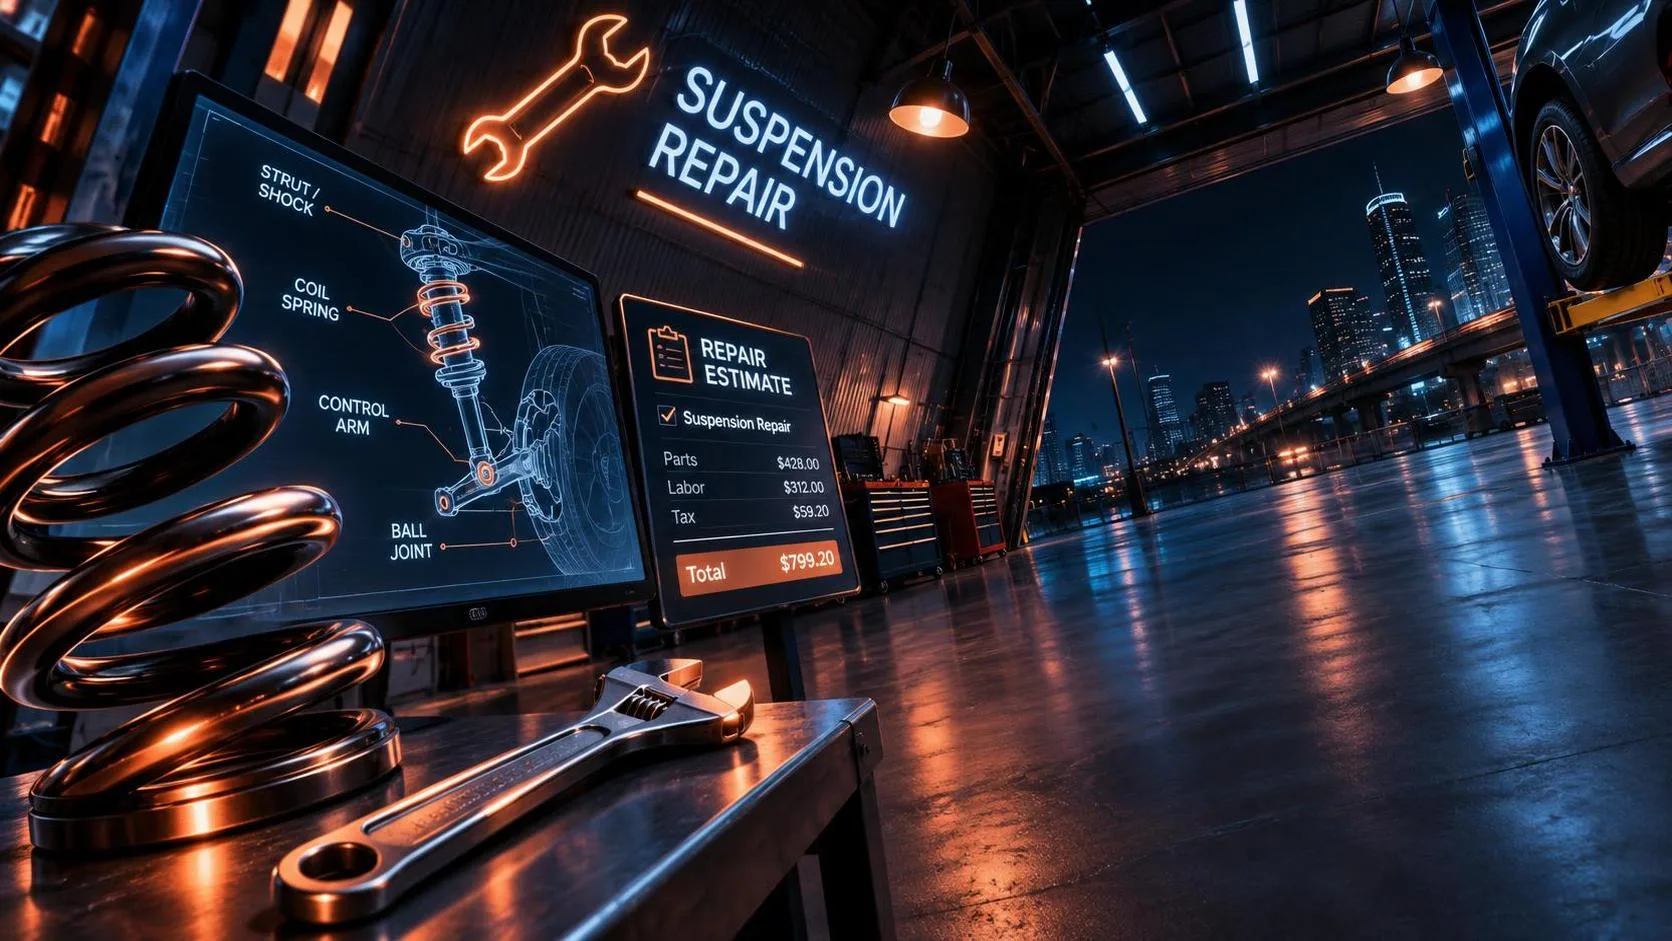
Suspension Repair: A Safe DIY Guide to Diagnosing and Fixing Ride Problems
Suspension repair explained by an ASE Master Technician: diagnose clunks, choose the right tools, follow safety checks, torque fasteners, and know when to...
A common mistake is blaming every clunk on the shock absorber. In real-world suspension repair, worn sway-bar links, loose strut hardware, damaged control-arm bushings, and even a loose wheel can create similar symptoms. Before buying parts, learn what the suspension is supposed to do and test the vehicle methodically. You can do this. Here's the safe, right way.
What the Suspension Actually Does
Your suspension keeps the tires in contact with the road while supporting the vehicle's weight. Springs carry the load, shocks or struts control bouncing, and control arms guide wheel movement. Ball joints and bushings allow that movement without letting the wheel wander. Stabilizer-bar links reduce body roll during turns.
When a component wears, the result can be a harsh ride, nose-diving under braking, uneven tire wear, steering pull, or a metallic knock over bumps. A single symptom does not identify one failed part. For example, cupped tread can come from weak dampers, incorrect tire pressure, poor alignment, or worn wheel bearings. Good suspension repair starts with inspection rather than guessing.
Park on level pavement and compare the left and right sides. Look for a vehicle sitting lower on one corner, leaking fluid around a shock body, cracked rubber bushings, broken coil springs, or a tire rubbing the inner fender. Ask yourself when the noise occurs: braking, turning, entering a driveway, or crossing a sharp bump. That timing is useful evidence.
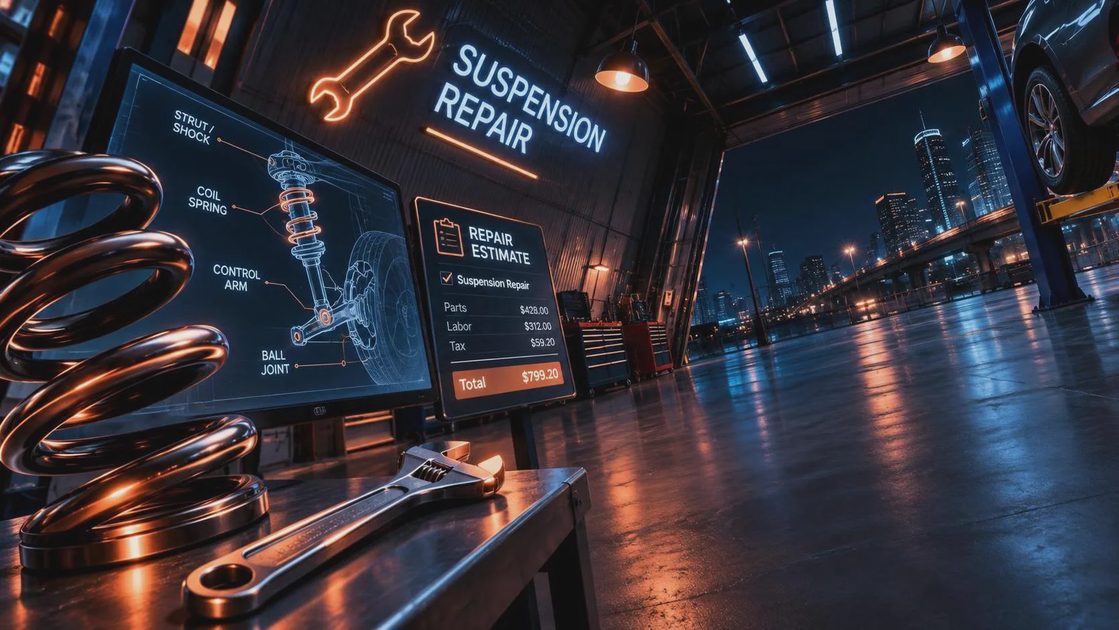
Safety First and Tool Check
Safety First: Never work beneath a vehicle supported only by a jack. Set the parking brake, chock the wheels that remain on the ground, lift at the manufacturer's approved point, and support the vehicle with properly rated jack stands. Wear eye protection when brushing rust or using a breaker bar. A coil spring can store enough energy to cause severe injury, so do not remove a spring from a strut assembly without the correct compressor and training.
Tool Check: Have a floor jack, jack stands, wheel chocks, penetrating oil, a bright inspection lamp, pry bar, torque wrench, socket set, breaker bar, and a service manual for the exact year, make, model, engine, and drivetrain. A paint marker helps record bolt positions. A ball-joint press or spring compressor is not a substitute for improvisation with threaded rod or hardware-store clamps.
Torque to spec — and yes, the spec matters. Suspension fastener values vary dramatically. A small stabilizer-link nut might require roughly 35 to 60 lb-ft, while a control-arm bolt may require more than 100 lb-ft, but those are examples, not instructions for your vehicle. Use the factory service information and replace one-time-use nuts or bolts when the manual requires it.
How to Find the Worn Part
Start with a visual inspection, then raise the vehicle safely. With the wheel off the ground, grasp the tire at the twelve and six o'clock positions and rock it. Movement can indicate a ball joint or wheel bearing, although the test is not conclusive. Test at three and nine o'clock for steering linkage play. Have a helper watch each joint while you apply moderate force.
Use a pry bar gently against a control arm to observe bushing movement. A bushing should flex slightly, not separate from its sleeve or allow the arm to shift dramatically. Inspect sway-bar links by hand; a loose joint or torn dust boot is a strong warning. Do not mistake normal strut-rod movement for failure, and do not pry against brake lines, ABS wiring, or thin stamped metal.
A bounce test has limited value, but it can reveal an obvious problem. Push down firmly on one corner and release. The body should settle quickly rather than continue oscillating. Fluid on the outside of a shock or strut, a dented body, or a broken mount deserves closer attention. During suspension repair, compare both sides because replacing only one damper can produce uneven handling on some vehicles.
Replacing a Simple Stabilizer-Bar Link
A stabilizer-bar link is often an approachable first suspension repair. Remove the wheel after supporting the vehicle, then clean the exposed threads and apply penetrating oil. Hold the stud with the specified Torx, Allen, or wrench provision while removing the nut; spinning the stud can damage the boot and turn a ten-minute job into a cutting operation.
Before installation, compare the new link with the old one, including length and bend direction. Install the fasteners finger-tight first so the bar is not pulled sideways. If the vehicle uses bonded rubber bushings, final tightening may need to occur at normal ride height. Tighten the upper and lower link nuts to the vehicle-specific service-manual specification, commonly somewhere around 35 to 70 lb-ft depending on design. Record your exact value before turning the wrench.
Reinstall the wheel and torque the lug nuts in a star pattern to the owner's-manual value, often between 80 and 110 lb-ft. Lower the vehicle, verify the steering wheel is centered, and take a slow test drive over the same type of bump that produced the noise. A link replacement does not normally change alignment, but inspect tire wear and steering position afterward.
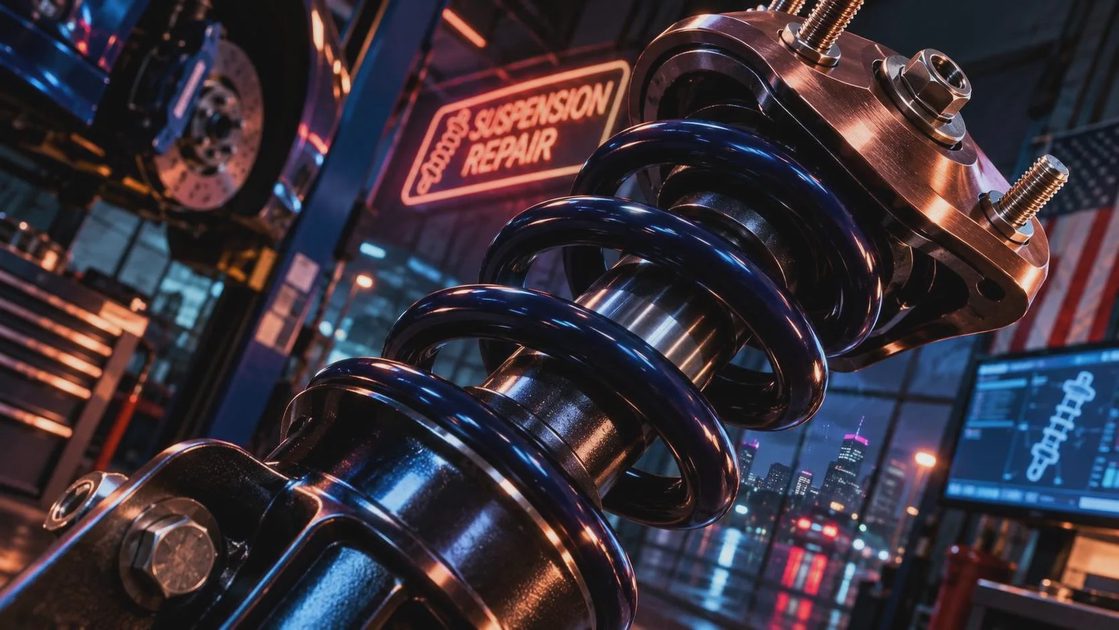
Struts, Springs, and Control Arms Need More Planning
Strut replacement is not simply unbolting a shock. The assembly may contain a compressed spring, upper mount, bearing, isolator, and spring seat. If the spring compressor is installed incorrectly or slips, the release can be violent. I recommend removing the complete assembly only if you have a quality compressor, a stable work surface, and the manufacturer's removal procedure. Many vehicles need an alignment after strut or control-arm work.
Control-arm replacement also requires attention to bushing position. Some rubber bushings must be tightened at ride height so they are not permanently twisted at normal driving position. A shop may charge approximately $300 to $900 for a control arm or strut job, depending on the vehicle and labor. Paying for a professional is cheaper than correcting a damaged brake hose, bent knuckle, or poor alignment caused by rushing.
Stop immediately if a ball joint is riveted and you lack proper removal tools, if a spring is cracked, if a subframe bolt spins inside the body, or if you cannot identify the correct torque values. Those are not learning moments beneath a supported car. They are reasons to call an experienced technician.
After the Repair: Checks That Matter
After any suspension repair, inspect the work before driving. Confirm every fastener is tightened, every cotter pin is installed where required, and no ABS wire, brake hose, or tire is rubbing. Check that the wheel sits fully against the hub and torque the lug nuts in sequence. Look underneath with the vehicle on the ground to make sure a bushing or link is not loaded in an unusual position.
Drive slowly in a safe area. Listen for clunks, check for steering pull, and apply the brakes gently before normal traffic. Recheck lug torque after the first short drive if the wheel was removed, following the vehicle manufacturer's guidance. Uneven tire wear, a crooked steering wheel, or continued knocking calls for diagnosis rather than another guessed part.
Suspension repair is complete only when the vehicle handles predictably, the fasteners are torqued correctly, and the tires maintain reliable contact with the road. Take your time, use the right support equipment, and keep a written record of the parts and torque values. The safe repair is the successful repair.
Comments
No comments yet — be the first to share a thought.