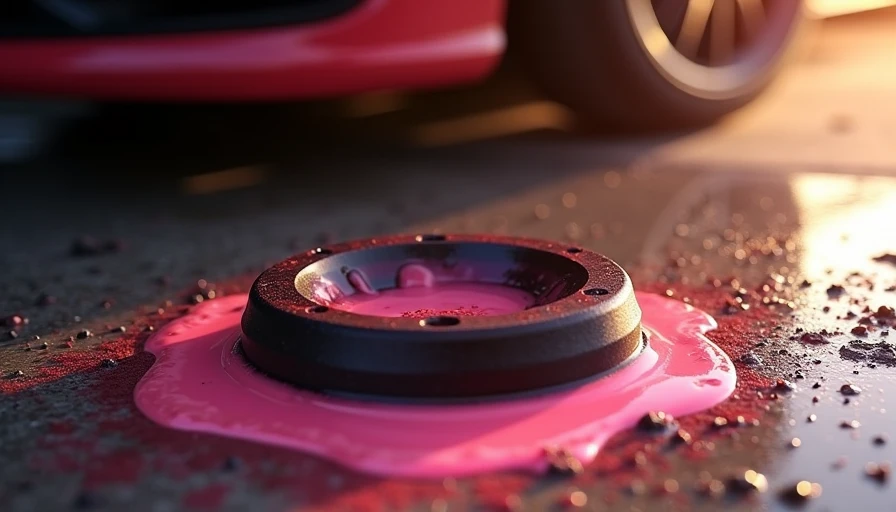
Engine Coolant Leak: How to Find It Before It Becomes a Bigger Repair
Engine coolant leak symptoms, test steps, and common fix points so you can catch it early, avoid overheating, and spend less on repairs at home today.
An engine coolant leak is one of those problems people try to outdrive until the temperature needle climbs and the tow truck gets involved. I see that a lot. The safe move is to treat the first drip, smell, or steam plume as a clue, not a nuisance. You can do this. Here's the safe, right way.
Why the first clue matters
Most engine coolant leak complaints start small: a sweet smell after shutdown, a damp spot under the nose of the car, or a reservoir that keeps dropping between fill-ups. If you catch it early, the fix might be a $15 clamp, a hose, or a cap. If you ignore it, the same leak can overheat an aluminum engine, warp a head, and turn a cheap afternoon job into a four-figure repair.
Here's what I see go wrong most often: a driver adds water, the level looks fine for a day, and they assume the problem solved itself. It did not. Coolant does not disappear. It leaves the system somewhere.
What the symptoms tell you
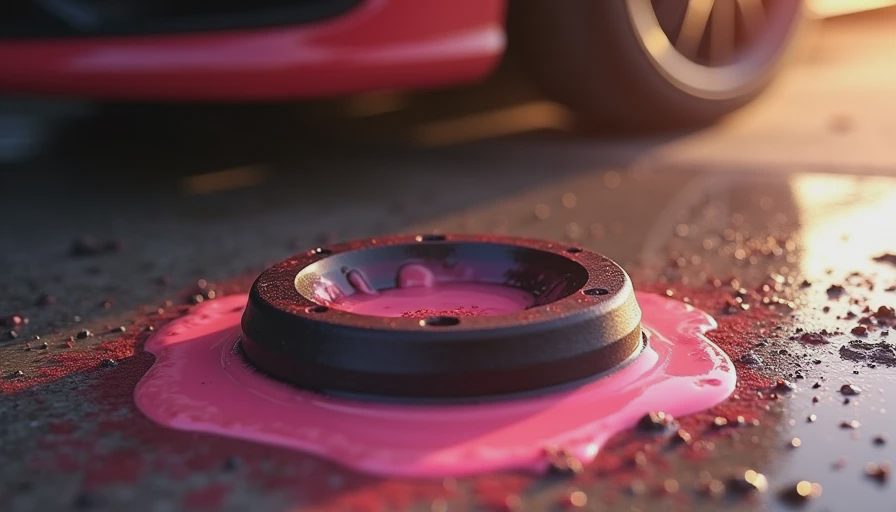
If you suspect an engine coolant leak, the color and location of the drip matter more than the brand name on the bottle. Green, orange, pink, or yellow fluid on the driveway usually points to an external leak, but color alone is not enough because old coolant can darken with age. Look at where the drip lands. Front-center points toward the radiator, thermostat housing, or lower hose. Passenger-side wetness can point to the water pump on many front-drive cars. A sweet smell, steam from the grille, or a heater that suddenly blows cool air can also point to an engine coolant leak.
If the temperature gauge starts rising in traffic and then settles at speed, think airflow, low coolant level, or a weak radiator fan. If the cabin fogs up and the floor carpet gets damp with a sweet odor, the heater core moves up the suspect list. That is the point where a flashlight and a clean paper towel do more for you than guessing on the internet.
How I trace it in the driveway
Safety First: do not open a hot radiator cap. Let the engine cool completely, then wear gloves and eye protection. Tool Check: flashlight, inspection mirror, paper towels, a cooling-system pressure tester, and if you have it, UV dye with the matching light. To trace an engine coolant leak in the driveway, start with the engine off and cold. Wipe the wet areas clean, then look again after a short idle. A pressure tester is the best backyard tool because it pushes the system to operating pressure without heat. If the gauge drops, you have a leak even if the floor is dry.
Walk the system from top to bottom. Check hose ends where clamps sit, the plastic radiator tanks, the thermostat housing, the overflow bottle seams, and the water pump weep hole. If you use UV dye, drive the car a day or two and inspect at night; dried coolant will glow and save time. On many cars, the leak shows up only when the system is hot and expanded, so a cold inspection alone is not enough.
Common leak points I see every week
The most common engine coolant leak spots are boring for a reason. Upper and lower radiator hoses crack at the bends. Spring clamps lose tension. Plastic quick-connect fittings get brittle with age. Radiator end tanks split where the crimp meets the plastic. Thermostat housings seep at the gasket or O-ring, especially on engines that use plastic housings. Water pumps often leak from the vent or weep hole before the bearing gets noisy, and that early drip is your warning.
If the heater core is the source, you may smell coolant inside the car and see a greasy film on the windshield. That is a different job than swapping a hose. If the leak is behind the timing cover or comes from the rear of the engine, stop guessing. That is usually a more serious repair, and it is easy to waste money on parts you do not need.

A real driveway example
On a Toyota or GM car with higher mileage, an engine coolant leak can start as a crusty trail at a thermostat housing or a damp lower hose, not a puddle. The owner usually notices a faint sweet smell after parking in a garage and a drop of pink residue on the splash shield. In that case I would pressure test first, then inspect the housing seam, the radiator cap seat, and the lower hose neck. If the leak disappears with the engine off but shows up after a 10-minute idle, that is a strong clue the part is opening only when hot. That is also when a simple mirror and a bright light beat a guess every time.
On winter-driven cars, hard plastic fittings crack near the clamp after years of heat cycling and salt exposure. If the coolant level drops over a week but you never see a puddle, the leak may be hitting the hot engine and flashing off before it reaches the ground. That is why a clean inspection after warm-up matters more than a quick glance under the bumper.
Repair choices, torque, and cost
A small engine coolant leak can stay cheap only if you fix it before it cooks the engine. For a hose or clamp, the parts bill is often under $30. A radiator cap is usually $15 to $30. A thermostat housing repair can land in the $50 to $200 range in parts, while a water pump repair can climb much higher depending on access and whether the belt drive has to come apart.
If you are replacing a hose or thermostat housing yourself, work clean. Drain only enough coolant to keep the job from spilling everywhere, transfer the clamps to the new part if the service manual allows it, and route the hose exactly the way the old one sat. Torque to spec — and yes, the spec matters. On a thermostat housing, use the factory torque spec for that engine; many small housing bolts are tightened in the single-digit to low-teens foot-pound range, but never guess from memory. Plastic parts crack when they are over-tightened.
On a metal thermostat housing, the bolts often feel small enough to overdo with a ratchet. I use a 1/4-inch drive torque wrench, clean the threads, and tighten in steps so the gasket seats evenly. If a plastic flange is warped or the bolt holes are pulled, stop and replace the part instead of stacking sealant on a bad surface.
After the repair, refill with the correct coolant mix, bleed air from the system the way the vehicle calls for, and verify the heater blows hot with the engine at operating temperature. Then recheck the level after a full cool-down.
When to stop and call a pro
If an engine coolant leak keeps coming back after a hose, cap, or housing repair, you need deeper diagnosis. White exhaust smoke that does not clear, milky oil under the cap, repeated overheating, or coolant disappearing with no obvious drip are all signs to stop and get it tested. That is not the time to keep topping off and hoping.
A cooling system can fail in more than one place at once, and that is where an experienced tech saves you from buying the wrong parts twice. I have had owners come in after three hose replacements and a new reservoir when the real issue was a cracked radiator tank hidden behind the fan shroud. A simple driveway check can still save you a lot of money. Start cold, inspect carefully, pressure test if you can, and take note of where the first wet spot appears. That is how you find an engine coolant leak before it turns into an overheated engine and a bad week. You can do this. Here's the safe, right way.
Comments
No comments yet — be the first to share a thought.