How to Change a Flat Tire Step by Step: A Master Tech's Guide
Learn how to change a flat tire step by step with a master tech. Safety tips, tool check, and torque specs included. DIY confidently and get back on the road.
You're on the shoulder, flashers blinking, and the tire is pancaked. I've seen too many drivers jump out, grab the jack, and start cranking without a second thought. That's how people get hurt. I'm Dave Krueger, and I've changed hundreds of flats in my 22 years in dealership service. Here's how to change a flat tire step by step—safely, correctly, and without stripping anything.
Safety First: Before You Jack Up the Car
Before you even touch the spare, stop. **Safety First:** Park on a flat, solid surface away from traffic. If you're on a slope, find a level spot or call for roadside assistance. Engage the parking brake—pull it hard. If you drive an automatic, put it in Park; manual, leave it in first gear or reverse. Then, place wheel chocks (or heavy rocks) on the opposite side of the tire you're lifting. I've seen cars roll off jacks because someone forgot this step. Don't be that person.
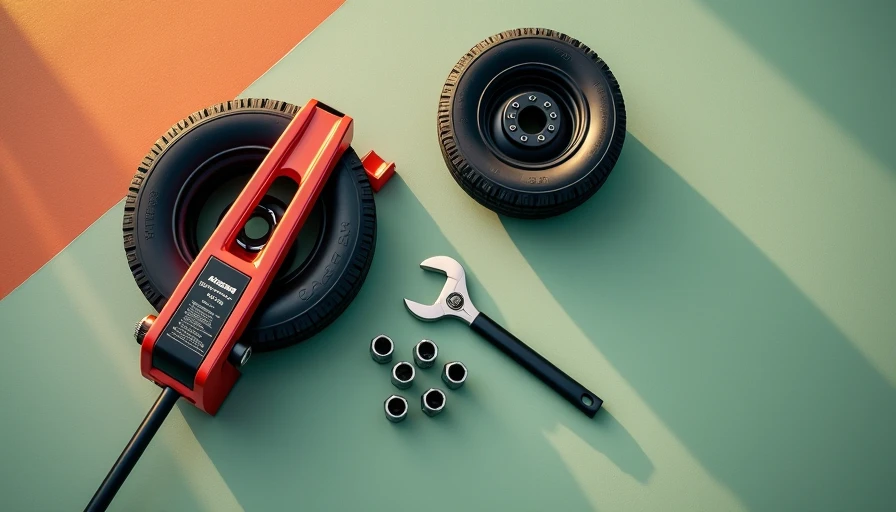
**Tool Check:** You need your vehicle's jack (usually a scissor jack or a small floor jack), the lug wrench, and a spare tire that's properly inflated. Also grab a flashlight, gloves, and a reflective vest if you have them. Check your owner's manual—some cars have a specific jacking point location. I can't stress that enough: use the reinforced jack points, not the rocker panel.
Step-by-Step: How to Change a Flat Tire
Alright, you're safe and ready. Let's walk through how to change a flat tire step by step.
- **Loosen the lug nuts before you lift the car.** This is the rookie mistake I see most often. With the tire still on the ground—so it won't spin—use the lug wrench to break the lug nuts loose. Turn counterclockwise. If they're stuck, use your body weight or a pipe for leverage. Don't remove them yet; just crack them loose by a quarter turn.
- **Position the jack.** Place the jack under the designated jacking point close to the flat tire. For most cars, that's a reinforced pinch weld or a metal tab. Crank the jack until it just touches the frame—don't lift yet.
- **Raise the car.** Pump or turn the jack handle until the tire clears the ground by about an inch. Make sure the car is stable. Give it a gentle shake. If it wobbles, lower it and re-position.
- **Remove the lug nuts.** Take them off completely and place them somewhere clean (I toss them in my hubcap or a pocket). Pull the flat tire straight off the studs—it may be stuck, so a gentle kick or a pry bar can help. Don't put your foot under the car while pulling.
- **Mount the spare.** Lift the spare tire and line up the holes with the wheel studs. Push it on until it seats flush. If it's a compact spare, the sidewall may say "temporary use only—max 50 mph." Heed that.
- **Hand-tighten the lug nuts.** Screw them on by hand in a star pattern (top, bottom, left, right, then the remaining). This ensures even seating. Once all are snug, use the wrench to tighten them a bit more—again in a star pattern. Don't torque fully yet; the car is still in the air.
- **Lower the car.** Crank the jack down slowly until the tire touches the ground but the car's weight isn't fully on it yet. Now torque the lug nuts properly. Use the wrench and tighten each nut firmly in a star pattern. If you have a torque wrench, spec is usually 80–100 ft-lb for most passenger cars (check your manual). Without a torque wrench, tighten as hard as you can with the factory wrench—but don't jump on it. You'll finish the final torque after the car is fully on the ground.
- **Lower completely and final torque.** Lower the jack completely. Now, with the car's weight on the tire, torque each nut again in a star pattern. I use a torque wrench set to 85 ft-lb for most cars. This step ensures the nuts won't loosen while driving.
Torque to Spec: The Final Step
You might be tempted to skip the final torque check, but don't. Improperly torqued lug nuts can cause the wheel to wobble, warp the brake rotor, or even detach. I've seen a wheel pass a minivan on the highway—not something you want to experience. After driving 50 miles, re-check the torque. Spare tires often settle, so it's good practice.

Common Mistakes You Should Avoid
Here's what I see go wrong most often when people learn how to change a flat tire step by step:
- **Lifting on the wrong spot.** That rusted pinch weld will fold if you miss the jack point. If you're unsure, check your owner's manual or a YouTube video of your specific car model.
- **Not using wheel chocks.** On a slope, even a small incline can roll the car.
- **Overtightening with an impact wrench.** Hand tightening is fine; don't go gorilla on it. Overtightening can strip the studs or warp the rotor.
- **Driving too fast on a donut spare.** Those small spares are rated for 50 mph max and only about 50 miles.
When to Call a Pro
You can do this. Here's the safe, right way. But sometimes the conditions aren't right: poor lighting, heavy traffic, bad weather, or you have a vehicle with no spare (some new cars come with only a sealant kit). In those cases, call roadside assistance. It's not a failure—it's smart. Your safety is worth more than proving you can change a tire.
One last tip: after you get home, have the flat tire repaired or replaced immediately. Don't keep the donut on longer than necessary. And if you didn't have a torque wrench, go to a tire shop and ask them to check the torque. It's usually free.
That's it. You now know how to change a flat tire step by step. Practice this once in your driveway when you're not stranded—it makes the real thing a lot less stressful. Stay safe out there.