
Oil Filter Service: How to Choose, Change, and Torque It Correctly
Oil filter service explained by an ASE Master Technician: choose the right part, change it safely, torque fasteners correctly, and prevent costly leaks.
A common mistake is treating an oil filter as a universal part that can be tightened with any wrench. The correct oil filter protects expensive engine bearings, camshafts, and turbocharger components from abrasive particles, but only when it matches the engine and is installed properly. You can do this. Here's the safe, right way.
What an Oil Filter Actually Does
Engine oil carries tiny combustion byproducts, metal wear particles, dust, and degraded additive material through the lubrication system. The oil filter traps much of that contamination before it circulates again. Inside the canister is filter media, usually made from cellulose, synthetic fibers, or a blend. Better media can capture smaller particles while still allowing adequate oil flow.
Most spin-on designs also contain an anti-drainback valve. This keeps oil from flowing out of the filter after the engine shuts down, reducing the dry-start rattle you might hear after the vehicle sits overnight. Many filters have a bypass valve as well. If the media becomes restricted or the oil is extremely cold, the valve allows oil to reach the engine rather than stopping flow completely. That is a safety feature, not permission to ignore overdue maintenance.
A filter is not the same as an oil additive or a magnetic drain plug. It is a working part of the lubrication system, and its bypass pressure, gasket size, thread pattern, and capacity must match the vehicle. A filter that screws on easily can still be the wrong filter.
Choosing the Right Filter for Your Vehicle
Start with the owner's manual or a reputable catalog using the exact year, engine, and trim. A 2018 Ford F-150 with a 5.0-liter V8 does not necessarily use the same part as a 2.7-liter EcoBoost. The same warning applies to Toyota, Honda, Chevrolet, Subaru, and Hyundai models that share a body style but use different engines.
Quality brands such as Wix, Purolator, Mobil 1, Bosch, Fram, and OEM filters offer several product levels. The most expensive option is not automatically the best match, but bargain filters with thin housings or poorly formed gaskets are false economy on an engine that could cost thousands to repair. For a typical passenger car, a good filter commonly costs about $7 to $18. Cartridge-style systems may require a replacement housing O-ring, which should be included or purchased separately.
Check the old filter against the new one before draining the oil. Compare the gasket diameter, threaded opening, overall height, and part number. If the new part is dramatically shorter or the gasket sits in a different location, stop and verify the application. Never rely on the fact that the threads appear to fit.

Safety First and Tool Check
Safety First: Park on a level surface, set the parking brake, and let the engine cool until the oil is warm but not hot enough to burn you. Warm oil drains more completely, but freshly running oil can cause serious skin burns. Use wheel chocks when appropriate, and support a raised vehicle with properly rated jack stands. Never work under a vehicle held only by a floor jack.
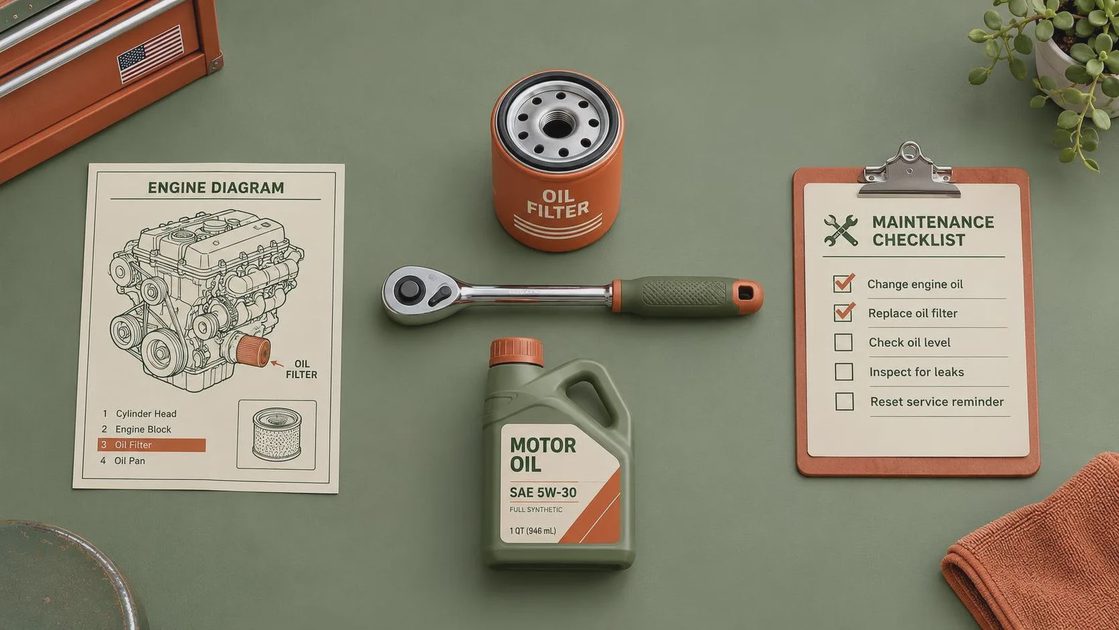
Tool Check: Gather the correct oil filter, the specified engine oil, a drain pan larger than the oil capacity, nitrile gloves, shop towels, a funnel, a socket and ratchet for the drain plug, a torque wrench, and a filter wrench only if needed. Have the service manual or a reliable repair database open for the drain-plug torque and oil capacity. A low-profile drain pan is useful on cars with limited ground clearance.
Inspect the replacement gasket before installation. A torn, flattened, or distorted gasket is a reason to exchange the part. If the filter uses a cartridge cap, obtain the exact O-ring and cap torque specification. Do not substitute a hardware-store O-ring.
How to Change a Spin-On Oil Filter
Run the engine for a few minutes, shut it off, and remove the oil-filler cap. Loosen the drain plug with the correct socket while keeping the drain pan positioned beneath it. Remove the plug by hand for the final threads so it does not fall into the pan. Let the oil drain until it has reduced to a slow drip.
Move the pan under the filter. Turn the old filter counterclockwise by hand. If it is stuck, use a cup-style filter wrench that matches the filter diameter; avoid driving a screwdriver through the canister because it can puncture the housing and create a sharp, oily mess. Before installing the new part, confirm that the old rubber gasket came off with the filter. A doubled gasket can dump the engine's oil within seconds after startup.
Apply a thin film of fresh engine oil to the new gasket with a clean finger. This lubricates the seal and helps it seat without twisting. Thread the filter onto the mounting stud by hand until the gasket contacts the base. Follow the filter instructions, commonly hand-tight plus about three-quarters of a turn. Do not use a filter wrench to tighten a conventional spin-on filter unless the manufacturer specifically says otherwise.
Reinstall the drain plug with its required washer or gasket. Torque the drain plug to the exact service-manual specification. Many passenger cars fall near 20 to 30 lb-ft, but aluminum pans, diesel engines, and unusual plugs can require different values. Torque to spec, and yes, the spec matters. Over-tightening can strip an oil pan; under-tightening can cause a leak.
Cartridge Filters, Refilling, and Leak Checks
A cartridge oil filter is different because the replaceable media sits inside a reusable plastic or metal cap. Remove the cap with the correct socket, transfer the new element in the proper direction, and place the new O-ring in the cap's designated groove. Do not leave the O-ring on the old sealing surface or stretch it over the cap threads. Lightly oil the new O-ring, then tighten the cap using the specified torque. Many cartridge caps are plastic and can crack when over-tightened.
Add the specified oil through the filler neck, starting with slightly less than the listed capacity. Reinstall the cap, start the engine, and let it run for 30 to 60 seconds. Shut it off and wait several minutes for the oil to drain back into the pan. Check the dipstick on level ground and add oil gradually until it reaches the safe range. Do not assume the listed capacity includes a completely dry engine; it often describes a normal change with a replacement filter.
Inspect around the filter gasket and drain plug while the engine is running. A small mirror and flashlight help on cramped engines. Shut the engine off immediately if oil sprays, the oil-pressure warning remains illuminated, or the filter gasket leaks heavily. A few drops on the driveway after service should never be dismissed as normal.
Common Mistakes and When to Call a Pro
Here's what I see go wrong most often: installing two gaskets, using the wrong viscosity, forgetting to replace a crush washer, tightening a filter with pliers, and pouring in oil without checking the dipstick. Another mistake is resetting the maintenance reminder and assuming the job is complete. The reminder tracks time or mileage; it does not confirm the oil level or prove the filter is sealed.
Record the date, mileage, oil viscosity, filter part number, and quantity used. Recycle the old oil and filter through an auto-parts retailer or local collection site instead of pouring oil onto the ground or into a drain. A properly serviced filter and clean oil are inexpensive insurance against avoidable engine wear.
Call a professional if the filter will not come off without damaging the mounting base, the drain plug threads are stripped, the vehicle has an oil leak that predates the service, or the oil contains coolant-like sludge or metal flakes. Stop driving if the oil-pressure warning appears while the engine is running. That warning concerns lubrication pressure, not merely the oil-change reminder, and continuing to drive can turn a manageable repair into an engine replacement.
Comments
No comments yet — be the first to share a thought.