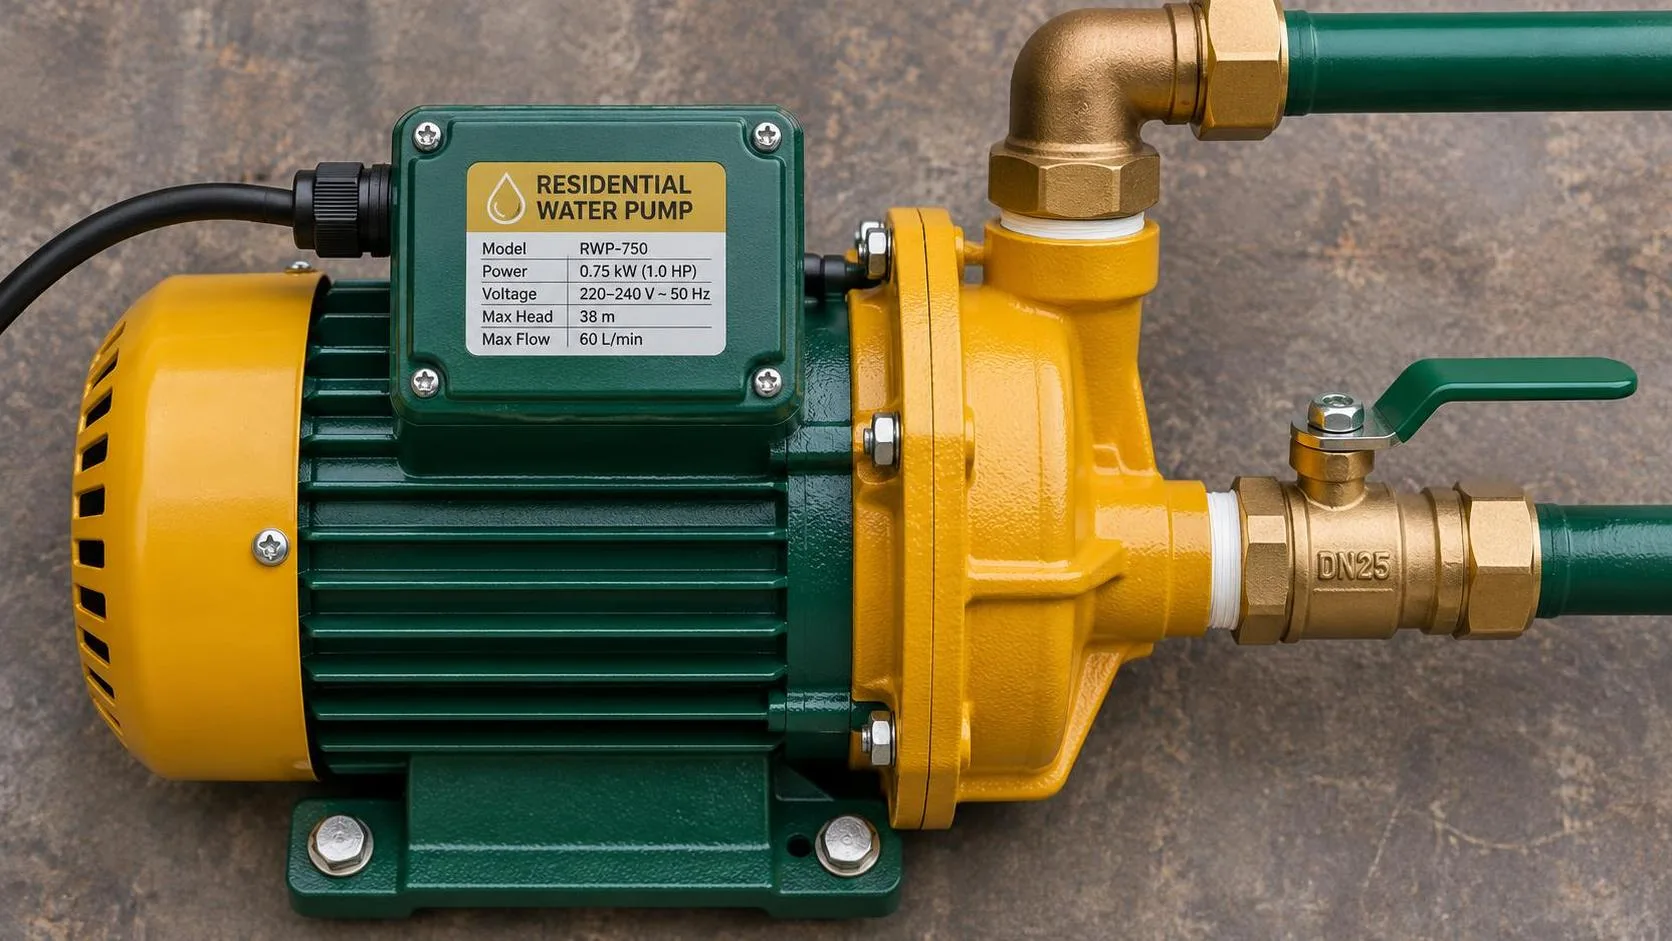
Water Pump Diagnosis and Replacement: A Safe DIY Guide
Water pump diagnosis and replacement explained by an ASE Master Technician. Learn warning signs, tools, torque guidance, coolant prep, and when to call a pro.
A water pump does more than move coolant around the engine. It keeps combustion heat under control, protects the head gasket, and helps your heater produce warm air in winter. When a water pump starts failing, many owners replace a thermostat first and hope for the best. That can waste time and leave an overheating engine stranded on the shoulder. You can do this. Here's the safe, right way.
How a Water Pump Fails
Most water pumps fail in one of three ways. The bearing wears out, the mechanical seal leaks, or the impeller becomes damaged or loose. A worn bearing can produce a growling, chirping, or grinding sound that changes with engine speed. A leaking seal usually leaves coolant below the pump, around the pulley, or inside the timing-cover area. On some vehicles, the pump is driven by the timing belt and the leak is hidden until coolant reaches the lower cover.
Overheating is the serious symptom. The temperature gauge may climb during traffic, the heater may blow cold air, or the overflow tank may repeatedly lose coolant. Do not open the radiator cap on a hot engine. Hot coolant can release under pressure and cause severe burns. Shut the engine off, move away from traffic, and allow it to cool completely before inspecting anything.
A belt-driven water pump can also throw the serpentine belt if its pulley locks up. That may disable the alternator, power steering, and air conditioning at the same time. A timing-belt-driven pump deserves even more caution because a failed bearing can damage the belt and cause expensive valve-train damage.
Diagnose Before Buying Parts
Start with a cold engine and a clean work area. Look for dried coolant residue, which often appears white, pink, orange, or green depending on the coolant formula. Do not identify coolant by color alone; manufacturers use different dyes. Check the radiator, hoses, thermostat housing, pump area, and passenger-side carpet for signs of leakage.
A cooling-system pressure tester is the best next step. Pump the system only to the pressure printed on the radiator cap or service information. If pressure drops and coolant appears near the pump, diagnosis is strong. A mechanic's stethoscope can help locate bearing noise, but keep loose clothing, hair, and tools away from a running belt. Never remove a fan shroud or reach near a rotating pulley while the engine runs.
A bad water pump is not the only cause of overheating. A stuck thermostat, restricted radiator, failed cooling fan, trapped air, low coolant, damaged hose, or combustion leak can create similar symptoms. If the coolant immediately pushes out of the reservoir, bubbles continuously from a cold start, or smells like exhaust, stop testing and arrange professional diagnosis.
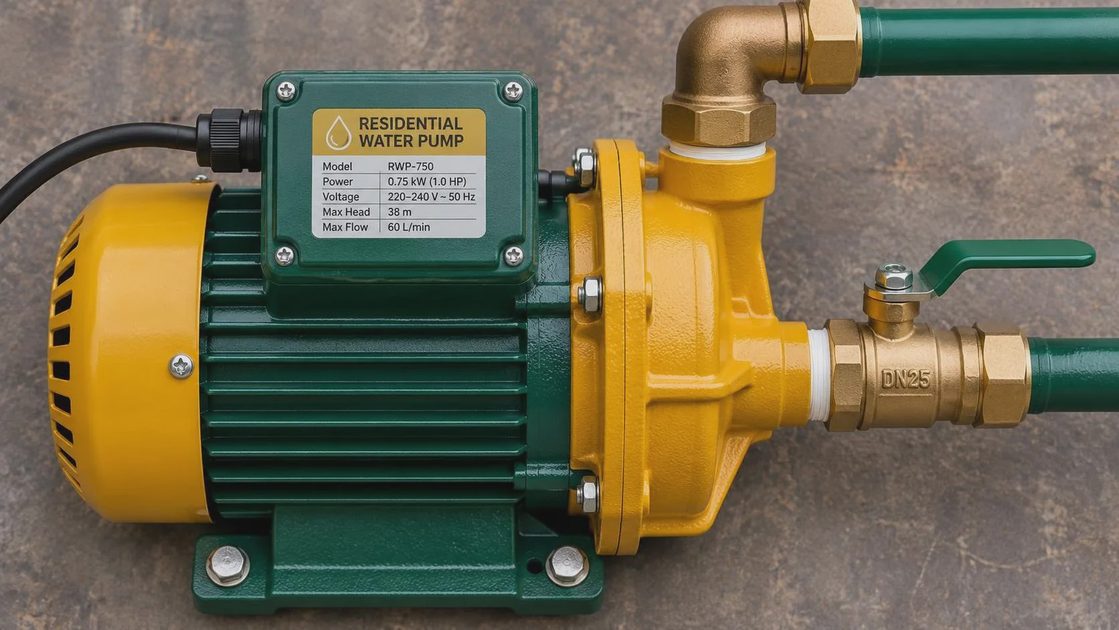
Safety First and Tool Check
Safety First: Park on level ground, set the parking brake, and let the engine cool overnight when possible. Disconnect the negative battery cable if the procedure requires work near the starter or electrical connections. Support the vehicle with properly rated jack stands, never a jack alone. Collect drained coolant in a wide pan and keep it away from children and pets. Ethylene glycol coolant is poisonous, even in small amounts.
Tool Check: Prepare metric or SAE sockets that match your vehicle, a ratchet, extensions, a breaker bar, a torque wrench, a scraper made for gasket surfaces, a cooling-system pressure tester, drain pans, hose-clamp pliers, and a funnel or vacuum fill tool. Have the exact replacement gasket, correct coolant, distilled water if required by the coolant maker, and any one-time-use bolts listed in the repair information.
Torque to spec — and yes, the spec matters. Water pump fastener torque is not universal. Many small aluminum-engine pump bolts fall roughly in the 15 to 22 foot-pound range, while larger fasteners and timing-cover bolts can require more or less. Use the service manual for your exact engine, including the tightening sequence. Never guess on an aluminum housing; overtightening can strip threads or warp the sealing surface.
Replacing a Water Pump Safely
First, photograph belt routing and label hoses or electrical connectors. Drain the coolant into a sealed container. Remove the intake ducting, fan, shroud, belt, covers, or other parts that block access. If the pump is driven by a timing belt, do not begin without the engine-specific timing procedure, locking instructions, and replacement schedule. On those engines, replacing the belt, tensioner, and idler at the same time is often sensible because the labor overlap is substantial.
Remove the pump bolts gradually and note where each bolt belongs. Different lengths can damage internal components if installed in the wrong holes. Clean the mating surface without gouging aluminum. Do not use excessive gasket sealer unless the manufacturer specifically requires it. Install the new gasket dry or with the specified sealant, start every fastener by hand, then tighten in stages and in the documented pattern to the correct torque.
Reinstall the pulley and belt, confirming that the belt sits fully in every rib. Rotate the engine by hand when a timing belt was removed, following the service procedure, and recheck timing marks before starting. Do not use an impact gun for final assembly. A torque wrench gives the fastener the clamping force the gasket needs without crushing it.
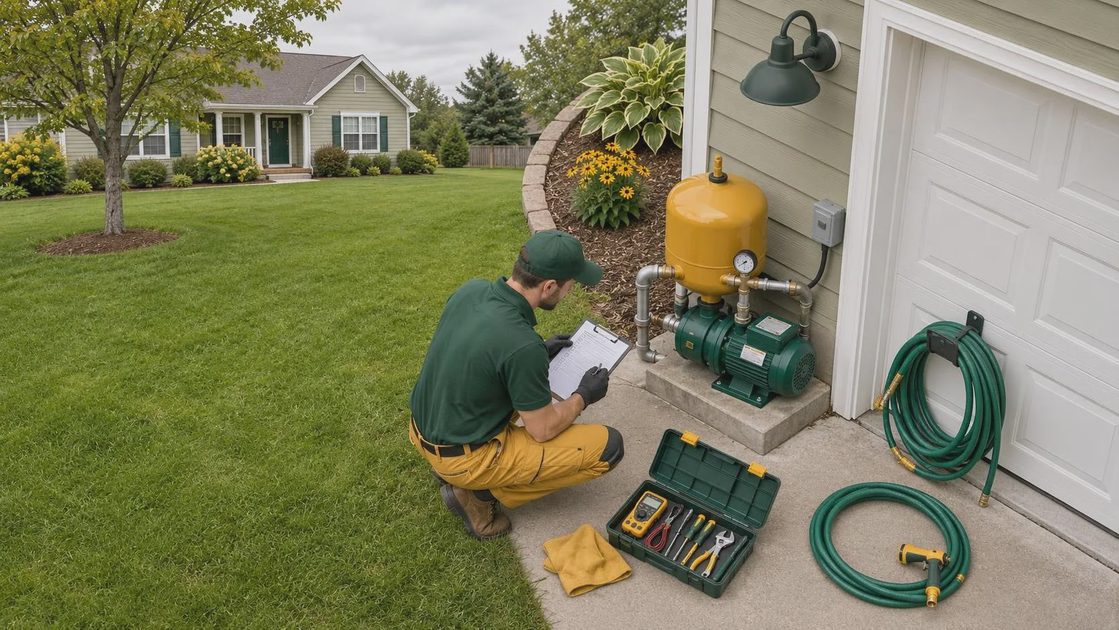
Fill, Bleed, and Verify the Repair
Close the drain, install the correct coolant mixture, and fill slowly. Some vehicles have a dedicated bleed screw; others require a specific heater setting, raised reservoir, or vacuum filling tool. Follow that procedure rather than assuming every cooling system self-bleeds. Air trapped near the temperature sensor or pump can cause a false overheating condition.
Start the engine and watch the temperature gauge. Confirm that the heater produces steady heat, the radiator fan cycles as expected, and no coolant leaks from the pump, hoses, drain, or thermostat housing. After the engine cools fully, recheck the level and inspect for residue. A short local test drive is better than immediately taking a freshly repaired vehicle onto the highway. Recheck it again the next morning.
When to Call a Professional
Call a shop if the pump is behind a timing belt and you lack the locking tools, if the engine overheated severely, or if coolant entered the oil. Also stop when a bolt breaks, a timing mark will not align, the crankshaft will not turn normally, or the repair information is unavailable. A $150 to $300 diagnostic visit can prevent a several-thousand-dollar engine mistake.
For a straightforward serpentine-belt pump, DIY parts commonly run about $60 to $180, while professional labor can bring the total repair into the $400 to $900 range depending on access and vehicle design. Timing-belt pump work often costs substantially more because several related components are removed. Compare estimates by asking whether the quote includes coolant, a gasket, belt components, and final pressure testing.
A water pump repair is manageable when you diagnose first, protect yourself from hot coolant, use the right tools, and follow the vehicle-specific torque and bleeding instructions. Here's what I see go wrong most often: rushed diagnosis, reused gaskets, guessed torque, and air left in the system. Slow down, verify each step, and know when the safest DIY decision is handing the keys to a qualified technician.
Comments
No comments yet — be the first to share a thought.