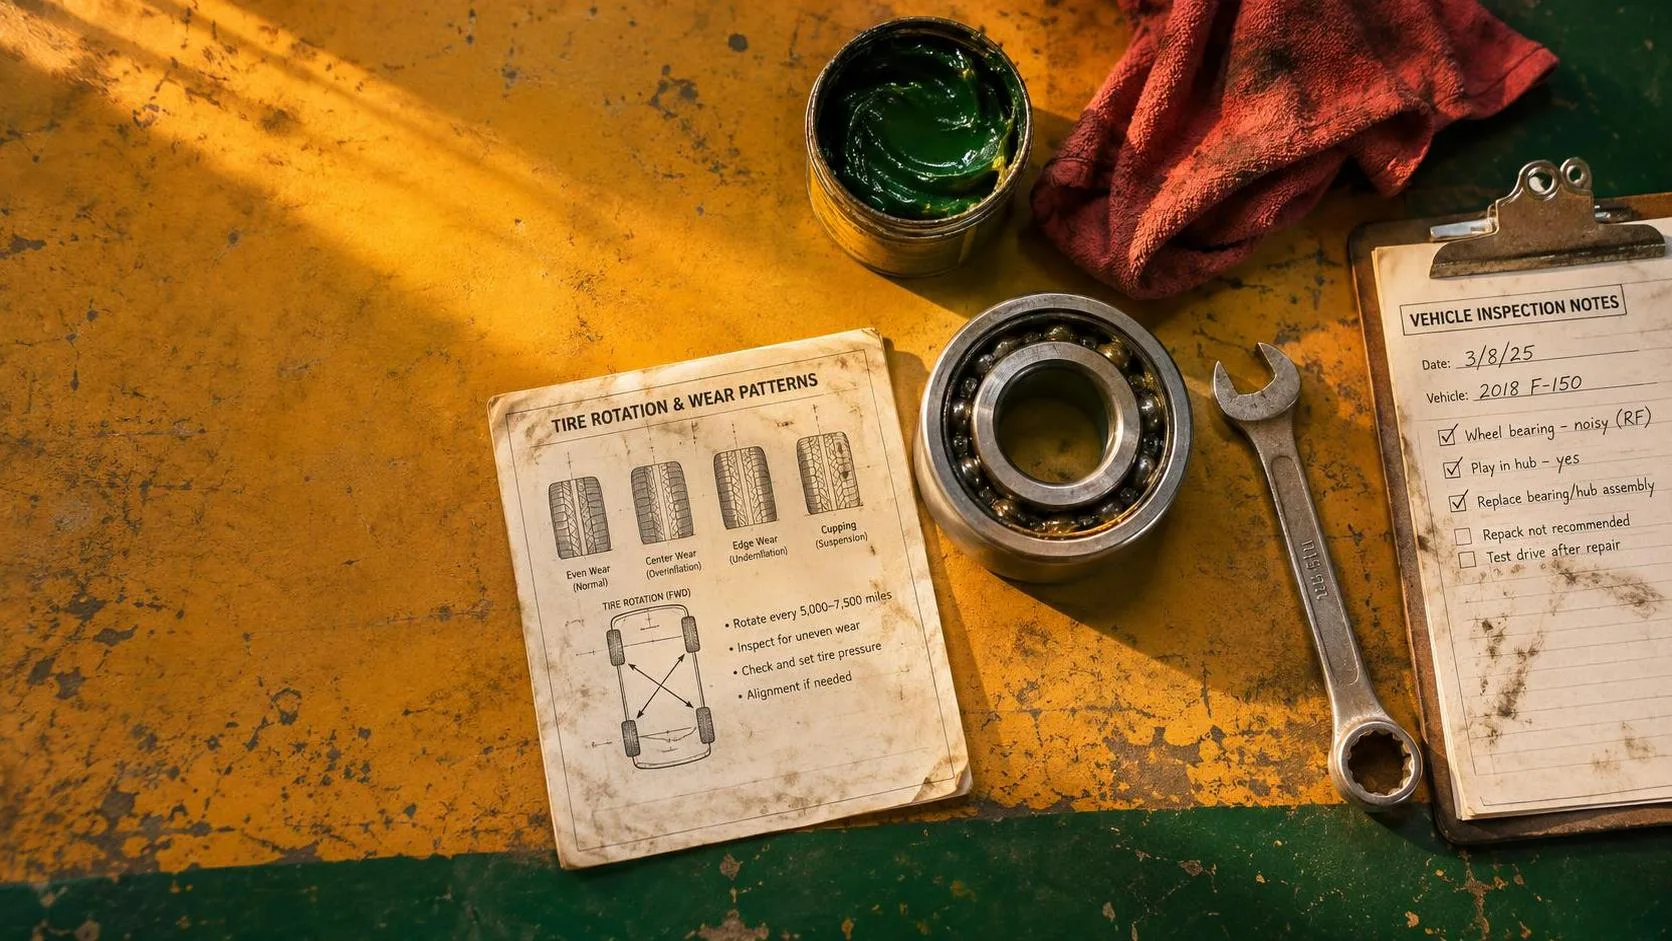
Wheel Bearing Diagnosis and Replacement: A Safe DIY Guide
Wheel bearing noise, play, or vibration can signal a serious problem. Learn how to diagnose it, choose tools, use torque specs, and know when to stop.
A wheel bearing rarely fails without giving you clues, but many drivers mistake its growl for a tire problem. A wheel bearing supports the vehicle's weight while allowing the hub and wheel to rotate with minimal friction. When it wears out, you might hear a humming sound that rises with road speed, feel looseness at the wheel, or notice vibration through the steering wheel. You can do this. Here's the safe, right way to identify the problem before buying parts.
What a Failing Wheel Bearing Sounds and Feels Like
Here's what I see go wrong most often: someone replaces two tires because the noise sounds like uneven tread, then discovers the original fault is still there. Tire noise usually changes with pavement texture, while a worn wheel bearing tends to produce a steady hum, growl, or rumble that increases as the vehicle travels faster. It can become louder when you gently steer left or right because cornering shifts the vehicle's weight onto different bearings.
A road test helps, but keep both hands on the wheel and choose a quiet road. At 35 to 50 mph, listen for a noise that follows vehicle speed rather than engine rpm. Do not swerve aggressively to test it. After the drive, carefully compare wheel temperatures without touching brake rotors. A hot wheel can indicate a dragging brake, which creates symptoms similar to a wheel bearing problem.
With the vehicle safely raised, grasp the tire at the 12 and 6 o'clock positions and rock it. Any obvious clunk or movement deserves investigation, although some modern hub assemblies can feel tight even when their internal bearing is noisy. Movement at 3 and 9 o'clock can instead point to a tie-rod or steering component. Diagnosis requires separating those possibilities.
Safety First and Tool Check
Safety First: never work under a vehicle supported only by a jack. Park on a level surface, set the parking brake, place the transmission in Park or in gear, and chock the wheels that remain on the ground. Wear safety glasses when using a hammer, and keep your hands away from pinch points. If the vehicle has an electronic parking brake, follow the service procedure before removing rear brake parts.
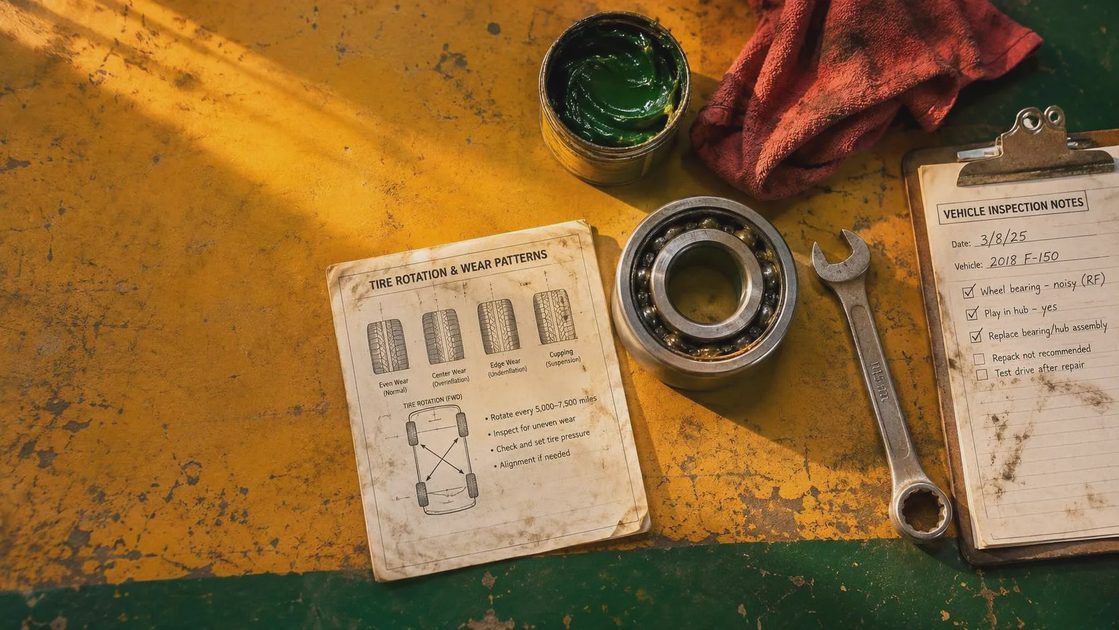
Tool Check: you will usually need a quality floor jack, rated jack stands, wheel chocks, a breaker bar, a torque wrench, metric or SAE sockets, a ratchet, penetrating oil, a pry bar, and a brass or dead-blow hammer. A digital multimeter can help with an integrated wheel-speed sensor, while a scan tool may be needed to clear an ABS warning. For seized parts, a hub puller or slide hammer is safer than beating directly on the knuckle.
Gather the exact replacement hub or bearing, new axle nut if specified, new mounting bolts when required, and the repair manual for your vehicle. Front and rear designs vary widely. Some cars use a pressed-in bearing that requires a hydraulic press; others use a bolt-on hub assembly that a careful home mechanic can replace in a driveway.
Confirm the Correct Corner Before Disassembly
Noise can travel through a suspension subframe, so the loudest location inside the cabin is not always the failed corner. Compare the sound during gentle lane-position changes, then inspect each wheel for play, roughness, or a damaged dust shield. Spin a lifted wheel by hand and listen closely. A rough bearing may feel gritty, but a quiet spin does not prove that it is healthy.
Check the tire for cupping, separated tread, and irregular wear before condemning the wheel bearing. Inspect brake hardware for a loose backing plate and make sure the wheel is properly seated. On many vehicles, an ABS light can result from a damaged sensor wire rather than a failed bearing. Look for wiring stretched near the hub or rubbed against the tire.
If one side is clearly noisy but both sides have similar mileage, replacing only the failed side is reasonable. Bearings do not have to be replaced in pairs. Buy a reputable assembly from a known supplier rather than the cheapest unbranded listing; poor machining or a weak sensor can turn a one-day repair into a repeat job.
Replacement Procedure for a Bolt-On Hub
Start by recording the correct torque specifications. The wheel lug nuts, brake-caliper bracket bolts, hub-to-knuckle bolts, and axle nut each have separate values. As a general reference only, lug nuts often fall near 80 to 100 foot-pounds, hub bolts near 50 to 100 foot-pounds, caliper bracket bolts near 70 to 130 foot-pounds, and axle nuts can range from 150 to more than 250 foot-pounds. Those ranges are not substitutes for the factory specification. Torque to spec — and yes, the spec matters.
Loosen the lug nuts slightly before lifting the vehicle. Raise it at the approved lift point, set it on stands, and remove the wheel. Remove the brake caliper without letting it hang from the hose, then support it with wire. Remove the rotor and disconnect the wheel-speed sensor carefully. If an axle nut is present, stake or lock it exactly as the manufacturer describes before removal.
Remove the hub fasteners from the rear of the steering knuckle. Corrosion can make this the hardest part, especially on vehicles exposed to Minneapolis road salt. Apply penetrating oil, allow it time to work, and use a puller when necessary. Clean the mating surface with a wire brush, but do not grind away metal or damage the sensor tone ring.
Install the new assembly in the correct orientation. Start every fastener by hand to avoid cross-threading. Tighten the hub bolts in stages, then torque them in the specified sequence. Reinstall the sensor, rotor, caliper, axle nut, and wheel. The final wheel-lug torque should be applied with the vehicle on the ground or with the wheel held safely, according to the service instructions.

Pressed-In Bearings Need More Equipment
A pressed-in wheel bearing is not the same job as a bolt-on hub. The knuckle usually must be removed, the snap ring extracted, and the old bearing pressed out with the correct adapters. Pressing on the wrong race can damage a new bearing before the car moves a foot. On an ABS-equipped vehicle, pressing force must not be applied through the encoder ring.
A hydraulic shop press, bearing separator, snap-ring pliers, and vehicle-specific adapters make this repair controlled. A large vise and improvised sockets are not reliable substitutes. The axle shaft, knuckle, and bearing bore can all be damaged by crooked force. If you cannot identify which race should receive pressure, stop and use a professional machine shop. Paying $75 to $150 for a clean press operation is cheaper than replacing a damaged steering knuckle.
Final Checks and When to Call a Professional
After assembly, pump the brake pedal until it feels firm before moving the vehicle. Confirm that the ABS wire is routed away from the tire and axle, then verify fluid leaks and fastener installation. Perform a slow test in a driveway first, followed by a short road test. Listen for the original noise, check for warning lights, and return to the shop if the hub becomes hot or the steering feels loose.
Call a professional if the axle nut will not break loose, the vehicle has significant rust, the bearing is pressed in, or you lack a properly calibrated torque wrench. Also stop if the wheel moves after tightening or if the ABS light remains on. A wheel bearing is a safety-related component, not a place to experiment with guessed torque or damaged hardware.
Write down the repair date, part brand, mileage, and torque values used. That record helps with future diagnosis and gives the next owner useful maintenance history. Methodical work is slower than rushing, but it protects the hub, brakes, steering, and the people riding in the vehicle.
Comments
No comments yet — be the first to share a thought.