Cabin Air Filter Replacement: The Safe, Right Way
Cabin air filter replacement made simple: learn the tools, safety checks, fitment tips, and step-by-step method for cleaner air inside your car.
A dirty cabin air filter does more than make the vents smell musty. It can restrict airflow, fog the windshield more slowly, and leave dust collecting across your dashboard. Replacing a cabin air filter is one of the easier maintenance jobs on many vehicles, but the common mistake is installing the wrong size or forcing the filter into a cramped housing. You can do this. Here's the safe, right way.
What the Cabin Air Filter Does
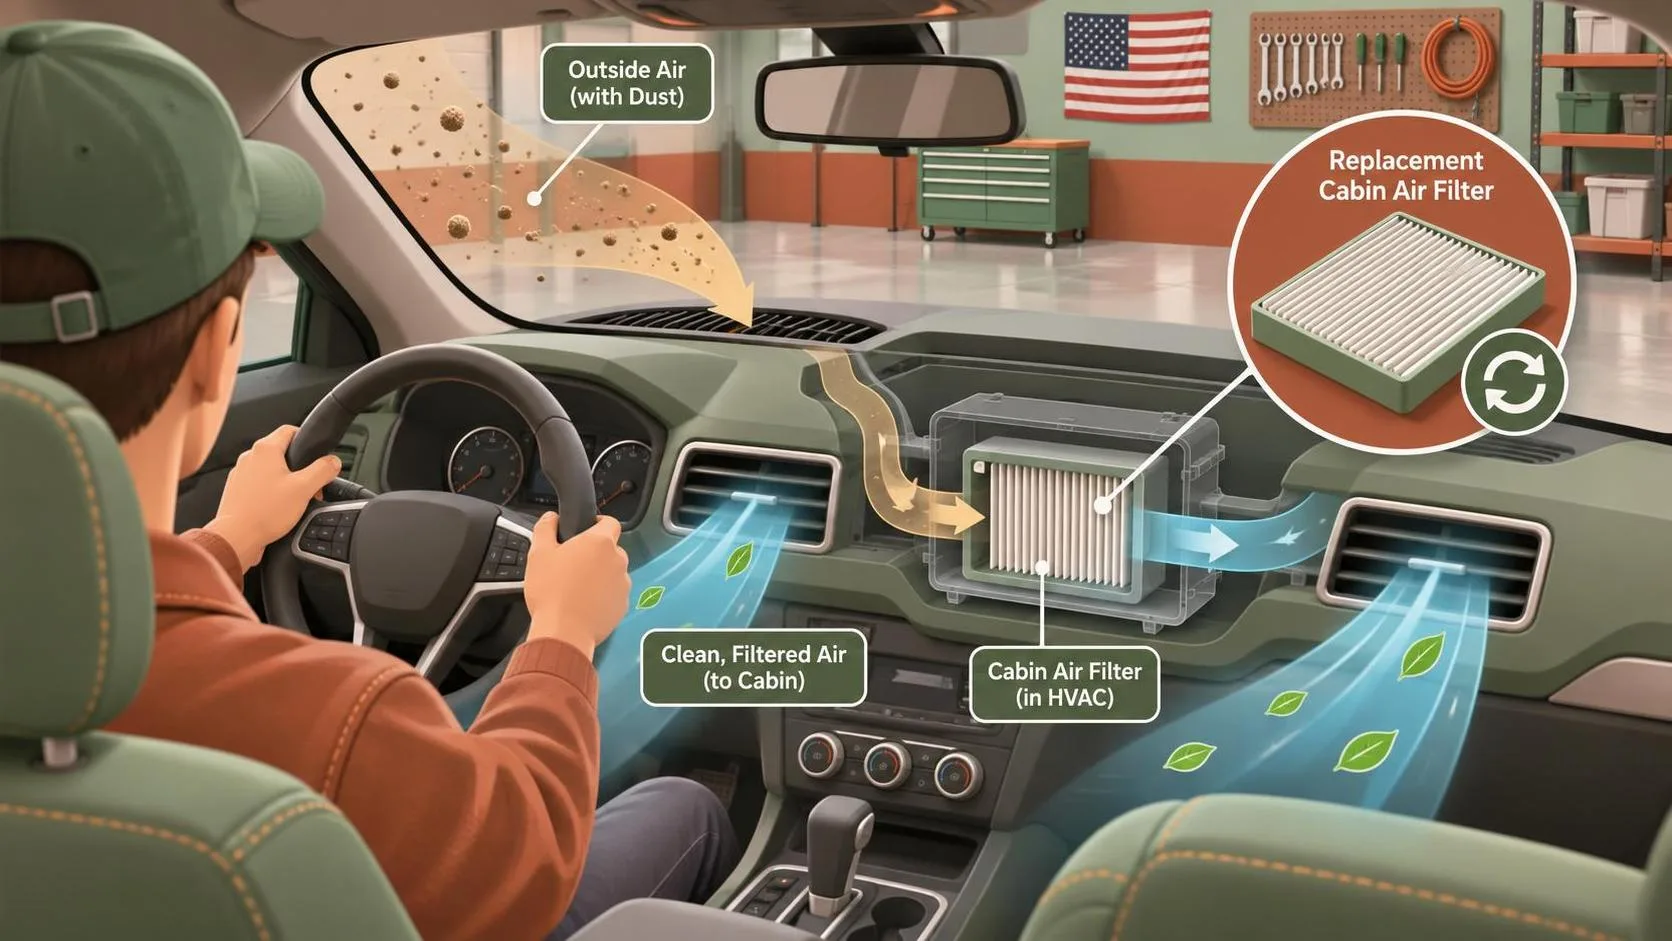
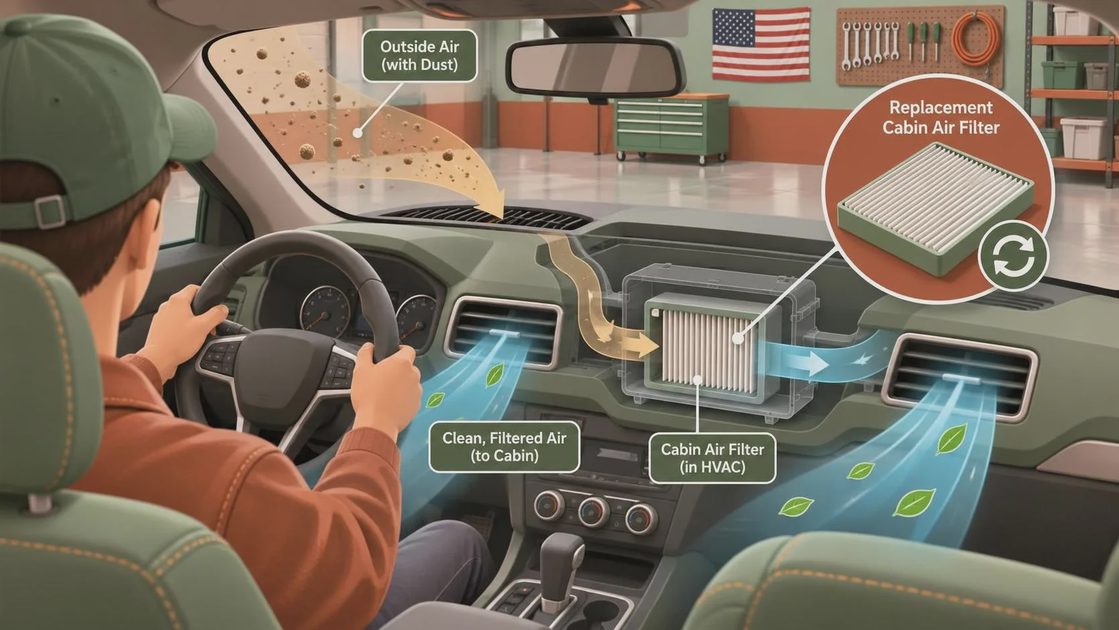
The cabin air filter cleans air before it enters the passenger compartment through the heating, ventilation, and air-conditioning system. Depending on the vehicle, it catches leaves, road dust, pollen, soot, and small debris. Some versions use activated carbon to reduce odors, while basic paper filters focus mainly on particles.
A restricted filter can reduce air volume from the vents even when the blower motor sounds normal. You might notice weak defrost performance, a blower that seems louder than usual, or dust blowing out when the fan starts. A filter will not repair a failing blower motor, a clogged evaporator, or a refrigerant problem, but it is an inexpensive first inspection.
Replacement intervals vary by driving conditions. A reasonable starting point is every 12,000 to 15,000 miles or once a year. Vehicles driven on gravel roads, around construction, or through heavy pollen can need service sooner. If you smell mold, inspect the filter and the evaporator drain area rather than masking the odor with an air freshener.
Safety First and Tool Check
Safety First: Park on a level surface, switch the ignition off, remove the key or keep the key fob away from the vehicle, and let the blower stop completely. If the filter is behind the glove box, do not pull hard on wiring, airbag connectors, or damper cables. Some glove-box assemblies are close to passenger-airbag equipment. Never probe yellow airbag wiring.
Tool Check: Most cabin air filter jobs need a flashlight, a clean shop towel, and the correct replacement filter. A small trim tool can help with plastic retainers, and a Phillips screwdriver or 8 mm socket may be needed for a glove-box stop or lower panel. Use a plastic trim tool instead of a metal screwdriver when possible. Keep a container nearby for screws so none disappear under the seat.
Check the owner’s manual or a reliable parts catalog using the exact year, make, model, engine, and trim. Some vehicles use two filters, and some have separate left and right filter pieces. A filter that looks almost right is not right if the frame will not seat evenly. Before removing anything, photograph the installation area and note the airflow arrow.
How to Replace a Cabin Air Filter
Start by opening the glove box and emptying it. Look for side stops, a retaining cord, or small tabs that limit how far the door opens. Support the door with one hand while releasing the stops with the other. On some Toyota, Chevrolet, Honda, and Ford models, the stops release with light inward pressure; on others, a damper arm must be disconnected carefully.
Locate the rectangular filter access cover behind the glove box or beneath the passenger-side dashboard. Release its tabs without twisting the cover. If screws hold it in place, use the correct driver and apply steady pressure to prevent stripping. Set the cover aside in a clean spot.
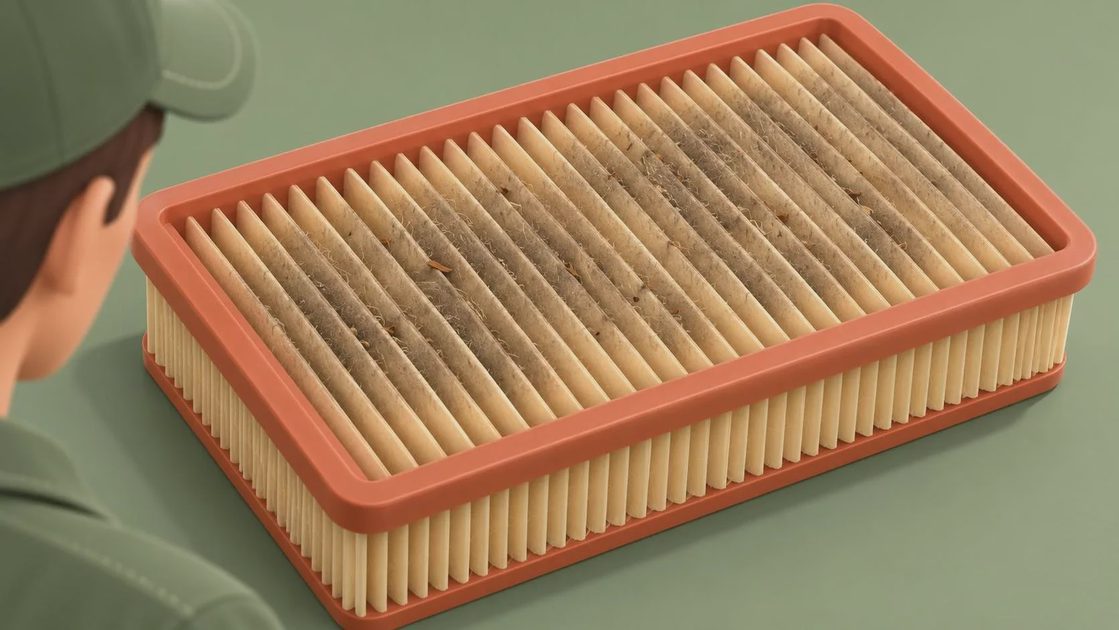
Pull the old cabin air filter straight out. Look at the debris side before discarding it. Leaves on top of the filter usually indicate the airflow direction from the cowl toward the blower. Compare the old part with the new one, including length, width, depth, foam seals, and the airflow arrow. Vacuum loose debris from the housing, but do not drive a shop-vac nozzle into delicate blower-fan blades.
Torque to spec — and yes, the spec matters. Most cabin filter covers use plastic tabs or small screws with no published torque value. For a small screw, use the manufacturer’s service information if a torque specification is listed; otherwise tighten it gently until seated, never with excessive force. Plastic housings crack easily.
Fitment, Airflow, and Common Mistakes
Install the new cabin air filter in the same direction as the old one. An arrow labeled airflow should point toward the blower motor, but an arrow labeled up should point upward. Those markings are not interchangeable. If the filter bends, catches on the housing, or requires force, stop and verify the part number and orientation.
Here's what I see go wrong most often: a filter is installed upside down, the access cover is left loose, or the glove-box damper is torn off while someone rushes. Another frequent mistake is spraying cleaner into the filter housing. Moisture can damage the filter media and create a place for mildew to grow. A dry vacuum and a clean towel are safer for ordinary dust.
Before closing the glove box, confirm that the filter frame is fully seated and that no edge is folded inward. Reinstall the cover until every tab clicks. Reconnect the damper, raise the glove box slowly, and make sure its stops engage. Do not leave a screw or panel loose because a vibration rattle can be difficult to diagnose later.
Test the Ventilation System
Turn the ignition on and run the blower at low speed first. Listen for rubbing, tapping, or a sudden change in fan noise. Increase the speed gradually, then test fresh-air and recirculation modes. The airflow should be steady, and the fan should respond normally at each setting.
Test the defrost setting with the engine warmed up if conditions allow. A clean cabin air filter can improve airflow, but it will not immediately clear a windshield if the heating system is not producing warm air or if the climate-control doors are malfunctioning. If air comes from the wrong vents, the problem may involve an actuator or vacuum control rather than the filter.
Check for rattles around the glove box and passenger footwell. If the blower now makes a scraping sound, debris may have fallen into the fan during removal. Shut the system off and inspect the housing instead of continuing to run it. A damaged blower wheel can turn a $20 filter job into a much more expensive repair.
When to Call a Professional
Stop and call a professional if the filter housing is blocked by an airbag module, if yellow connectors must be disconnected, or if dashboard panels require significant force. Also get help when the old filter is wet, oily, or covered with rodent nesting material. Wear gloves and avoid disturbing droppings; contaminated material can require careful cleanup beyond routine maintenance.
A persistent mildew smell after installing a cabin air filter can point to a wet carpet, clogged evaporator drain, or contaminated HVAC case. Weak airflow with a clean filter can indicate a blower resistor, blower motor, blocked evaporator, or faulty blend door. Those faults need testing rather than guesswork.
Record the date, mileage, filter brand, and part number in your maintenance log. Quality replacement choices from brands such as Bosch, FRAM, Purolator, and OEM suppliers are widely available, but correct fit matters more than a flashy package. Spending roughly $15 to $40 on the right cabin air filter and installing it carefully can protect comfort and save a service visit. Your next step is simple: verify the application, gather the tools, and work methodically.
Comments
No comments yet — be the first to share a thought.