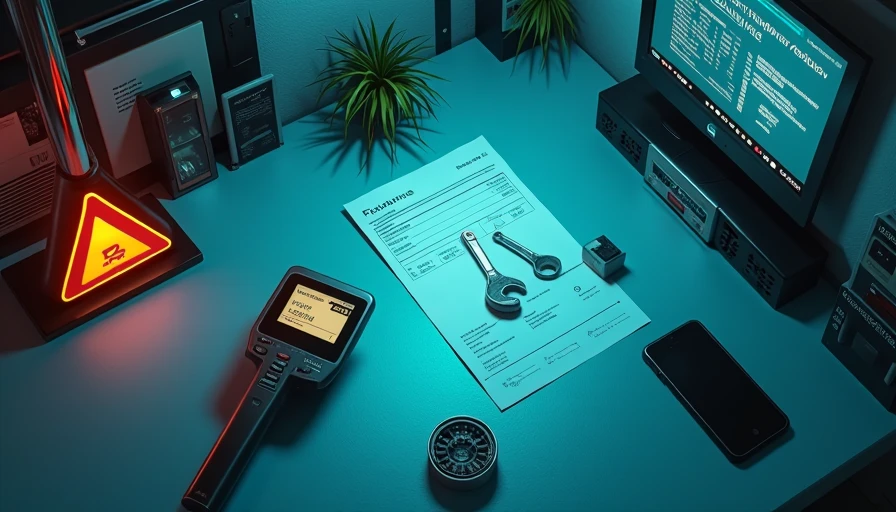
Check Engine Light: A Safe DIY Diagnosis Guide
Check engine light on? Learn what steady or flashing warnings mean, how to scan OBD-II codes safely, likely repair costs, and when to stop driving today.
A check engine light does not automatically mean your engine is about to fail. It means the vehicle computer detected a fault in the emissions system, engine controls, transmission strategy, or a related sensor circuit. The important first step is learning whether the warning is steady or flashing. You can do this. Here's the safe, right way.
A steady check engine light usually allows you to drive carefully to a repair shop or safe place for diagnosis, provided the vehicle runs normally. A flashing check engine light is more urgent. It often indicates an active misfire that can overheat and destroy the catalytic converter. Reduce speed, avoid heavy throttle, and stop driving if the engine shakes, loses power, smells strongly of fuel, or the temperature rises.
Steady or Flashing: Read the Warning First
A steady check engine light can result from a loose fuel cap, an evaporative-emissions leak, a failing oxygen sensor, a dirty mass airflow sensor, or a misfire that is not severe enough to flash the lamp. The light alone cannot identify the failed part. It is a request for diagnosis, not a parts-shopping list.
A flashing warning deserves immediate attention. Pull off the road safely, shut the engine down, and arrange professional help if the flashing continues. Do not crawl under a hot vehicle beside traffic, and never open a pressurized cooling-system cap while the engine is hot. If another warning appears, such as low oil pressure or high coolant temperature, follow that warning first and stop the engine.
Here is what I see go wrong most often: someone clears the code before recording it, then replaces an expensive sensor because an internet search named that sensor. Clearing data can erase useful freeze-frame information, including engine speed, coolant temperature, and load when the fault occurred. Diagnose the cause before buying parts.
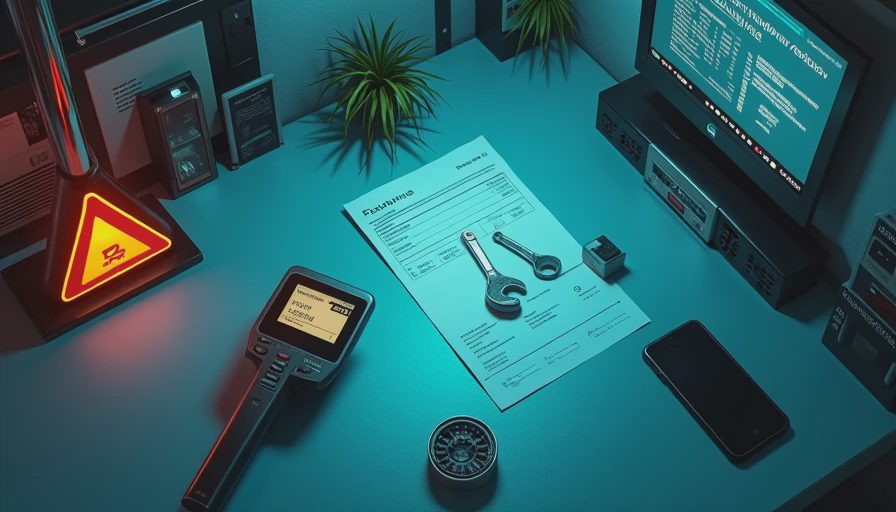
Tool Check and Safe OBD-II Scanning
Tool Check: You need a basic OBD-II scan tool, a flashlight, your vehicle owner's manual, safety glasses, and a phone or notebook for recording codes. A $25 to $60 handheld scanner can read many generic powertrain codes. A Bluetooth adapter paired with a reputable app can provide more data, but keep the phone secured while driving.
Safety First: Park outside in a well-ventilated area, set the parking brake, place the transmission in Park or Neutral as appropriate, and keep hands away from belts and fans. Do not probe random terminals with a test light. Airbag wiring and high-voltage hybrid components are not ordinary 12-volt circuits.
Find the diagnostic connector, usually under the driver's side dashboard. With the ignition off, plug in the scanner without forcing it. Turn the ignition on without starting the engine, select the option to read stored and pending codes, and write down every code exactly. Codes beginning with P identify powertrain faults; the following numbers narrow the system, but they do not prove which component failed.
For example, P0301 generally points to a misfire on cylinder one, while P0420 indicates catalyst efficiency below the computer's expected threshold. Either code needs testing. A P0301 could come from a spark plug, ignition coil, injector, vacuum leak, low compression, or wiring. A P0420 could involve the catalytic converter, an exhaust leak, an oxygen sensor, or an engine that has been misfiring.
What to Check Before Replacing Parts
Start with simple observations. Is the fuel cap tight and its seal undamaged? Did the warning appear after refueling? Is the engine hard to start, idling roughly, consuming more fuel, or producing black, blue, or white smoke? Check the oil level on level ground and inspect coolant only after the engine has cooled completely. Look for disconnected intake hoses, cracked vacuum lines, loose electrical connectors, and rodent damage.
Do not spray flammable cleaner near a hot exhaust manifold. If you suspect a vacuum leak, a smoke test is safer and more reliable than flooding the engine bay with aerosol. For an ignition-related misfire, a technician can compare coil operation, inspect plug condition, and perform compression testing. A scan tool's live data can also reveal fuel-trim problems, but changing sensors without understanding the readings wastes money.
If you remove a spark plug or coil, follow the service manual for your exact engine. Torque varies widely by plug type and cylinder-head material; many plugs use a specification around 15 to 25 lb-ft, but that range is not a substitute for your vehicle's published number. Torque to spec — and yes, the spec matters. Use a torque wrench, install plugs with clean threads, and never use an impact gun for final tightening.
Common Repair Costs and Insurance Questions
A diagnostic visit commonly costs about $75 to $180, although some parts stores offer basic code reading at no charge. A fuel-cap repair may cost nothing beyond a replacement cap. Spark plugs and an ignition coil might total $100 to $450, while an oxygen sensor can range from roughly $200 to $600 installed. Catalytic-converter work can exceed $1,000, especially when the underlying misfire caused the damage.
These are planning ranges, not guarantees. Labor rates, vehicle access, original-equipment parts, and rust change the final bill. Ask the shop whether the diagnostic fee applies to approved repairs and request the exact code, test results, and failed component before authorizing work.
A check engine light caused by mechanical failure is normally a maintenance or repair issue, not a collision claim. Comprehensive auto insurance generally covers certain non-collision events such as theft, hail, or animal impact, but it usually does not pay for ordinary wear, a failing sensor, or an engine problem. If a crash damaged the wiring or exhaust, collision coverage might be relevant, subject to the policy deductible. Do not file a claim simply because the dashboard warning appeared.

When You Should Stop Driving
Stop driving immediately for a flashing check engine light accompanied by shaking, loud knocking, smoke, fuel odor, severe power loss, or a rising temperature gauge. Continuing can turn a coil or plug problem into catalytic-converter damage or internal engine damage. Call roadside assistance rather than attempting a long trip home.
A steady check engine light with normal temperature, normal oil pressure, and smooth operation is usually less urgent, but schedule diagnosis soon. Avoid towing, steep grades, high speeds, and hard acceleration until you know the cause. If the light goes out after several trips, do not assume the problem vanished. The computer may have stopped seeing the fault under those particular conditions.
Hybrid and plug-in owners need additional caution. A conventional OBD-II scanner may read the gasoline engine but not every hybrid control module. Never touch orange high-voltage cables or remove hybrid battery covers. Use the manufacturer's service information or a qualified hybrid technician.
A Practical Diagnosis Checklist
Record the exact date, mileage, fuel level, weather, and driving conditions when the check engine light appeared. Note whether it was steady or flashing and whether the vehicle had recently been serviced. Scan for stored and pending codes, save freeze-frame data, and inspect obvious hoses, caps, fluid levels, and connectors. Then research the code as a system fault rather than a guaranteed bad part.
If you have a multimeter, wiring diagram, compression tester, or smoke machine and know how to use it, follow a measured test plan. Otherwise, take your notes to a reputable independent shop or dealership. Ask for the diagnostic reasoning, not just a code printout. A good technician will explain what failed, what was tested, and whether another fault could damage the replacement part.
The best repair is the one that fixes the cause and verifies the result. After repairs, clear codes only when appropriate, complete the required drive cycle, and confirm that monitors run without the warning returning. That method costs less than guessing, protects expensive emissions equipment, and keeps a small warning from becoming a stranded-on-the-shoulder story.
Comments
No comments yet — be the first to share a thought.