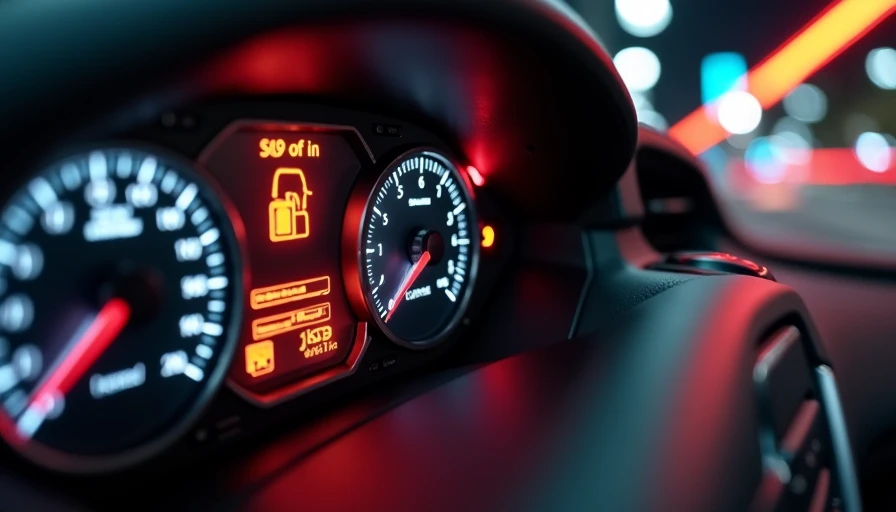
Fuel Management System Check Engine Light: Diagnose It Safely
Fuel management system check engine light on? Learn the likely causes, safe OBD-II tests, tool list, torque guidance, and when to call a pro.
A fuel management system check engine light does not automatically mean you need a new fuel pump. That is one of the most expensive guesses a car owner can make. The light usually means the engine computer has detected an air, fuel, ignition, or emissions condition outside its expected range. You can do this. Here's the safe, right way: retrieve the trouble code first, confirm the symptoms, and test the likely cause before buying parts.
What the fuel management system controls
Your vehicle's fuel management system uses the engine computer, oxygen sensors, mass airflow sensor, throttle position sensor, coolant temperature sensor, fuel injectors, and fuel pressure regulator to maintain the correct air-fuel mixture. On newer vehicles, the computer continually compares commanded fuel delivery with oxygen sensor feedback.
A lean condition means the engine is receiving too much air or not enough fuel. A rich condition means it is receiving too much fuel or not enough air. Common codes include P0171 for a lean condition on bank one, P0172 for a rich condition, and manufacturer-specific fuel pressure or injector codes. A fuel management system check engine light can also appear after a loose gas cap, intake leak, dirty sensor, weak pump, restricted filter, or electrical fault.
The warning light matters, but how the engine runs matters just as much. A steady light with normal operation usually allows a careful trip to a parts store or repair shop. A flashing check engine light, severe shaking, strong fuel odor, or loss of power means stop driving when safe. A flashing light can indicate an active misfire that may damage the catalytic converter.
Safety First: Work outdoors or in a well-ventilated area, keep flames and cigarettes away, and never loosen a fuel line on a hot engine. Gasoline vapor ignites easily. Wear safety glasses and nitrile gloves. If fuel sprays unexpectedly, shut the vehicle off and move away until the vapor clears.
Tool Check: Have an OBD-II scanner that displays live data, a digital multimeter, a fuel-pressure gauge rated for gasoline systems, a flashlight, a basic socket set, and the factory service information for your exact year, engine, and model.
Start with the code, not the parts counter
Connect the OBD-II scanner under the driver's side dash with the ignition off, then turn the key to the run position without starting the engine. Record stored, pending, and history codes, along with freeze-frame data. Freeze-frame information can show engine speed, coolant temperature, load, and fuel trims when the fault occurred.
Do not clear the code before writing it down. Clearing it erases useful evidence and resets emissions monitors. If you see P0171 or P0174, inspect for unmetered air before condemning an injector. Look at the short-term and long-term fuel trims after the engine reaches operating temperature. Positive numbers mean the computer is adding fuel; negative numbers mean it is taking fuel away. Exact acceptable ranges depend on the vehicle, but trims that remain strongly positive or negative deserve testing.
A fuel management system check engine light triggered immediately after refueling points toward a loose fuel cap, damaged cap seal, purge valve, or evaporative emissions leak. A light that appears during hard acceleration can point toward fuel pressure delivery, ignition weakness, or restricted airflow. Context narrows the search.
Inspect the easy causes first
With the engine off, check the air intake duct from the airbox to the throttle body. Look for splits underneath the duct, loose clamps, disconnected vacuum hoses, and a missing oil filler cap. A leak after the mass airflow sensor allows air into the engine without being measured, creating a lean condition.
Inspect the air filter and make sure the mass airflow sensor connector is fully seated. Do not spray brake cleaner, carburetor cleaner, or household products on the sensor. If cleaning is approved for your sensor, use only a dedicated mass airflow sensor cleaner and allow it to dry completely before reconnecting it.
Check the gas cap seal and filler neck for dirt or damage. Then inspect wiring around the oxygen sensors, injectors, and fuel rail. Rodent damage, rubbed-through insulation, and oil-soaked connectors can produce intermittent faults that look like expensive component failures.
If your scanner shows a misfire code such as P0301, do not assume the injector is bad. Swap the suspect ignition coil with a neighboring cylinder only if the service procedure permits it, clear nothing until you record the result, and see whether the misfire follows the coil. This test separates an ignition problem from a fuel delivery problem.
Test fuel pressure carefully
Fuel pressure testing is useful, but it is not a guess-and-check exercise. Find the test port or approved connection point in the service manual. Some modern systems operate at high pressure and do not use a conventional accessible test port. Never pierce a high-pressure direct-injection line.
Relieve pressure using the manufacturer's procedure, connect the correct gauge, and check the specification with the key on and with the engine running. Record whether pressure builds quickly, holds after shutdown, and responds correctly under load. Low pressure can result from a weak pump, restricted filter, poor electrical supply, or a faulty regulator. Pressure that bleeds down can point to an injector leak, pump check valve, or regulator issue.
Before removing a fuel rail or injector, disconnect the battery negative cable when the service information calls for it and protect every open fuel connection from dirt. Replace damaged O-rings with the correct material; lubricate them with clean engine oil when specified. Torque each fuel rail bolt, injector hold-down, and fuel-line fitting to the exact value listed for your engine. There is no safe universal torque number for these fasteners. Torque to spec, and yes, the spec matters.

Use live data to confirm the diagnosis
Live data can tell you whether the computer is compensating for a problem. Compare fuel trims at warm idle and around 2,500 rpm. If trims are very positive at idle but improve substantially at higher speed, suspect a vacuum leak. If trims stay positive or become worse under load, investigate fuel delivery, mass airflow measurement, or exhaust restriction.
A contaminated oxygen sensor is often blamed too quickly. The sensor may be reporting a genuine lean or rich condition rather than causing it. Check for exhaust leaks near the sensor, damaged wiring, and appropriate sensor response before replacement. Also confirm that engine coolant temperature reaches a normal operating range; a thermostat stuck open can keep the mixture richer than expected.
For a fuel management system check engine light, write down every test result. Record fuel pressure, trim behavior, voltage readings, and the conditions that reproduce the fault. A clear record prevents repeating the same inspection and helps a technician work faster if you need professional help.
When to stop and call a professional
Stop the DIY diagnosis if you find a fuel leak, damaged high-pressure fuel equipment, a swollen fuel tank, a flashing check engine light, or wiring that requires airbag or hybrid-system access. A gasoline leak is not an opportunity to practice. Have the vehicle towed if it smells strongly of raw fuel or stalls in traffic.
Call a shop when the fault requires smoke testing, oscilloscope testing, injector balance testing, or manufacturer-level programming. A qualified technician can often confirm a difficult intermittent issue in less time than repeated parts replacement. For a recurring fuel management system check engine light, bring your code numbers and test notes instead of simply requesting a fuel pump.
After the repair, clear codes only after the underlying fault is corrected. Complete the required drive cycle and verify that monitors run without the light returning. Do not sell a vehicle or schedule an emissions test immediately after clearing codes; incomplete monitors can reveal that the system has not finished checking itself.
The right diagnosis protects your wallet and your engine. Start with the scan, inspect for air leaks, verify pressure and electrical signals, and respect fuel-system safety. You can do this, and when the evidence points beyond your tools, calling a pro is the safest successful repair.
Comments
No comments yet — be the first to share a thought.