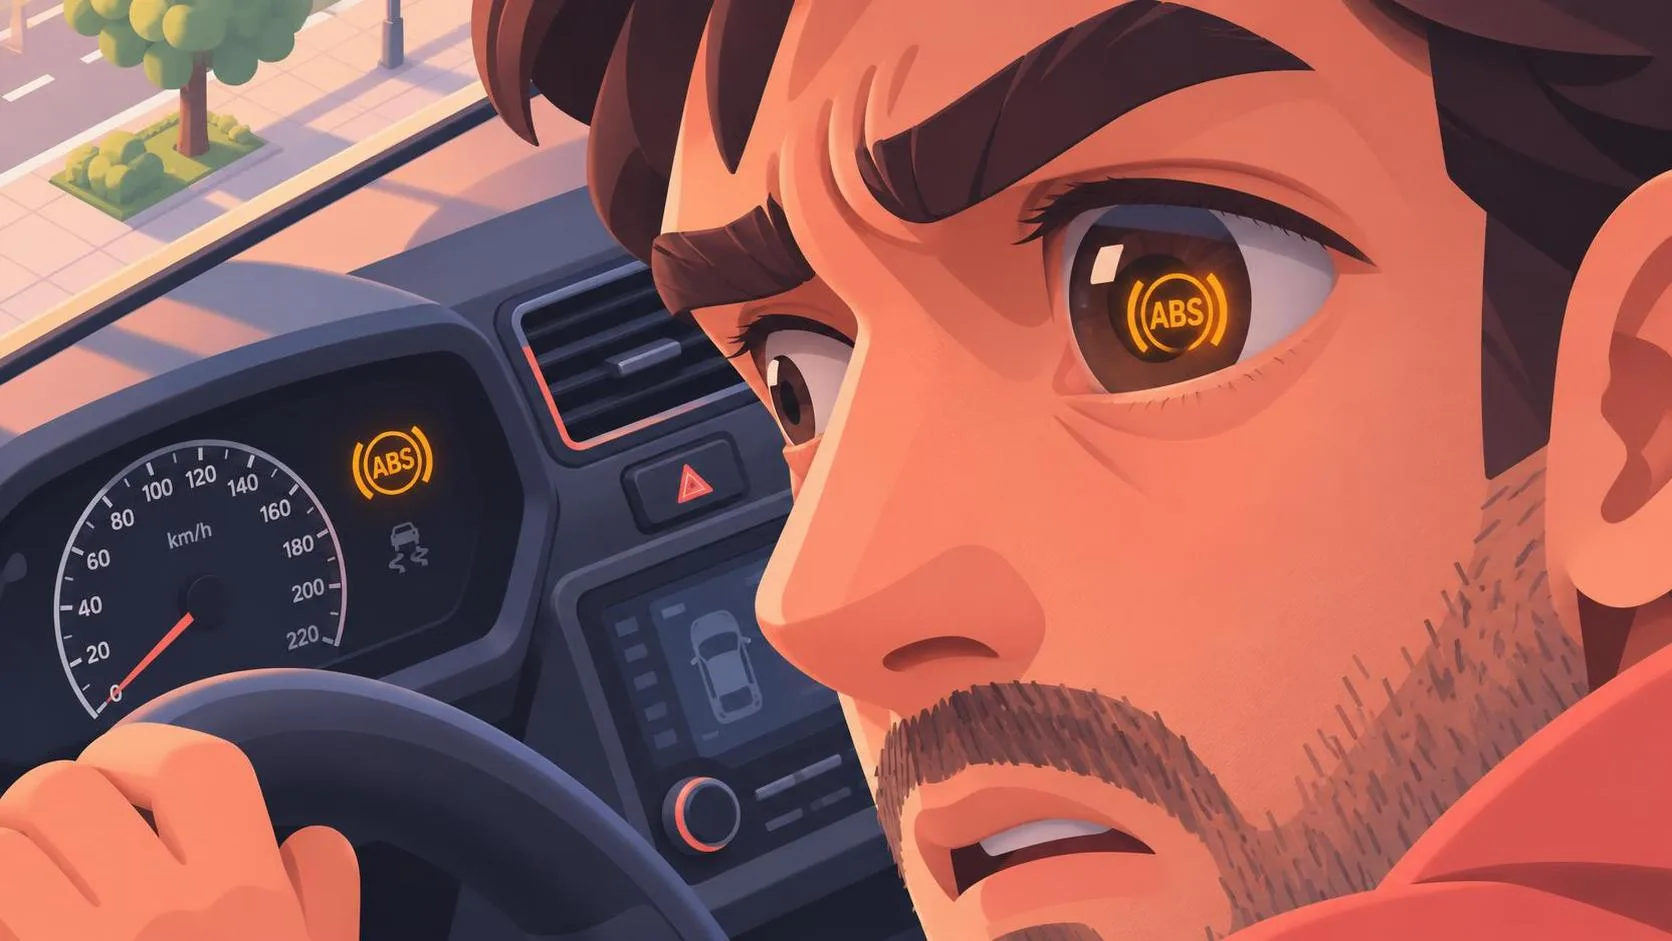
ABS Light On? What It Means and What to Check
ABS light on? Learn when it's safe to drive, what warning lights mean, and how to check fault codes without guessing at expensive brake repairs.
A common mistake is assuming an ABS light means the brakes have completely failed. Usually, it means the anti-lock braking system has detected a fault and may be disabled. The ordinary braking system often still works, but you may not have the anti-lock function that helps prevent wheel lockup during hard braking. Traction or stability control may also be unavailable. Check for other warning lights and changes in pedal feel before deciding whether to move the vehicle.
A brief light during startup can be a normal bulb check. If it stays on, comes back while driving, or appears with a red brake warning, use the steps below. You can do this. Here's the safe, right way.
Safety First: Decide whether to stop
If the ABS light is the only warning, the brake pedal feels normal, and the vehicle stops normally, a careful, short trip to a repair shop may be reasonable. Leave extra following distance, avoid hard braking, and remember that the wheels may lock on a slippery surface. If road conditions make that trip unsafe, arrange a tow instead.
Stop in a safe place and do not continue driving if the red brake warning light remains on after you release the parking brake, the pedal feels unusually soft or sinks, braking performance is reduced, or you see brake fluid leaking. Those symptoms can indicate a problem beyond the anti-lock system. Shut the vehicle off and arrange a tow.
A red brake warning can have several causes, including a parking brake that is not fully released. Don't assume that's the explanation without checking. On some vehicles, multiple warning lights can appear together when a fault affects shared braking or stability functions. The owner's manual identifies the symbols for your particular dashboard.
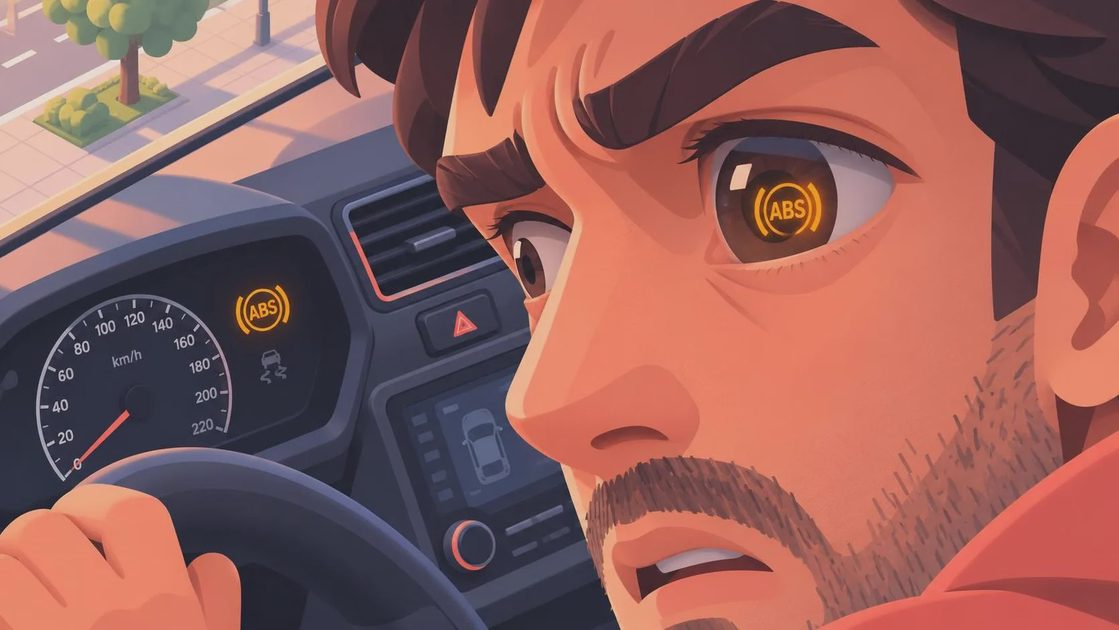
Tool Check: Read the ABS light before buying parts
You don't need to remove a wheel for the first checks. Park on level ground, shift into Park or gear as appropriate, set the parking brake, and turn the vehicle off before inspecting under the hood. Keep hands and loose clothing away from hot or moving components.
Tool Check: Have the owner's manual, a flashlight, and a scan tool that explicitly supports ABS codes for your vehicle's year, make, and model. A basic engine-code reader may not communicate with the ABS module. If you want to inspect live wheel-speed data later, confirm that the tool supports that function too.
Turn the ignition on as directed by the scanner and follow its instructions to enter the vehicle information and access the ABS module. Record every code and any available freeze-frame information before clearing anything. A code is a starting point, not a parts order: a wheel-speed sensor circuit code, for example, can point to a sensor, damaged wiring, a connector, or another problem in that circuit.
Don't erase codes just to make the ABS light disappear. You may lose useful diagnostic information, and the fault can return. If the scanner cannot communicate with the module, note that result; power, ground, wiring, module, or tool-compatibility issues are among the possible explanations.
Common causes worth investigating
Wheel-speed sensors tell the control module how fast the wheels are turning. A damaged sensor wire or corroded connector can interrupt that signal. The sensor's signal also depends on a properly functioning tone ring or encoder, whose design and location vary by vehicle. Rust, physical damage, or a bearing-related issue can affect the reading on some designs.
Low system voltage, a fuse or power supply problem, a hydraulic unit fault, or a control module fault can also trigger the ABS light. The exact possibilities depend on the vehicle and the codes. That's why I want the code and the manufacturer's diagnostic procedure before anyone starts swapping sensors.
Here's what I see go wrong most often: a reader spots a code naming a wheel and immediately buys a sensor. If the wire was rubbed through or the encoder was damaged, the new part won't solve the underlying problem. Inspect what you can safely see, but avoid pulling on wiring or probing connectors without the correct test procedure.
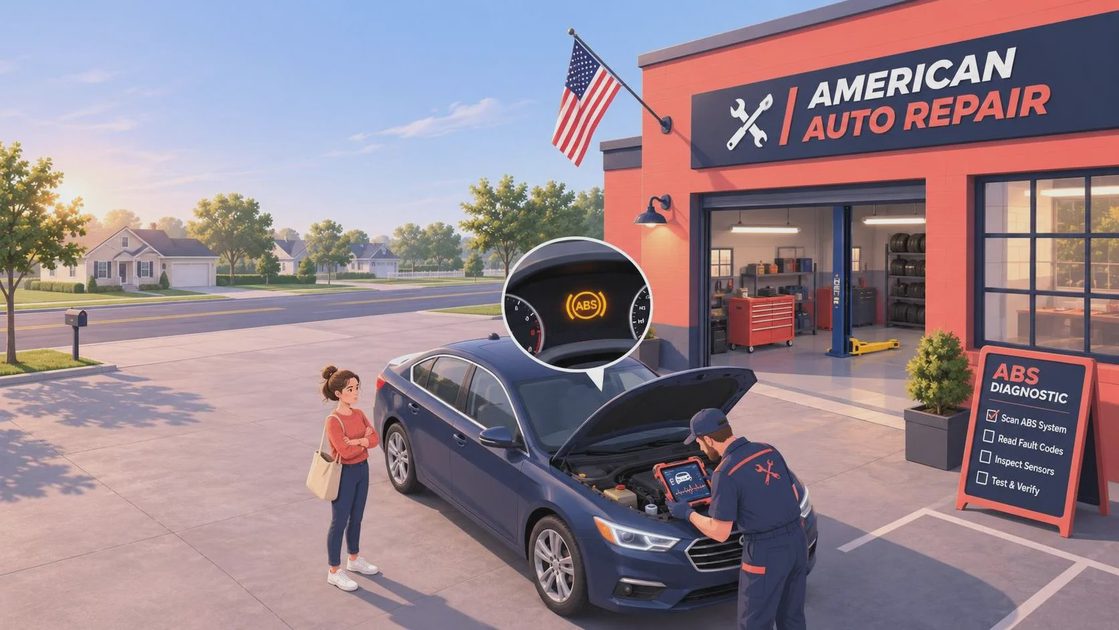
Check brake fluid and visible wiring safely
With the vehicle parked and switched off, locate the brake fluid reservoir using the owner's manual. Look at the fluid level through the reservoir if its markings are visible. Keep the cap in place for this initial check; dirt and moisture don't belong in brake fluid.
If the level is below the minimum mark, or you see wetness near a wheel or under the vehicle, arrange an inspection before driving. A falling level can indicate a leak; normal pad wear can also lower the level. Don't simply top it off and ignore a warning. The manual specifies the correct fluid if service is needed, but the reason for a low level comes first.
For a visual wiring check, use your flashlight to look at the harnesses visible near each wheel without reaching behind a tire or crawling underneath. Look for a loose connector, obvious chafing, or a wire hanging where it could contact a moving part. Turn the vehicle off before touching an accessible connector. Never get under a vehicle supported only by a jack.
When the ABS light needs a professional
Call a qualified shop if the diagnosis calls for lifting the vehicle, electrical testing you aren't equipped to perform, or work on the hydraulic unit. Some repairs require a scan-tool procedure to bleed the system or calibrate components. A hybrid or EV may have additional braking-system precautions, so follow its service information rather than a generic brake tutorial.
No fasteners need to come out for the checks in this guide. If a later repair requires removing a wheel, sensor, or bracket, get the manufacturer's torque specification for each fastener for your exact vehicle; there is no safe universal number. Torque to spec — and yes, the spec matters.
Once the underlying fault is repaired, have the codes cleared and the system checked according to the service procedure. Confirm that the warning goes out and stays out during a safe, appropriate road test. Don't perform hard-braking tests on a public road.
Comments
No comments yet — be the first to share a thought.