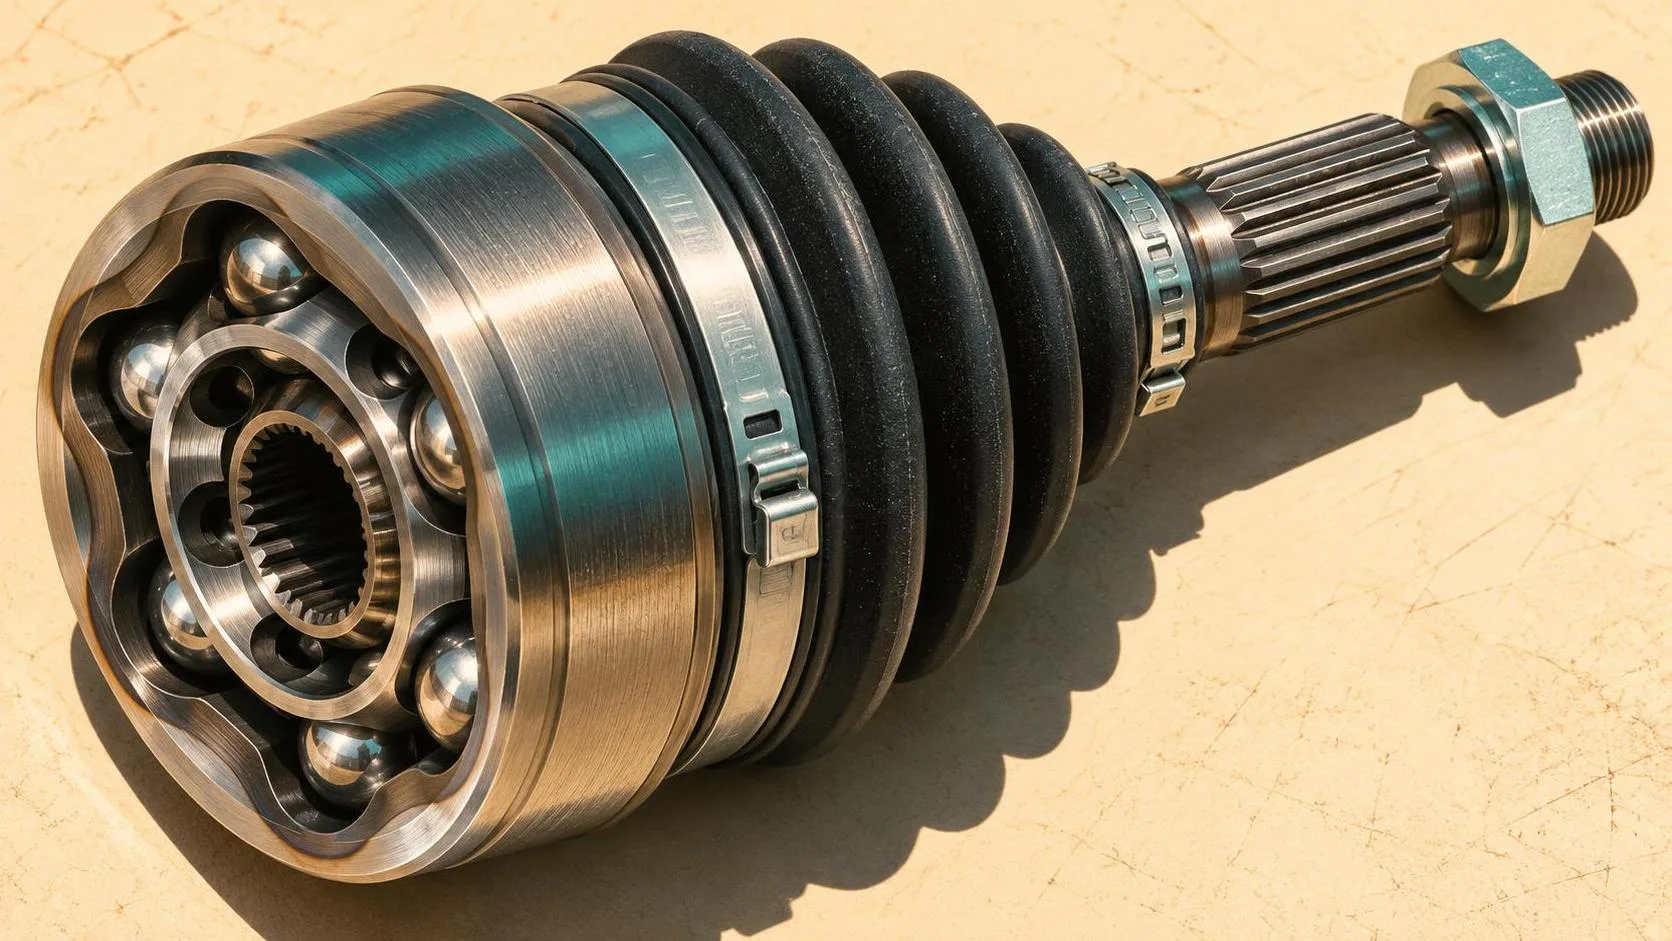
CV Joint Problems: Symptoms, Inspection, and Repair
Learn how to spot a failing CV joint, inspect its protective boot safely, and decide whether a boot repair or complete axle replacement makes sense.
A clicking noise on a turn doesn't automatically mean you need a new axle. It can point to a worn CV joint, but a careful inspection comes before ordering parts. A torn boot, grease thrown around the wheel area, and rhythmic clicking under power are useful clues; none is a substitute for checking the vehicle. You can do this. Here's the safe, right way.
What a CV joint does
A constant velocity, or CV, joint transfers power through an axle while accommodating suspension movement. On a driven steering wheel, the outer joint also has to work as the wheel turns. An inner joint connects the axle to the transmission or differential and accommodates changes in axle length as the suspension moves.
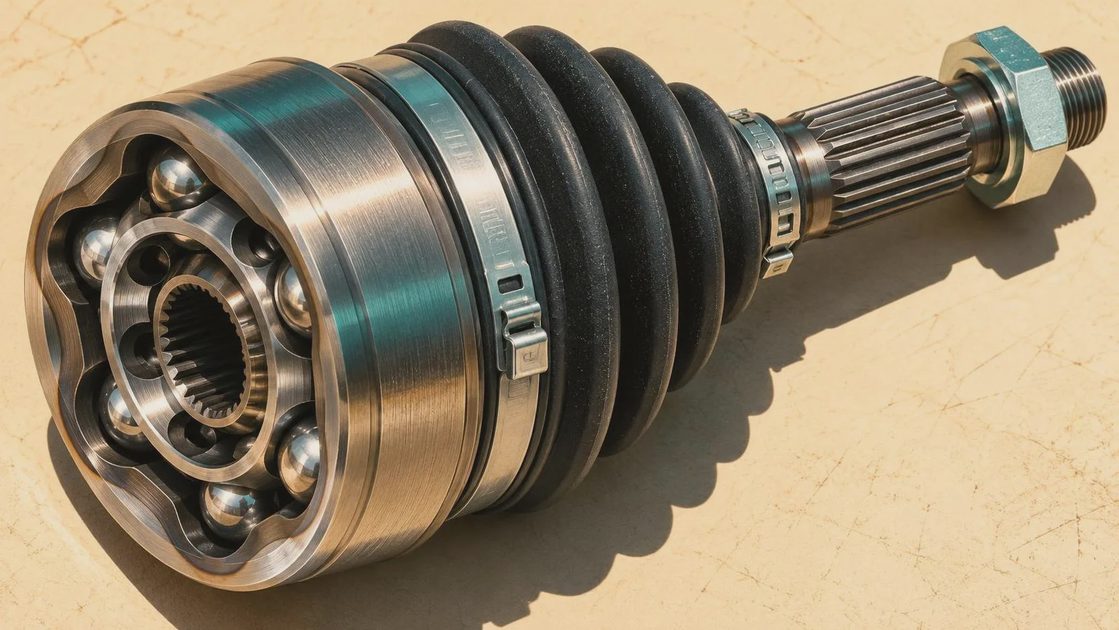
Each joint is protected by a flexible rubber or thermoplastic boot that holds grease in and keeps dirt and water out. When that boot splits, grease can escape and contaminants can enter. Catching the damage early may make a boot repair possible; driving on a contaminated or noisy joint can turn a smaller repair into an axle replacement.
Not every vehicle has the same axle layout. Front-wheel-drive cars typically have a driven axle at each front wheel, while all-wheel-drive and some rear-wheel-drive vehicles can have CV-equipped axles elsewhere too.
Symptoms worth checking
A repeated click or pop during a tight turn, especially while accelerating gently, often points toward an outer CV joint. The noise may change with steering direction, but don't use that alone to decide which side needs parts.
A vibration or shudder under acceleration can be associated with an inner joint. Tires, wheels, engine mounts, and other driveline components can produce similar symptoms. A clunk when shifting between drive and reverse also has several possible causes. The pattern matters more than any one noise.
Grease flung in a ring around the inside of a wheel or onto nearby suspension parts is a strong reason to inspect the boot. A little dampness elsewhere under the vehicle may be engine oil or another fluid, so trace it to its source rather than assuming.
Safety First: Inspecting the boots
Park on a level, firm surface, set the parking brake, shut off the engine, and keep the key away from the vehicle. Let hot exhaust and brake components cool. Never reach under a vehicle supported only by a jack, and never inspect a rotating axle with the engine running.
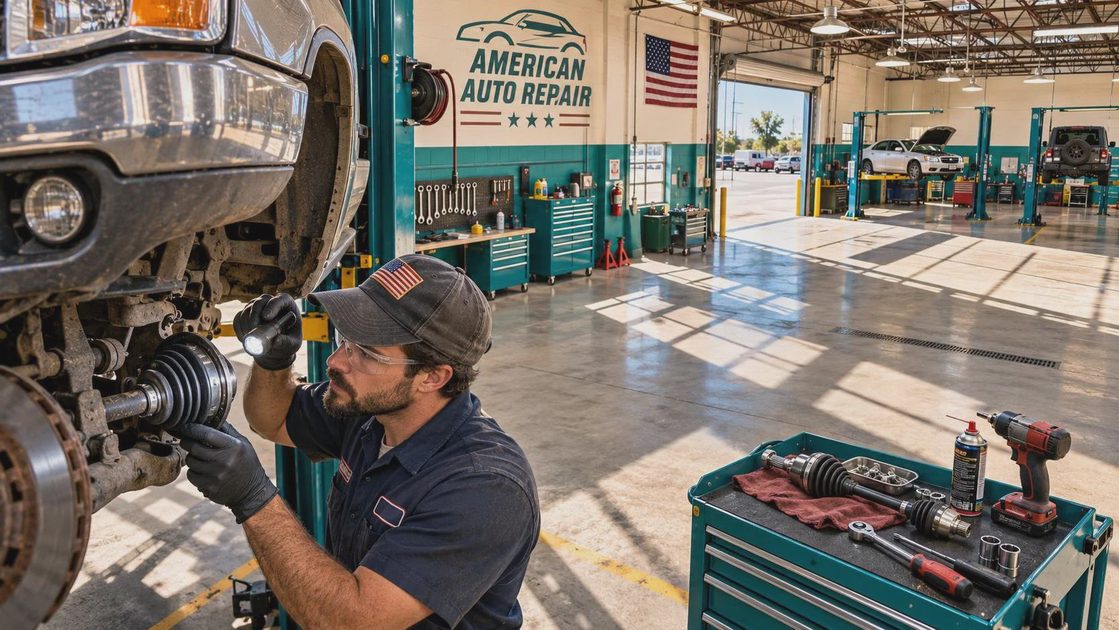
Tool Check: For a basic visual inspection, use a flashlight, safety glasses, and gloves. A clean rag helps you distinguish fresh grease from old road grime. If you need to raise the vehicle for a better view, use a jack, appropriately rated jack stands, and wheel chocks; locate the manufacturer's specified lifting and support points first. A floor jack alone is not a support stand.
Start with the vehicle on the ground. Turn the front wheels to one side with the engine off, then look behind each front wheel with the flashlight. Depending on the vehicle, you may see the ribbed outer boot and its clamps. Look for splits in the folds, missing clamps, and wet grease around the boot. Turn the wheels the other way and repeat. Visibility varies, and an inner boot may not be visible from this position.
If you cannot see enough without getting underneath, use properly placed stands and confirm the vehicle is stable before you enter the space beneath it. Inspect the inner boots as well as the outer ones. Do not pull hard on the axle or pry against a seal to make room for a look.
A split boot with grease loss deserves prompt attention even if the joint is quiet. If the boot is intact but the noise remains, have the driveline diagnosed rather than replacing parts on a guess. Here's what I see go wrong most often: a good axle gets blamed for a noise coming from somewhere else.
Boot repair or complete axle?
A CV joint with a newly torn boot may be a candidate for cleaning, inspection, fresh grease, and a replacement boot, provided the joint has not been damaged. That job still requires the right boot, grease, clamps, and installation procedure for the vehicle. A boot repair isn't a reliable cure for a joint that's already clicking or rough.
When the joint is worn, replacing the complete axle assembly is often the more practical repair. The choice depends on parts availability, labor, and the condition of both joints. Ask a shop whether its estimate covers a new or remanufactured axle, the axle nut, any required seals or fluid, and an alignment if the disassembly makes one necessary.
If a fresh boot tear is found before dirt and water get in, ask the technician to assess whether the joint can be saved. If the car has been driven with an open boot for an unknown length of time, inspection matters even more; a clean-looking exterior doesn't reveal the condition of the bearing surfaces inside.
When to stop driving and call a pro
A severely damaged CV joint can eventually stop transmitting power and leave the vehicle unable to move. If clicking becomes loud or frequent, the car shakes noticeably under acceleration, or you hear a sudden bang followed by loss of drive, stop somewhere safe and arrange an inspection or tow. Don't continue driving to see whether the noise gets worse.
Axle replacement can involve separating suspension components, working around transmission seals, and handling a heavily tightened axle nut. Some vehicles require a new single-use nut or other replacement fasteners. Improper installation can damage a wheel bearing, leak fluid, or leave a critical connection unsafe. If you don't have the correct tools and vehicle-specific instructions, this is a good job to hand over.
Torque specs: don't guess
Torque to spec — and yes, the spec matters. There is no universal torque value for an axle nut, wheel lug nuts, ball-joint fasteners, or strut-to-knuckle bolts. The correct figures and tightening sequence depend on the vehicle and the specific fastener; some also require an additional angle or a particular bearing-loading procedure.
Before removing anything, find the factory service information for the exact year, make, model, drivetrain, and engine. Check the specification for each fastener you will disturb, whether it must be replaced, and whether the threads must be clean, dry, or lubricated. Use a torque wrench that covers the required range and the specified angle gauge where applicable. If you can't verify those details, stop before disassembly and get professional help.
Comments
No comments yet — be the first to share a thought.