
Brake Rotors: How to Inspect, Measure, and Replace Them Safely
Learn how to inspect brake rotors, recognize wear, and decide when to replace them, with essential tools, safety checks, and torque guidance for DIYers.
A common mistake is blaming every brake vibration on warped brake rotors and ordering parts before checking the brakes. The rotors may be worn or damaged, but uneven deposits, hub runout, sticking calipers, and other problems can produce similar symptoms. Start with an inspection and measurements; replace a rotor when it is cracked, below its service limit, or otherwise unfit under the vehicle manufacturer's criteria. You can do this. Here's the safe, right way.
What brake rotors do and when they need attention
Brake rotors are the discs clamped by the brake pads when you press the pedal. Friction slows the wheel and turns motion into heat. Each rotor must have enough material and a suitable surface to handle that heat without compromising braking performance.
A steering-wheel shake during braking can point toward a front-brake problem; a pulsating pedal can also signal variation in rotor thickness. Neither symptom proves which part is at fault. Grinding deserves prompt attention because a worn pad may be contacting the rotor. If the car pulls sharply, braking power is reduced, or a red brake warning stays on, stop driving and have it inspected. Arrange a tow if the brakes cannot be used safely.
Light surface rust after a wet night is common and may clear from the pad contact area during normal braking. Deep pitting, cracks, heavy grooves, or a rusty friction surface that pads do not sweep clean need closer attention. A ridge at the outer edge alone does not tell you whether a rotor is too thin.
Safety First and Tool Check
Safety First: Work on a level, solid surface. Set the parking brake only if the service procedure permits it; rear brake work may require it released or placed in service mode. Chock the wheels that remain on the ground. Lift at the manufacturer's specified points and support the vehicle on appropriately rated jack stands. Never work under or rely on a hydraulic jack alone.
Brake dust can be hazardous. Do not blow it off with compressed air or dry-brush it. Use brake cleaner according to its label, provide ventilation, and wear eye protection and suitable gloves. Keep cleaner and grease off friction surfaces.
Tool Check: Have a vehicle-specific service procedure, wheel chocks, a rated jack and stands, the correct sockets and breaker bar, and a torque wrench with the appropriate range. Inspection requires a brake micrometer; a dial indicator and suitable mount are needed if checking installed runout. A piston-retraction tool and caliper hanger may also be needed for replacement.

How to inspect brake rotors properly
With the vehicle safely supported and the wheel removed, inspect both faces of each rotor. The inboard face can be much worse than the side visible through the wheel. Check pad thickness at the same time, including inner and outer pads. Uneven wear can point to a sticking slide, piston, or pad hardware rather than a rotor problem by itself.
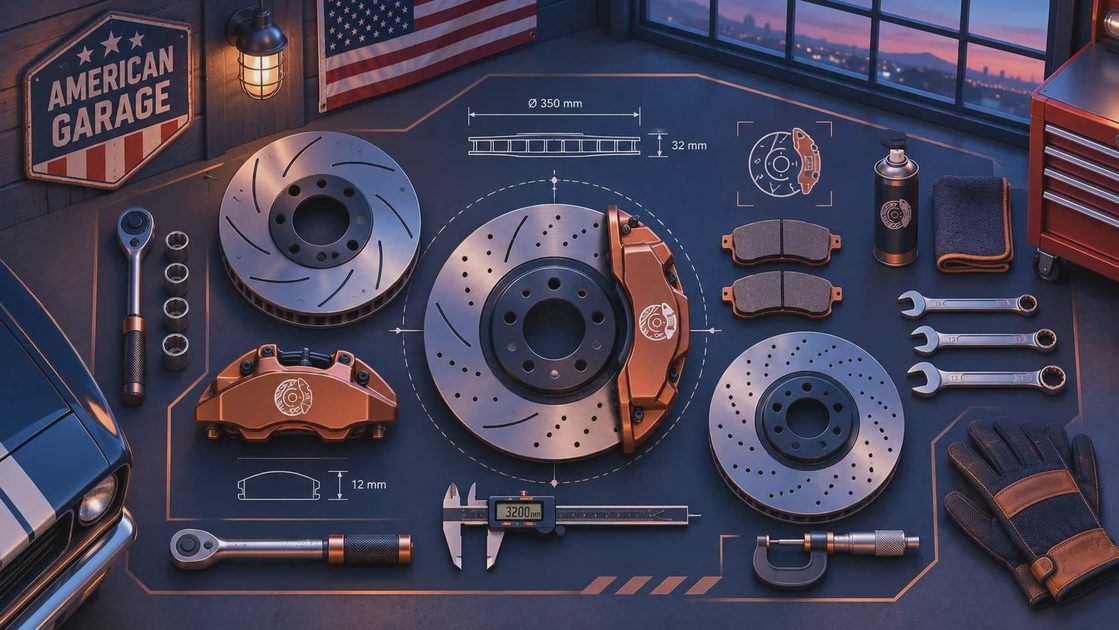
Use a brake micrometer to measure rotor thickness at several evenly spaced locations around the friction track, at the same distance from the outer edge. Compare the thinnest reading with the manufacturer's minimum thickness. Also compare the difference between readings with the allowable thickness variation in the service information. A typical tape measure or ordinary ruler is not precise enough for this job.
A minimum thickness may be marked on the rotor, but check the correct specification for the vehicle and part. The discard limit and the minimum thickness permitted after machining can be different. If any measurement is below the applicable limit, replace the rotor. A shop can advise whether a rotor that remains above the limit is a candidate for machining.
Installed lateral runout is a separate measurement. A dial indicator reads side-to-side movement as the rotor turns, with the rotor secured to the hub as the service procedure specifies. Rust or debris trapped between the hub and rotor can cause excessive readings. Diagnose and correct the mounting surface before assuming a new disc will solve the problem.
Replacing brake rotors: the critical steps
Before ordering, match the parts to the vehicle's exact configuration, including axle, engine, drivetrain, and brake package where applicable. Replace brake rotors in axle pairs so both sides start with comparable friction surfaces. Install new pads when replacing rotors unless the vehicle or parts manufacturer specifies otherwise. Confirm any hardware and lubricant requirements before taking the car apart.
Remove the caliper and support it with a proper hanger; never let it hang from the flexible brake hose. Remove the bracket and rotor as directed in the service manual. Some designs have retaining screws or additional components; others use a drum-in-hat parking brake that may require adjustment before the rotor comes off. If you encounter seized fasteners or a procedure you cannot identify, stop rather than forcing parts.
Clean the hub's rotor-mounting face so the replacement can seat flat. Do not gouge the surface. Follow the rotor maker's cleaning instructions: some protective coatings must be removed from the friction faces, while other coatings are intended to remain. Keep lubricant off pads and rotor faces, and use only the specified product at the specified contact points.
Inspect slide pins, boots, clips, and the caliper for damage or binding. Retract the piston using the vehicle-specific method while monitoring the brake-fluid reservoir to prevent overflow. Some pistons turn as they retract; some electronic parking brakes need a scan tool or a prescribed service-mode procedure. Never force a piston if you are unsure which system you have.
Torque specs and the final safety check
Torque to spec — and yes, the spec matters. There is no safe universal number for brake fasteners. Look up the torque for your exact vehicle and configuration before starting. Apply the specified value and any required thread treatment to each fastener separately: caliper slide-pin bolts, caliper bracket bolts, rotor retaining screws if fitted, and wheel lug nuts or bolts. Use new fasteners where the manufacturer requires them. The correct specification and lubricant condition matter because lubricated threads and dry threads can clamp differently at the same torque.
After assembly, confirm the hose is not twisted and all hardware is secure. Reinstall the wheel, lower the vehicle as directed, and torque the wheel fasteners in the specified sequence. Before moving, press the brake pedal repeatedly until it feels firm. Check the fluid level and inspect for leaks. A pedal that stays soft or sinks is a stop-work condition, not a reason for a test drive.
Finally, follow the pad manufacturer's bedding instructions in a safe, legal area. Begin with a low-speed function check, and avoid traffic until you know the brakes respond normally. If there is grinding, a pull, a warning light, or an abnormal pedal, stop and have a qualified technician diagnose it.
Comments
No comments yet — be the first to share a thought.