Engine Air Filter: When to Replace It and How to Do It Safely
Learn when to replace an engine air filter, how to inspect it, and how to install a new one safely without damaging the airbox or letting dirt into the engine.
A dark-looking filter is not automatically worn out, and a clean-looking top surface does not always tell the whole story. Your engine air filter keeps abrasive dirt out of the engine, so replace it according to your vehicle’s maintenance schedule or sooner if inspection shows damage or heavy contamination. On many vehicles, checking it is a straightforward driveway job. You can do this. Here’s the safe, right way.
What the filter does and when to change it
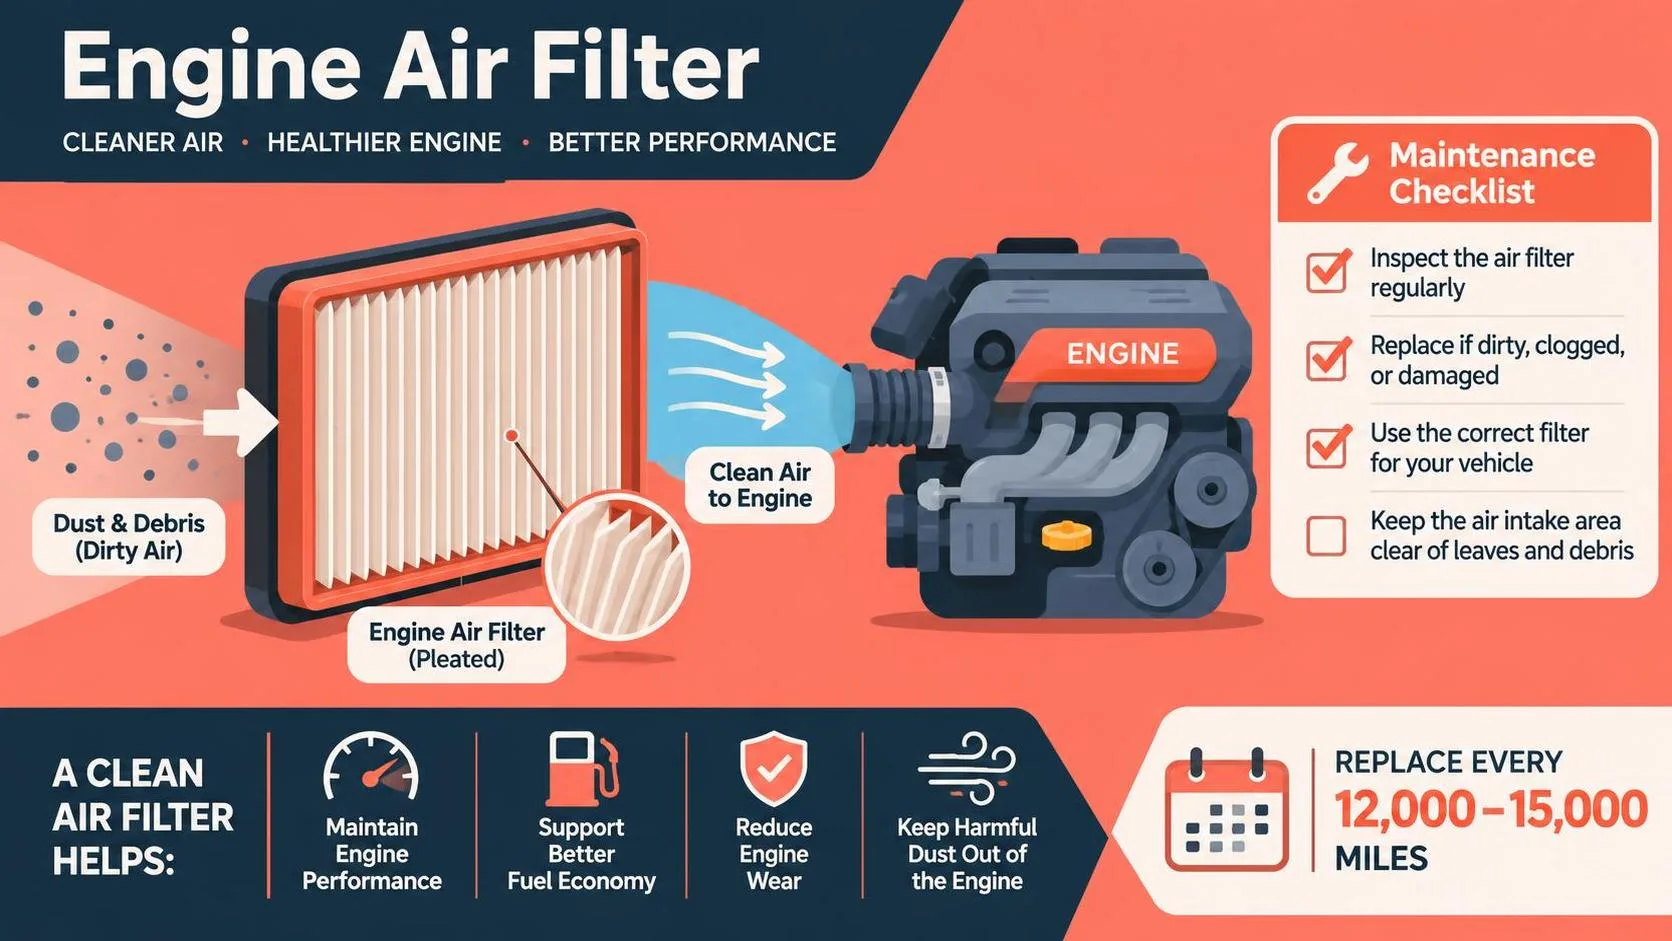
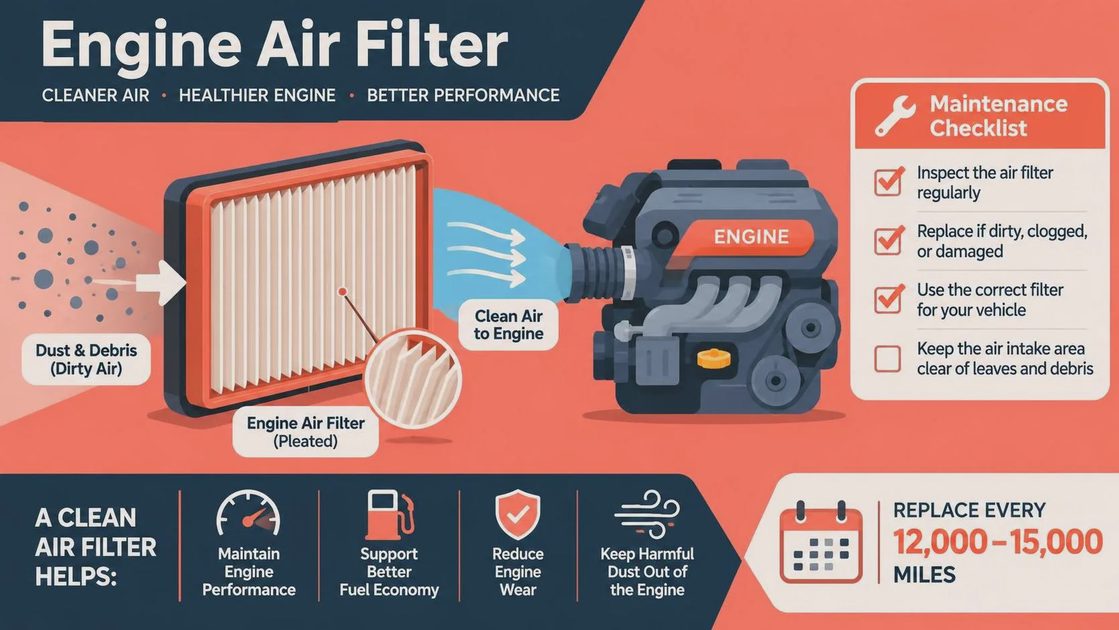
The engine draws in air to burn fuel. Before that air reaches sensitive components, it passes through a filter element inside a housing often called the airbox. Dirt trapped in the pleats stays out of the engine; dirt that gets around a damaged seal does not.
Start with the interval in your owner’s manual. Some manufacturers specify different schedules for dusty roads or other severe conditions. If you regularly drive on gravel, through construction zones, or in heavy dust, inspect the element more often rather than assuming a calendar date tells the whole story.
Replace an engine air filter that is torn, wet, oil-soaked, misshapen, or packed with debris. A light layer of dust alone is not proof that it has reached the end of its useful life. Some vehicles have a restriction indicator; follow the manufacturer’s instructions for reading and resetting it, if equipped.
Do not confuse this part with the cabin air filter. The cabin filter cleans air entering the passenger compartment and usually lives behind the glove box or near the base of the windshield. The engine filter sits in the intake system under the hood.
Safety First and Tool Check
Safety First: Park on level ground, shift into Park or first gear as appropriate, set the parking brake, and shut the engine off. Let hot components cool before reaching into the engine compartment. Keep hands and clothing away from belts and fans; some electric fans can start unexpectedly even after shutdown.
Tool Check: Have your owner’s manual, a flashlight, a clean lint-free cloth, and the correct replacement element ready. Depending on the airbox, you may also need the correctly sized screwdriver or socket, a ratchet, and an inch-pound torque wrench capable of the specified setting. Many housings use clips instead of screws. Eye protection is sensible when working around accumulated dust.
Before opening anything, find the airbox and identify its clips or fasteners. It is typically a plastic housing connected to a large intake duct, but layouts differ. If access requires removing unfamiliar ducts, electrical connectors, or other components, consult the vehicle-specific service instructions before going farther. Do not disconnect the battery simply for a routine filter inspection unless the manufacturer calls for it.
How to inspect an engine air filter
Release the clips or remove the housing fasteners using the tool that fits them properly. Lift the cover carefully, without forcing the attached duct or wiring. Note how the element sits and which side faces the incoming air; a phone photo can help when you put it back together.
Remove the element gently. Look into the pleats on the dirty side, and check the rubber or foam sealing edge for splits, distortion, or missing sections. Leaves, insects, and dust can collect in the housing; a nest or chewed material deserves a closer look for wiring or duct damage before you restart the vehicle.
Avoid tapping a paper element hard, washing it, or blasting it with compressed air. Those shortcuts can damage the media or seal. A reusable filter is a different case: clean and re-oil it only if its manufacturer specifies that procedure, using the correct supplies and drying time. Too much filter oil can cause problems with some airflow sensors.
Keep loose dirt away from the clean side of the housing and the open intake tube. Wipe accessible debris from the dirty side with a clean, slightly damp, lint-free cloth, then let it dry. Do not push the cloth into the intake opening or leave anything inside the housing. If debris has already entered the clean-side duct, stop and get vehicle-specific guidance rather than starting the engine to clear it.
Install the replacement without creating a leak
Match the new engine air filter to the old one and verify the part number against your vehicle’s year, make, model, and engine. Similar-looking elements can have different dimensions or sealing edges. Check the new part for damage before installing it.
Seat the element in the same orientation as the original, following any markings and the housing’s shape. The sealing edge should lie flat all the way around. Lower the cover squarely, making sure locating tabs engage and no wiring, hose, or filter edge is pinched. If the lid will not close naturally, reopen it and find the obstruction; do not use the fasteners to pull a crooked cover into place.

For clip-style housings, engage each clip fully and check that the cover sits evenly. For airbox cover screws or bolts, use the manufacturer’s specified torque for those fasteners and the correct torque wrench. There is no safe universal number: fastener size, housing material, and design vary. Do not guess or substitute an engine-cover or intake-manifold specification. If you cannot find the airbox fastener spec, consult the service information or a qualified shop before tightening. Torque to spec—and yes, the spec matters.
Reattach anything removed for access according to the service instructions. Before starting, account for every tool and cloth, check that ducts are seated, and confirm that no electrical connectors were disturbed. Close the hood securely after your final inspection.
Symptoms, costs, and when to stop
A severely restricted filter can contribute to poor engine performance, but hesitation, rough running, and a check-engine light have many possible causes. Replacing an engine air filter is maintenance, not a reliable diagnosis for those symptoms. If a warning light remains on, have the fault codes read and the underlying issue diagnosed instead of replacing parts by guesswork.
Replacement cost varies with the vehicle, filter design, and shop labor. Buying the correct element and doing an accessible job yourself can save labor, but price should not override fit. A filter that does not seal properly is a poor bargain.
Stop and call a professional if the airbox is cracked, a fastener spins without securing the lid, a sensor connector breaks, or you find evidence of water or substantial debris downstream of the filter. Likewise, get help if the housing will not close evenly after the correct element is seated. A secure seal matters more than finishing the job in the driveway.
Comments
No comments yet — be the first to share a thought.