
Valve Cover Gasket: Leak Symptoms and Safe Replacement
Learn how to spot a valve cover gasket leak, confirm the source, and replace the seal safely, with tool guidance and torque-spec checks for your engine.
A common mistake is to see oil on the side of an engine and immediately blame the valve cover gasket. That seal is a frequent leak point, but spilled oil or a leak from another component can leave a similar mess. Confirm where the fresh oil starts before buying parts. If the gasket is leaking, replacement is manageable on many engines, provided you have room to work and the correct service instructions. You can do this. Here's the safe, right way.
What the gasket does and how leaks show up
The valve cover sits on top of the cylinder head, enclosing the valve train. Its gasket seals the joint between the cover and the head so engine oil stays inside. Depending on the engine, that seal may be molded rubber, cork, or formed sealant rather than a separate gasket.
A leaking valve cover gasket can leave wet oil along the cover's lower edge or streaks down the engine. Oil dripping onto a hot exhaust component may produce a burning-oil smell or visible smoke. Oil in a spark-plug well can also point to a failed tube seal, although the source still needs inspection. A significant leak can lower the engine oil level.
Those symptoms don't prove the gasket is bad. Clean the accessible area with an engine-safe cleaner, following its label, then let it dry. Check the oil level and run the engine only as needed to look for fresh seepage. Keep hands, clothing, and tools away from moving parts. A mirror and flashlight can help trace oil to its highest visible source.
Safety First: Decide whether the job is within reach
Park on level ground, set the parking brake, and let the engine and exhaust cool completely before touching the cover. Work outdoors or in a well-ventilated space; never run an engine in a closed garage. If oil is actively dripping onto the exhaust, smoke is heavy, or the oil-pressure warning light comes on, shut the engine off and arrange service rather than driving it.
Some covers are easy to reach. Others sit beneath an intake manifold, wiring harnesses, or fuel-system components. Stop and get a professional estimate if access requires disconnecting fuel lines, disturbing high-voltage hybrid components, or removing parts for which you don't have the correct procedure. Don't loosen a pressurized fuel system just to make room.

Tool Check: What to gather before starting
For a typical bolt-on cover, you'll need safety glasses, nitrile gloves, a flashlight, the correct sockets and ratchet, and a low-range torque wrench that covers the specified fastener torque. A plastic scraper, clean lint-free rags, a parts tray, and a mirror are useful too. Have the vehicle-specific service procedure handy before removing anything.
Buy a valve cover gasket set matched to the engine, not just the vehicle's model name. Check whether the job also calls for spark-plug tube seals, bolt grommets, or replacement fasteners. Some covers use seals that are integral to the cover, and some engines specify sealant at particular joints. The service procedure determines what you need; a tube of generic RTV is not a substitute for reading it.
Torque to spec — and yes, the spec matters. There is no safe universal number for valve-cover bolts. Find the specification, tightening sequence, and any fastener replacement requirements for your exact engine. Note whether the value is in inch-pounds or foot-pounds: one foot-pound equals 12 inch-pounds. Don't start the job if your wrench can't accurately measure the required value.
How to replace a valve cover gasket
First, disconnect the negative battery cable if the vehicle's service procedure calls for it, especially when electrical connectors or wiring near the cover must be moved. On vehicles with special battery-disconnection requirements, follow those instructions. Photograph hose and connector locations before removal. Label what you disconnect, and move components only as far as necessary without straining wires or hoses.
Remove the cover fasteners as directed and keep track of their locations; different lengths may not be interchangeable. Lift the cover gently. If it sticks, check for missed bolts and follow the manufacturer's release procedure. Don't drive a screwdriver between the sealing surfaces: a gouge can create a leak that a new gasket won't cure.
With the cover off, keep dirt and old seal material out of the engine. Remove the old valve cover gasket and clean the mating surfaces using the specified method. A plastic scraper is less likely to damage a surface than a metal blade, but it still needs a careful hand. Don't use abrasive discs that can shed material into the engine. Inspect the cover for cracks, distortion, and damaged sealing grooves; a new seal won't reliably fix a damaged cover.
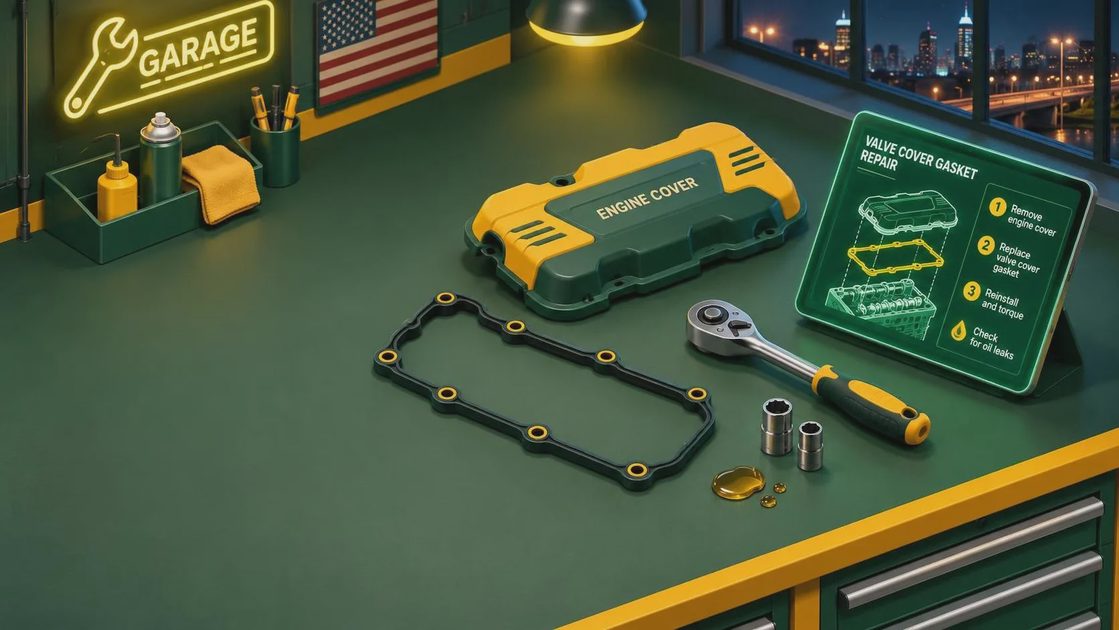
Install the new gasket and any specified tube seals or grommets, making sure they sit fully in their grooves. Apply the specified sealant only where the service procedure directs, commonly at certain joints or corners on some engines. Observe any assembly and curing times. Excess sealant can squeeze inward, while sealant in the wrong place can prevent a proper fit.
Lower the cover into position without dislodging the seal. Start every fastener by hand to avoid cross-threading. Tighten the valve-cover bolts in the manufacturer's sequence and stages, using the specified torque for those bolts. Reinstall any brackets, ignition components, hoses, and other parts using their own specified fastener torques; don't assume they share the cover-bolt value. Reconnect the battery if it was disconnected.
Check your work and prevent a repeat leak
Before starting, confirm that tools and rags are out of the engine bay, connectors are latched, and hoses are back in place. Check the oil level and top it off with the specified oil if needed. Start the engine in a ventilated area, watch for warning lights, and inspect the cover perimeter for fresh oil without reaching near belts or fans. Shut it down immediately if you see a substantial leak or hear an unusual noise.
After the engine cools, inspect again. A little residual oil on the outside may take time to burn off or become visible, but fresh wetness at the joint needs attention. Don't simply crank down the bolts: verify the gasket is seated, the cover is sound, and the correct torque and sequence were used.
A restricted positive crankcase ventilation system can contribute to oil leaks by allowing excess crankcase pressure. If the new valve cover gasket leaks again, have the ventilation system and cover checked rather than replacing the seal repeatedly. When the source remains uncertain, a shop can trace it before more parts go on the bill.
Comments
No comments yet — be the first to share a thought.