
Tire Rotation: The Safe DIY Guide to Even Tread Wear
Tire rotation keeps tread wear even, improves handling, and can extend tire life. Learn the safe DIY procedure, tools, intervals, and torque guidance for...
A common mistake is treating tire rotation as an optional service that only matters when the tread looks uneven. Tire rotation is preventive maintenance, and it can help your tires wear more evenly, maintain predictable handling, and deliver better value over their useful life. You can do this. Here is the safe, right way, provided your vehicle has a level work area, proper lifting equipment, and a service manual or door-jamb label with the correct specifications.
Why Tire Rotation Matters
Front and rear tires do different work. On a front-wheel-drive car, the front tires handle steering, acceleration, and much of the braking load. On a rear-wheel-drive vehicle, the rear tires transmit engine power while the front tires carry steering and braking forces. All-wheel-drive systems distribute the work differently, but they still benefit from consistent inspection and correct positioning.
Without regular rotation, one axle can wear faster than the other. Front tires may develop shoulder wear, while driven tires can show center or tread-block wear. That difference affects wet traction and can make the vehicle feel nervous during lane changes. Tire rotation does not repair an alignment problem, worn suspension part, or damaged tire, but it gives you a scheduled opportunity to find those problems early.
Most manufacturers suggest rotating tires around every 5,000 to 8,000 miles, often close to the oil-change interval. Your owner manual takes priority. Rotate sooner if you notice feathering, cupping, pulling, vibration, or a visible difference in tread depth.
Safety First and Tool Check
Safety First: Never work under a vehicle supported only by a jack. Park on solid, level pavement, select Park or first gear, set the parking brake, and place wheel chocks on wheels that remain on the ground. Keep children and pets away from the work area. If the ground is soft, sloped, icy, or crowded with traffic, postpone the job.
Tool Check: You need a floor jack rated for your vehicle, four jack stands rated above the vehicle weight, wheel chocks, a properly sized impact socket or lug wrench, a calibrated torque wrench, and a tire tread-depth gauge. A wire brush helps clean rust from the hub and wheel mounting surface. A paint marker can identify each tire position. Do not use an impact gun to finish tightening lug nuts, and do not rely on the emergency scissor jack for a four-wheel service.
Before lifting, record the tire positions and inspect the sidewalls. Look for bulges, cuts, exposed cords, embedded objects, and uneven wear. Measure tread depth in several grooves. A tire with serious damage should not be moved to another corner; stop and have it inspected.
Check the Rotation Pattern Before Lifting
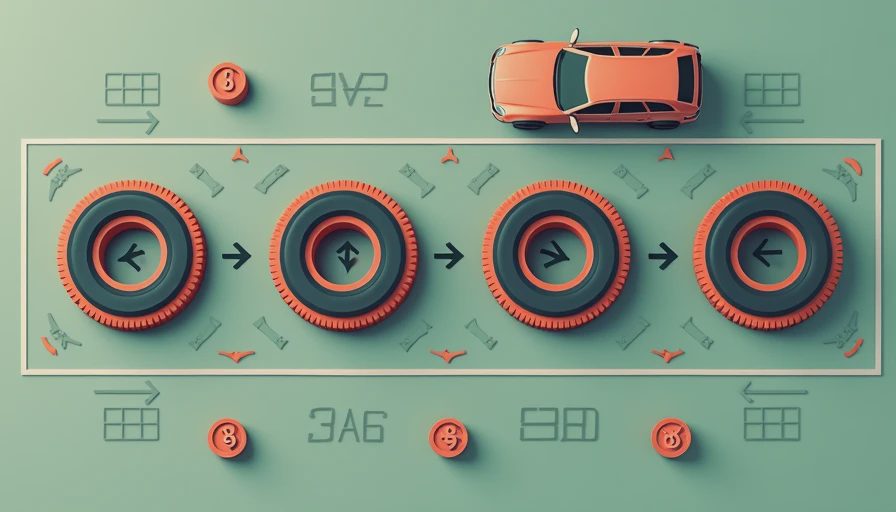
The correct pattern depends on tire design. For many non-directional tires, front-wheel-drive vehicles use a forward-cross pattern: the front tires move straight back, and the rear tires cross to the front. Rear-wheel-drive and many all-wheel-drive vehicles commonly use a rearward-cross pattern: the rear tires move straight forward, and the front tires cross to the rear.
Directional tires must stay on the same side of the vehicle, so they move front to rear without crossing. Staggered setups, with different tire sizes front and rear, often cannot be rotated at all. Some vehicles allow only side-to-side movement, but that is uncommon and must be confirmed by the manufacturer. Check the arrows molded into the sidewall and the tire placard before making a plan.
If the tires have different tread depths, place the better pair on the rear axle unless the vehicle manufacturer specifies otherwise. Rear traction helps resist oversteer on wet roads. A shop can advise you if the difference is large or if the tires are a mismatched set.
Step-by-Step Tire Rotation Procedure
- Loosen each lug nut about one turn while the vehicle is on the ground. Do not remove the nuts yet. This prevents the wheel from spinning and avoids stressing the wheel studs.
- Position the floor jack at the manufacturer-approved lift point. Raise one end at a time, or use a method specifically approved for your model. Set jack stands at the proper support points, lower the vehicle gently onto them, and give the body a cautious shake before removing wheels.
- Remove the wheels and mark their original positions. Follow the correct rotation pattern rather than simply moving tires to the nearest open hub. This is where many rushed jobs go wrong.
- Inspect the brake rotor, caliper, hoses, wheel studs, and hub face. Clean loose rust from the hub and the wheel's mating surface. Do not apply grease or anti-seize to lug nut threads unless the manufacturer explicitly calls for it; lubricated threads can change clamping force.
- Install each tire in its new position. Thread every lug nut by hand for several turns. If a nut will not start smoothly, remove it and inspect the threads. Cross-threading a lug nut can damage an expensive wheel stud.
- Snug the lug nuts in a star or crisscross pattern. Lower the vehicle until the tires just contact the ground, then torque the nuts with a calibrated torque wrench in the same pattern.
Torque to spec, and yes, the spec matters. Many passenger vehicles use a lug torque somewhere around 80 to 100 lb-ft, but that is only a general range, not a specification. Some trucks, SUVs, performance cars, and aftermarket wheels require a different value. Use the owner manual, repair information, or wheel manufacturer instructions for the exact number.

After the Wheels Are Installed
Drive slowly around the block and listen for clicking, rubbing, or unusual vibration. Recheck lug torque after roughly 25 to 50 miles if the wheel or vehicle manufacturer recommends it, especially after installing aftermarket wheels. Check tire pressures when the tires are cold and set them to the pressure on the driver's door placard, not the maximum pressure molded into the sidewall.
Reset the tire-pressure monitoring system if your vehicle requires a relearn procedure. Some systems relearn automatically after driving; others need a scan tool or a dashboard sequence. If the tire-pressure light stays on, verify all four pressures and investigate the system rather than ignoring the warning.
A tire rotation is also a good time to measure tread depth again. New passenger tires commonly begin with roughly 10/32 to 12/32 inch of tread, while replacement guidance varies by tire type and local requirements. A tire near 4/32 inch has less wet-weather margin than a newer tire, and a tire at the legal wear-bar level needs prompt replacement planning.
When to Stop and Call a Professional
Stop the job if a jack stand will not sit squarely, a wheel is seized to the hub, a lug nut is swollen or damaged, or you find a cracked wheel, bent suspension component, broken spring, leaking brake hose, or tire sidewall bulge. Do not hammer aggressively on an aluminum wheel or drive with loose lug nuts to reach a shop.
Call a professional when tread wear is severe on one edge, because alignment or suspension diagnosis may be needed. Cupping can point to a worn damper, loose bearing, or imbalance. Vibration at highway speed can involve wheel balance, a bent rim, or a drivetrain issue that tire rotation will not solve.
A shop typically charges about $25 to $60 for a basic rotation, while a quality torque wrench and safe jack-stand setup can cost more initially. DIY makes sense when you already own the equipment and can work carefully. If not, paying for the service is cheaper than recovering from a dropped vehicle or damaged wheel stud.
Build Tire Rotation Into Your Maintenance Routine
Record the date, mileage, tire positions, tread measurements, and torque specification in a notebook or phone app. Pair tire rotation with oil changes, seasonal pressure checks, and a visual brake inspection. That simple record helps you spot a pattern instead of guessing when wear began.
The goal is not just longer tire life. Even tread, correct pressure, sound wheel hardware, and timely alignment checks give your vehicle more predictable traction in rain, snow, and emergency braking. Follow the manufacturer’s pattern, use the right lifting equipment, and torque every lug nut accurately. Done that way, tire rotation is a manageable weekend task with a real safety payoff.
Comments
No comments yet — be the first to share a thought.