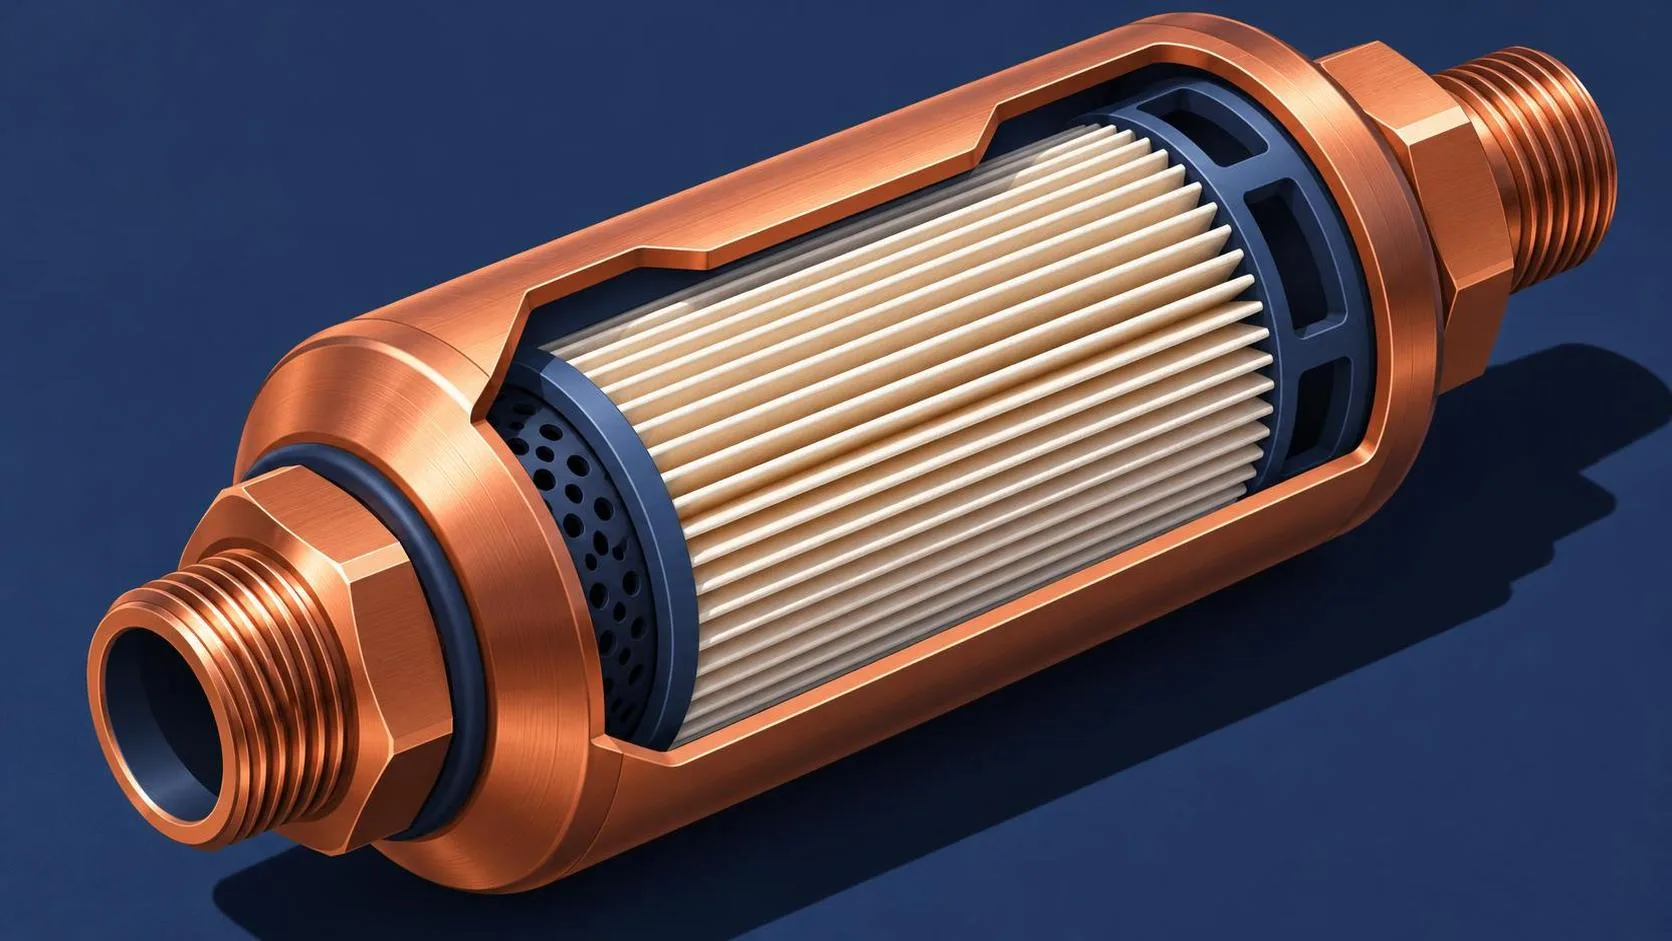
Fuel Filter Guide: Symptoms, Replacement, and Safety
Learn what a fuel filter does, how to spot trouble, when replacement is due, and the safety checks to make before opening a fuel line on your vehicle.
A common mistake is assuming every car has a fuel filter you can swap under the hood in ten minutes. Some have a replaceable inline filter; others use a filter or strainer inside the fuel tank, sometimes as part of the pump assembly. Before buying parts or disconnecting a line, check the service information for your exact vehicle. You can do this. Here's the safe, right way.
What the filter does and when to replace it
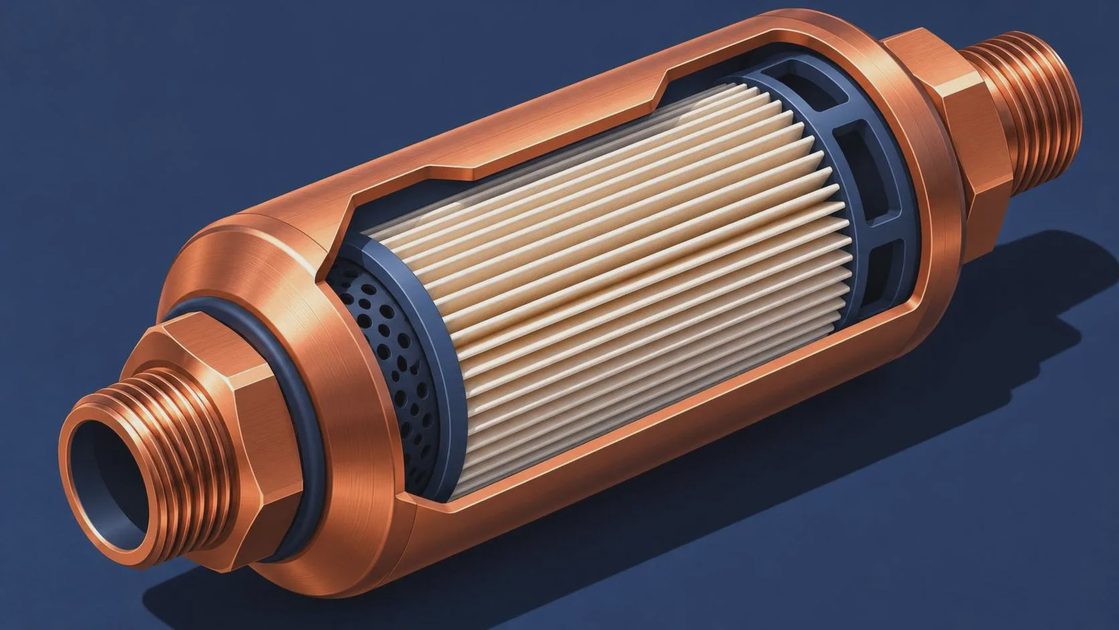
A fuel filter catches contaminants before they can reach sensitive components downstream. As restriction increases, the engine may struggle to get enough fuel under load. The trouble is, a weak pump, electrical fault, bad fuel, or other issue can cause similar symptoms. A filter is a maintenance item, not a guaranteed cure for every hesitation.
Start with the manufacturer's maintenance schedule for your year, make, model, and engine. Replacement intervals vary, and some vehicles have no routinely scheduled external filter service. “No scheduled replacement” doesn't mean the system can never develop a restriction; it means you shouldn't invent an interval or replace an in-tank assembly without a reason.
Diesel owners need to be particularly careful about the specified service interval and the correct water-separation and priming procedures. Gasoline and diesel systems are not interchangeable, and some diesel injection systems operate at extremely high pressure. This article covers the general approach to a serviceable external filter, not high-pressure diesel system repair.
Signs worth investigating
A restricted fuel filter can contribute to hard starting, loss of power during acceleration or climbing, surging, and sometimes stalling. Those symptoms don't identify the cause by themselves. A check-engine light may accompany a fuel-delivery problem, but it doesn't automatically mean the filter is clogged.
Here's what I see go wrong most often: someone replaces a filter because the engine hesitates, then keeps buying parts when nothing changes. If the symptom persists, proper diagnosis may require checking fuel pressure and delivery against the manufacturer's specifications, along with electrical tests. A shop with the right equipment can distinguish a supply problem from an ignition or sensor issue.
If the engine stalls in traffic, has a strong fuel smell, or leaves visible wet spots, don't keep driving to see whether it improves. Park safely, shut it off, and arrange a tow or professional inspection. A suspected leak is a fire risk, not a diagnosis to postpone.
Safety First: before opening a fuel line
Work outdoors or in a well-ventilated area, away from flames, smoking, heaters, pilot lights, and anything that can spark. Gasoline vapor is flammable and can collect near the floor. Keep an appropriate fire extinguisher accessible, wear safety glasses and fuel-resistant gloves, and have an approved container and absorbent material ready. Never use an inspection light that isn't rated for the environment around fuel vapor.
Fuel can remain pressurized after the engine is switched off. Follow the vehicle-specific pressure-relief procedure before opening a connection; removing a cap or letting the car sit is not a dependable substitute. Disconnect the battery as directed by the service information, after completing any steps that require electrical power.
If the fuel filter sits underneath the vehicle, park on level ground, set the parking brake, and chock the wheels. If lifting is necessary, use the designated lift points and properly rated jack stands on a firm, level surface. Never work under a car supported only by a jack.
Tool Check: match the vehicle, not the guess
Confirm the filter's location, part number, connector type, and flow direction in the service information. Gather the correct replacement filter, any specified new seals or retaining clips, safety glasses, gloves, an approved fuel container, and absorbent material. Some quick-connect fittings need a release tool sized for that line; threaded fittings may require appropriately sized line wrenches and a backup wrench.
Have the manufacturer's instructions and the correct torque wrench available before loosening a threaded connection or bracket. For the filter bracket bolt, fuel-line fitting, and any other fastener disturbed, use the torque specified for that exact vehicle and fastener. There is no safe universal number to print here. Quick-connect fittings generally secure with a locking mechanism rather than a guessed torque; follow the specified engagement check.
How a serviceable external filter is replaced
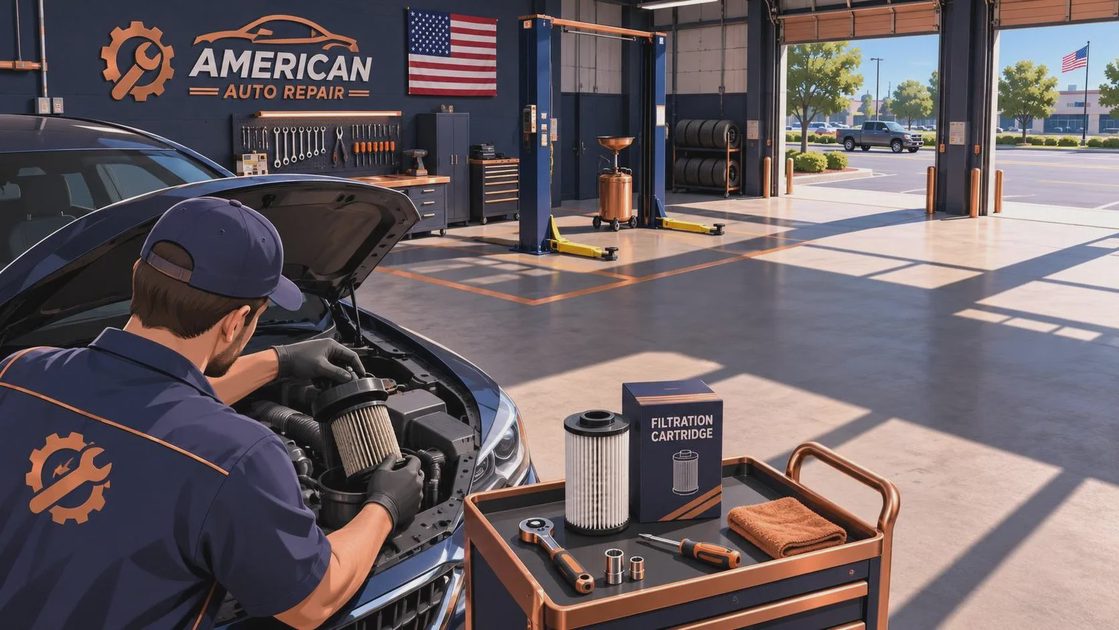
This is a map of the job, not a substitute for the vehicle-specific procedure. After completing the safety and pressure-relief steps, place the approved container beneath the connection and protect nearby surfaces with absorbent material. Note the filter's orientation and the routing of its lines before disconnecting anything.
Release each fitting using the specified method. Catch residual fuel, keep dirt out of the open lines, and don't force a stubborn connector with pliers. If a line twists, a clip breaks, or corrosion makes the fitting look fragile, stop. Damaging a fuel line can turn a straightforward service into a dangerous repair.
Remove the old fuel filter from its bracket, then compare the replacement's connections and orientation with the original and the service information. Install the specified new seals or clips, route the lines without kinks or rubbing, and secure the bracket. Tighten each threaded fastener to its vehicle-specific specification; don't apply torque to a quick-connect fitting that isn't designed for it. Torque to spec — and yes, the spec matters.
Reconnect the battery if it was disconnected, then prime the system according to the manufacturer's instructions. Before starting, inspect the connections for leaks during the specified priming procedure. Start the engine only if the area is dry, then inspect again with the engine running from a safe position. If you see or smell fuel, shut the engine off immediately and address the leak before driving.
Dispose of captured fuel, the old filter, and contaminated absorbents according to local hazardous-waste rules. Don't pour fuel down a drain or leave soaked material in an enclosed garage.
When to let a shop handle it
An in-tank fuel filter, rusted steel lines, damaged connectors, or a system requiring specialized pressure-release or diagnostic equipment can put this job beyond a sensible driveway setup. Stop if the instructions are unclear or you can't verify a dry, secure connection. Paying for a repair is a better outcome than guessing around pressurized fuel.
Comments
No comments yet — be the first to share a thought.