Decode Dashboard Warning Lights to Prevent Costly Repairs and Stay Safe
Decode Dashboard Warning Lights to Prevent Costly Repairs and Stay Safe
Here's what I see go wrong most often... drivers treat a glowing amber symbol like a suggestion instead of an early warning. By the time the light turns red or the car stalls, a simple fix has become a tow-trip emergency. Understanding your dashboard isn't about memorizing fifty icons—it's about recognizing patterns, respecting the color code, and acting before a minor fault becomes a major failure.
Why This Matters
Your dashboard is a direct communication line between your vehicle's onboard computer and your eyes. Modern cars use dozens of sensors to monitor everything from oil circulation to brake fluid levels and tire pressure. When a system falls outside its normal operating range, the computer illuminates a warning light. Ignoring these signals doesn't make the problem go away; it compounds it. A low tire pressure warning left unchecked can wear out a tire prematurely. A charging system fault can leave you stranded with a dead battery. A check engine light that stays on for weeks can damage your catalytic converter (an emissions control device that reduces harmful exhaust gases), turning a fifty-dollar repair into a four-figure bill. Learning to read these symbols correctly keeps you safe, protects your wallet, and extends your vehicle's lifespan.
What You Need to Know
Most manufacturers follow a standardized traffic-light system. The color tells you the urgency before you even identify the symbol.
- Red: Critical warning. Indicates a serious malfunction or immediate safety risk. You must pull over safely and turn off the engine.
- Yellow or Orange: Advisory or caution. The vehicle is safe to drive short distances, but a system requires maintenance soon. Delaying service can lead to expensive repairs.
- Green or Blue: Informational. These confirm that a feature—like your high beams or cruise control—is currently active and functioning normally.
Here are the most critical symbols you will encounter:
- Check Engine Light: An amber outline of an engine. This means the computer detected a fault in the emissions, ignition, or fuel system. It could range from a loose gas cap to a failing component.
- Oil Pressure Warning: A red oil can with a dripping drop. Your engine has lost oil pressure. Without pressure, the engine cannot lubricate itself and will seize within minutes.
- Tire Pressure Monitoring System (TPMS): A yellow exclamation point inside a horseshoe shape. At least one tire is significantly under-inflated. Cold weather often triggers this as air density drops.
- Battery/Charging System Light: A red rectangle with plus (+) and minus (-) signs. The battery is not being charged, likely due to a failing alternator or a broken serpentine belt (a single continuous belt that drives multiple engine accessories).
- Brake System Light: Red. Indicates the parking brake is engaged or brake fluid is low.
- Engine Temperature Light: Red. The engine is overheating. Turn off the car and let it cool to avoid total engine failure.
- ABS Warning Light: Yellow. The anti-lock braking system (ABS) is deactivated. Your normal brakes still work, but emergency braking performance is compromised.
- Traction Control Light: Yellow. If it flashes, the system is actively working to maintain grip. If it stays solid, there is a fault in the stability control system.
How It Works
Responding to a dashboard warning requires a methodical approach. Rushing or guessing leads to misdiagnosis.
Safety First
- Never ignore a red warning light. Pull over to a safe location, engage your parking brake, and shut off the engine.
- Allow an overheated engine to cool completely before opening the hood or checking fluids. Hot coolant and steam can cause severe burns.
- Work in a well-ventilated area when checking oil or exhaust-related components.
- If your diagnostic process requires removing any panels or connectors, always verify and apply the manufacturer's exact torque specifications for fasteners.
Tool Check
- Tire pressure gauge (digital or stick-type)
- Clean rag or shop towels
- Basic socket set and screwdrivers
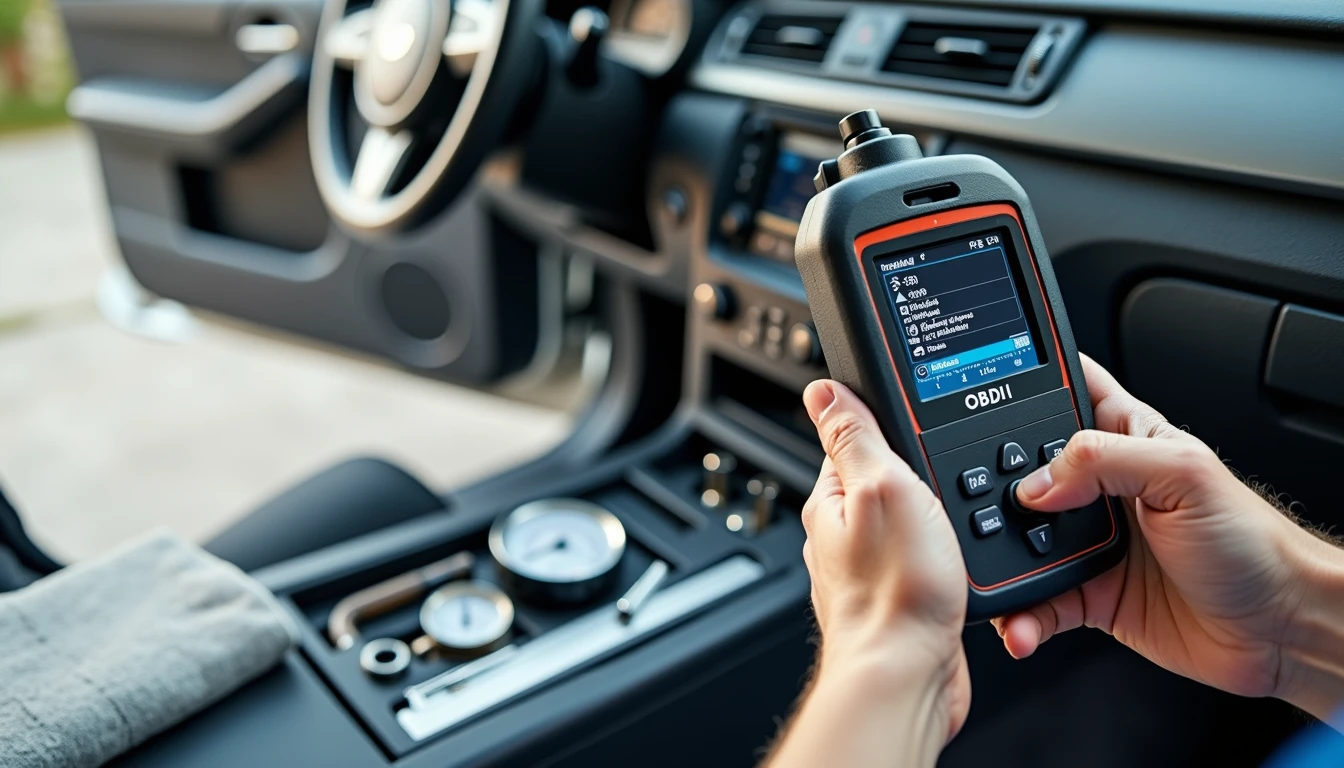
- OBD-II diagnostic scanner or code reader
- Vehicle owner's manual (for model-specific symbol references)
Diagnostic Steps
1. Identify the color and symbol. Match it to the list above. Red means stop. Yellow means schedule service.
2. Check the simplest causes first. For a check engine light, tighten your gas cap until it clicks three times. For TPMS, check your PSI levels at a gas station or with your gauge. For oil pressure, check your oil level with the dipstick. Do not drive until pressure is restored.
3. Retrieve trouble codes. If the light stays on after checking obvious causes, connect your OBD-II scanner. Modern vehicles store manufacturer-specific data that generic parts store readers often miss. Factory-grade diagnostic tools read live sensor data and pinpoint the root cause instead of just clearing a code.
4. Schedule professional inspection. If you lack the tools or experience to interpret live data, bring the vehicle to a certified technician. Clearing a warning light without fixing the underlying issue only masks the problem.
*Pro Tip:* Warm the engine for five minutes before checking oil or coolant levels. Cold fluid doesn't circulate fully, giving you a false low reading. Also, check tire pressure when tires are cold—driving heats the air inside and artificially inflates the PSI reading.
Common Mistakes
- Assuming yellow means "ignore it." Despite what online forums say, advisory lights are your vehicle's way of saying a component is degrading. Waiting for a red light or a breakdown often turns a simple sensor replacement into a cascading system failure.
- Resetting codes without diagnosis. Some drivers unplug the battery or use a scanner to erase the light, hoping it won't come back. This is dangerous. The computer will eventually detect the fault again, and you've lost valuable diagnostic data that could have pointed to the root cause.
- Ignoring weather impacts. Extreme temperatures stress sensors and batteries. A check engine light in freezing conditions might simply mean your battery is struggling to provide stable voltage to your vehicle's electronics. Always consider environmental factors before assuming major component failure.
- Mixing up flashing vs. solid lights. A flashing check engine or traction control light indicates an active, severe condition. A solid light usually means a stored fault or system deactivation. Treat flashing lights with immediate urgency.
Bottom Line
Dashboard warning lights are not suggestions—they are early warning systems designed to protect you and your vehicle. Treat red as immediate, yellow as urgent, and green/blue as normal operation. Keep a tire gauge and basic tools accessible, verify simple causes first, and never clear a code without understanding why it appeared. You can do this — here's how to do it right. When a light stays on after your initial checks, run a proper diagnostic scan or consult a certified technician. Preventative attention today saves you from costly repairs and roadside emergencies tomorrow.